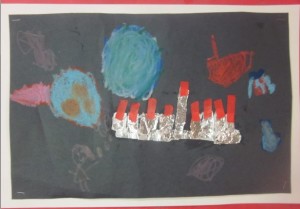
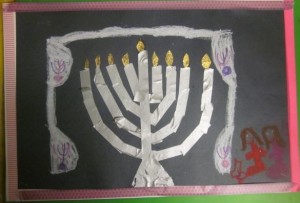
I started by showing them a number of pictures of different types of menorahs.
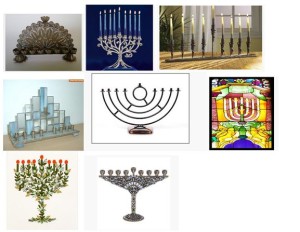
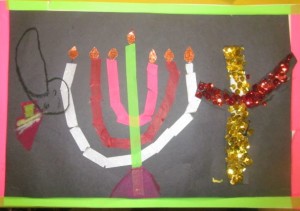
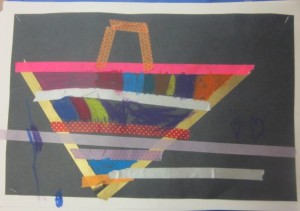
I showed them how they can make a menorah with a base that is straight, u curved or triangular.
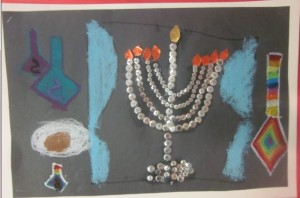
I then directed them to the table of materials I had prepared for them.(the only really prepared item was a bunch of small flames in different shiny colors that I had cut out)The rest they would have to cut themselves.
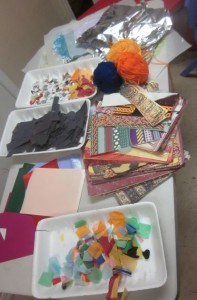
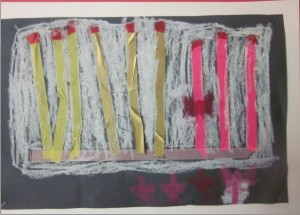
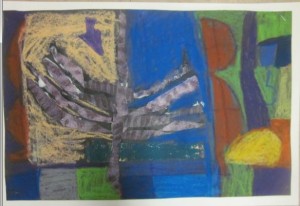
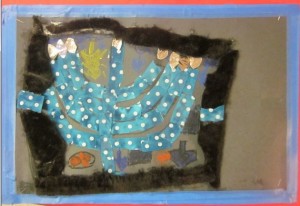
I gave them only lightweight materials and stayed away from heavier items like crafts sticks as they tend to weigh down the paper too much. I gave them large, black construction paper to work on. I figured that since we had shiny materials and oil pastels to finish up the pictures with, the black paper would showcase these colors better.(and they did)
I also knew I would have to use tagbaord(cardstock) under the paper to make it more sturdy. I also wanted the white tabgboard(cardstock) to act as frame. In the end many of the kids ended up covering up their white edgings with different colored tapes they were using, but they looked really pretty anyway.
Some of the kids had a really hard time getting started. A few got right into it as soon as I told them what to do.
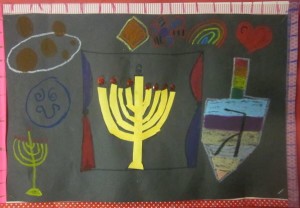
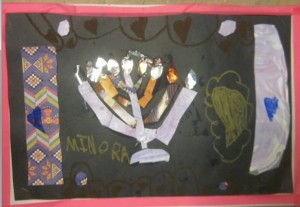
The instructions were that they needed a base, candles and flames. They needed to decide which materials to use, what shape menorah they wanted and how to execute it. At the end they would get oil pastels to finish it up
One of the problems they had was how to make a U shape without flexible material. One child actually spent a long time cutting her pieces into curvy shapes, while others learned you had to cut them into smaller pieces and paste them onto the glue already in the U shape.
Lots more kids needed direct help in getting them to decide what and how they were going to do their menorah and a number of them ended up starting over a few times.
When I added the colorful tape I had for them to use, it got a lot of them moving.
One young lady who for some reason refused to make a menorah ended up making her own lovely dreidle (a spinning toy specifically for Hanukkah)with the tape and the oil pastels
So what did I learn from this? I learned that total freedom doesn’t always work and children often need some direction or motivation to get started.
Giving them a whole bunch of materials and saying “create” is too hard for many of them and I need to give a bit more structure with enough choice built into it to still give them the benefits of great art.
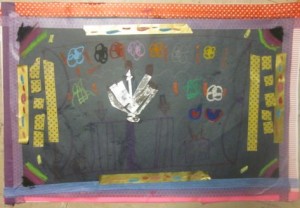
Since Hanukkah comes out in the winter we often also use black backgrounds to make beautiful winter crafts with the children that you may want to check out.
Here is the original post I did with Hanukkah crafts for kids.

[…] You can see another simple Chanukah project which is quite similar just uses collage to make Chanukah collage art. […]