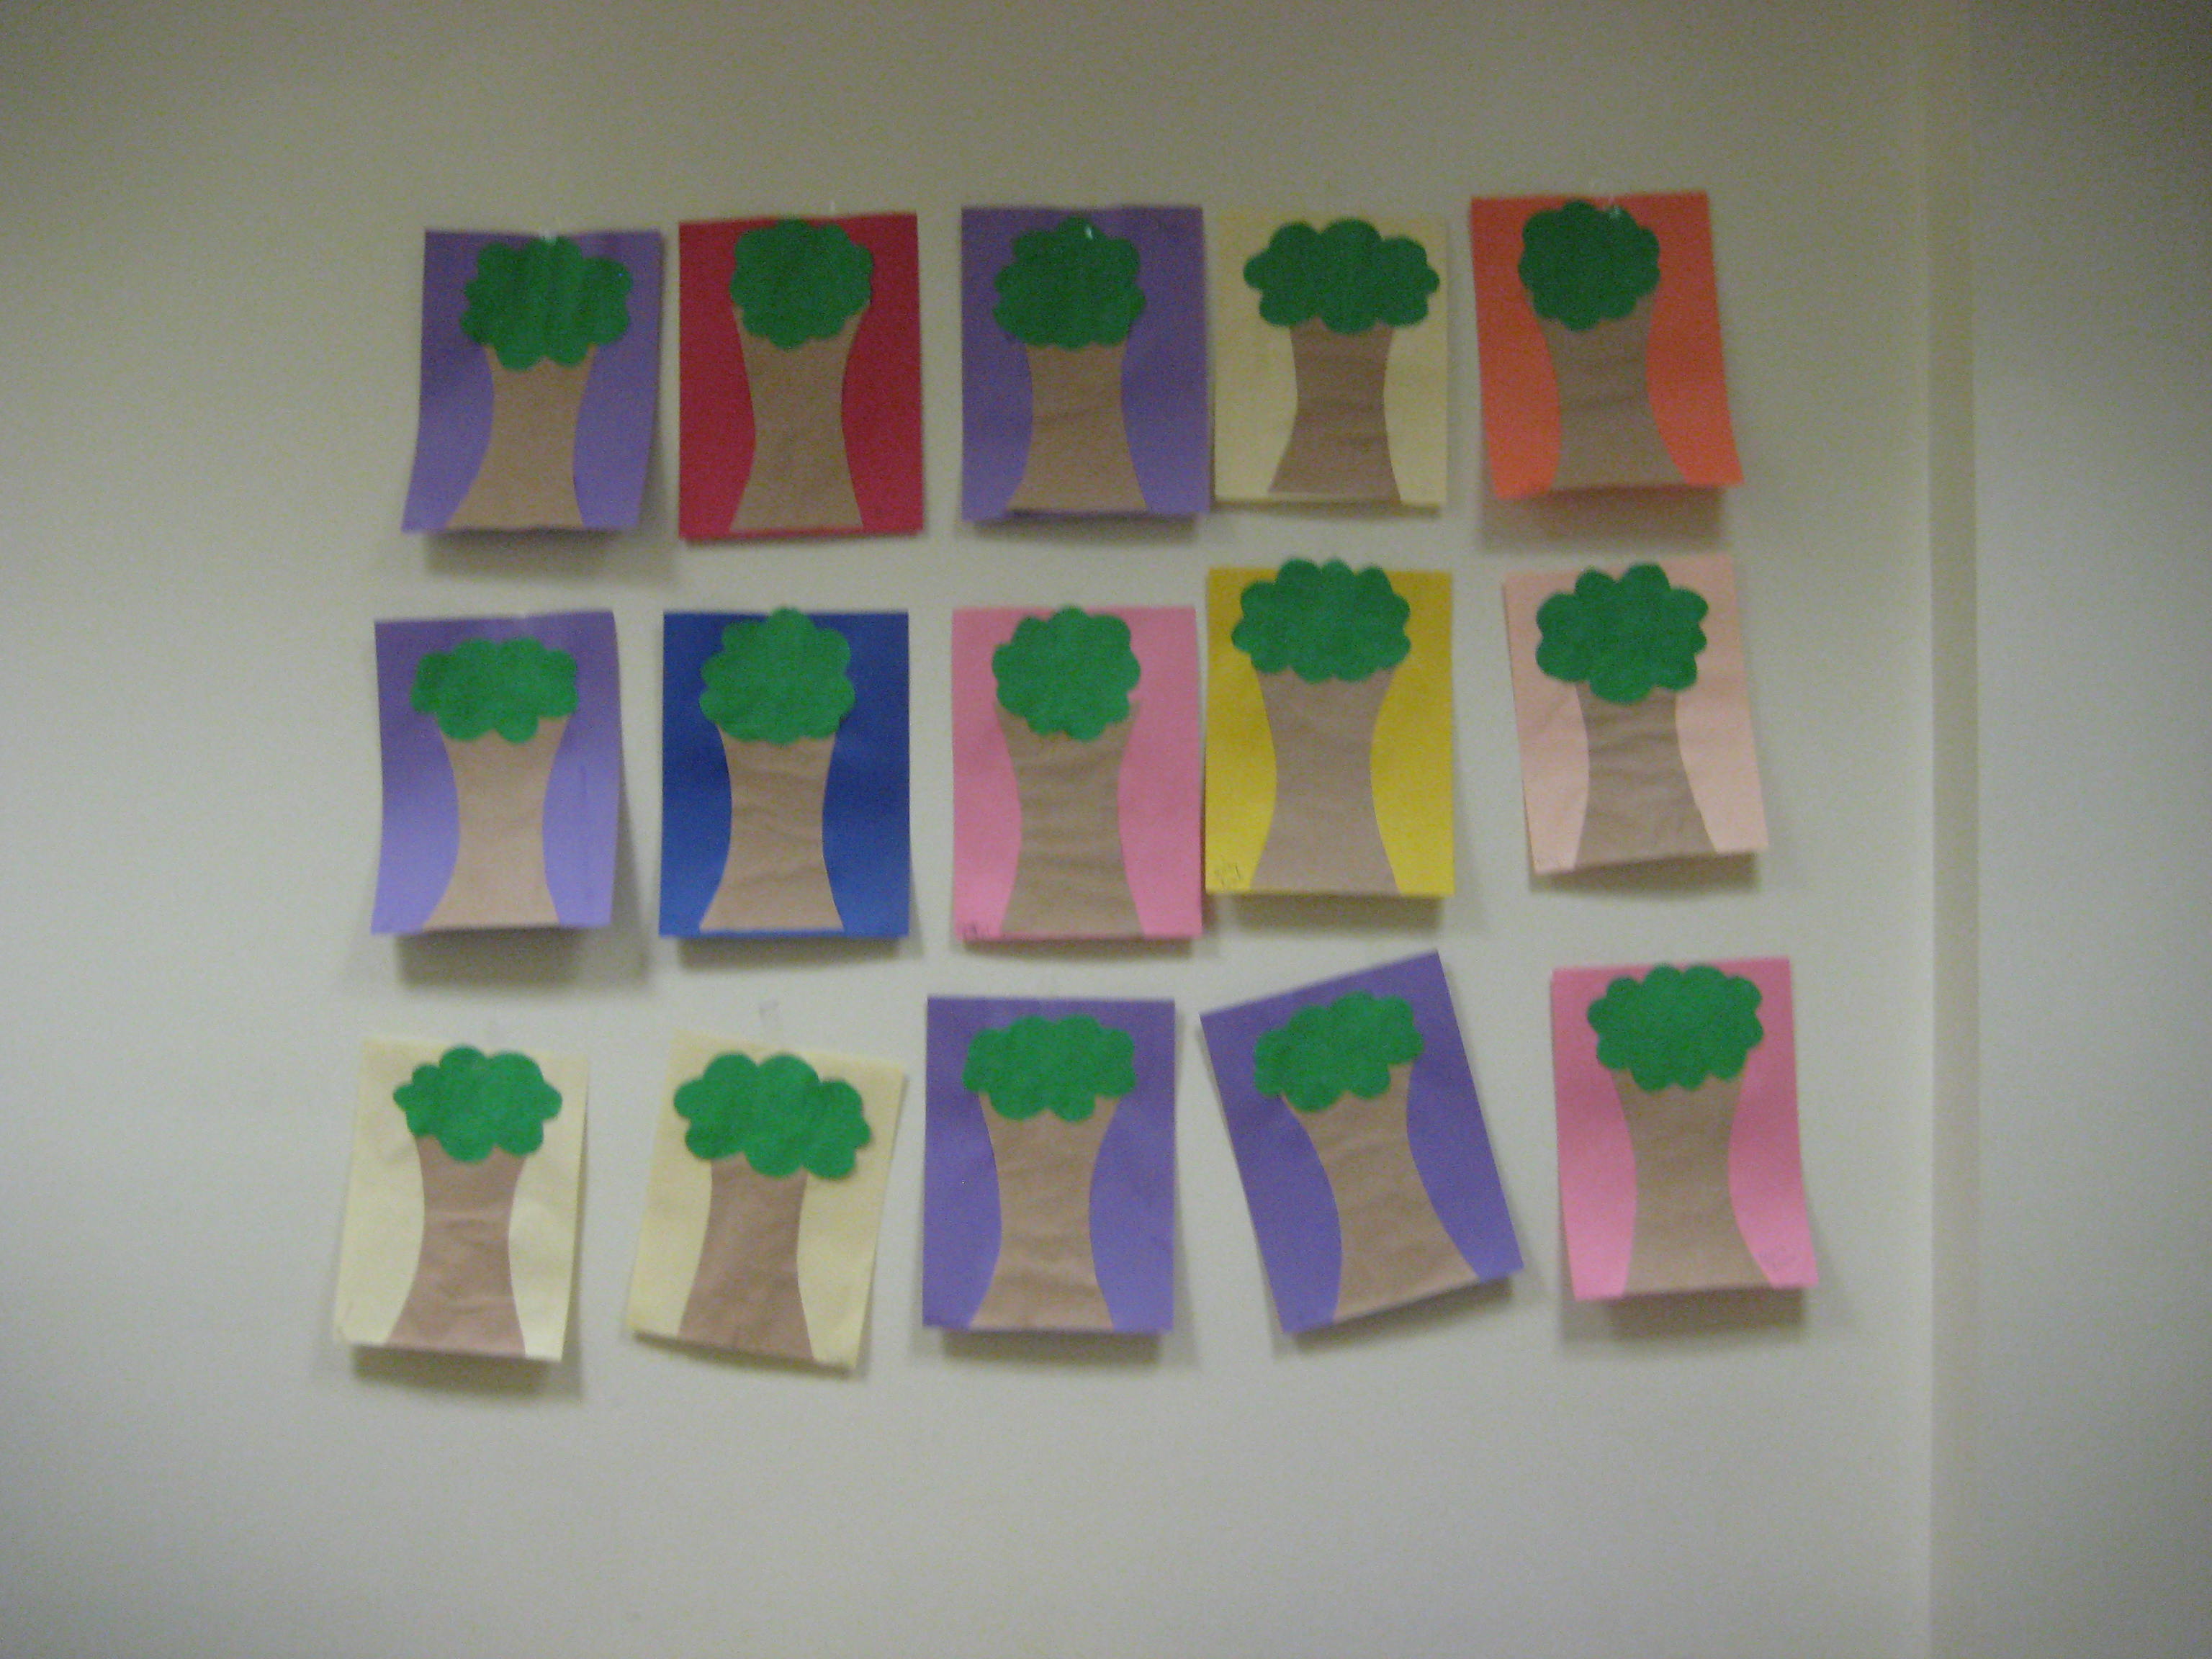
Since Tu-B'shvat is the holiday of trees it makes the most sense to create trees and I have 4 different ways you can do so. The first one was actually a picture from a workshop I did for teachers trying to teach them the difference between making copycat crafts and creative art.
To begin I had them make a standard copycat trees project as seen below.
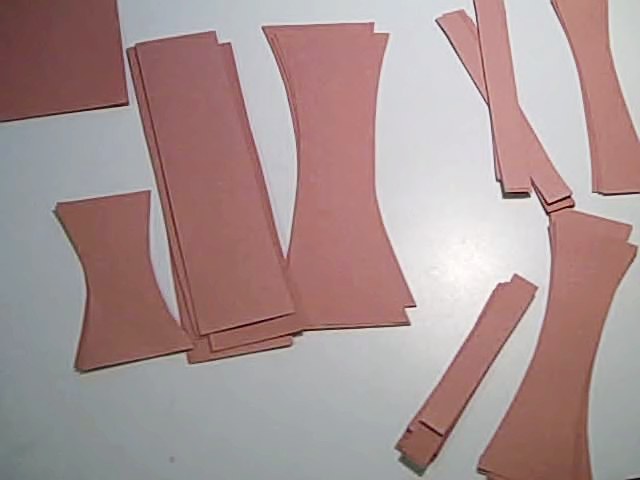
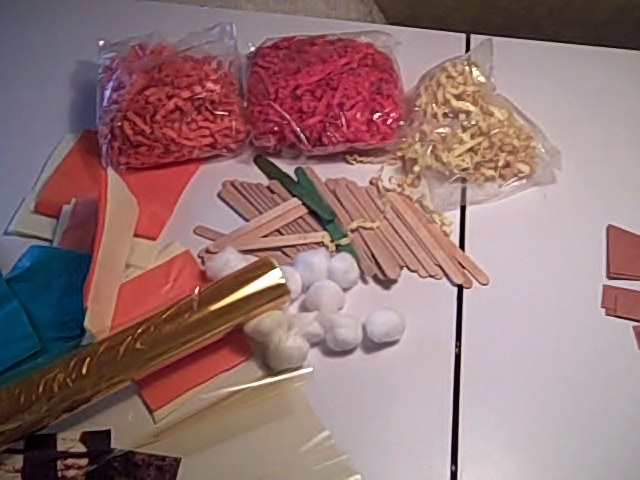
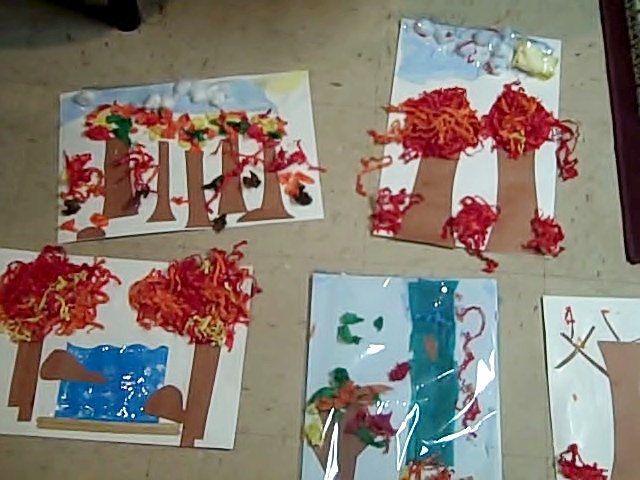
For the second project I gave them different sized tree trunks to use from (and you can do the same with the children) along with a number of materials to create their own trees. When doing it with children I would make sure to discuss the many different kinds of trees there are as well as possibly bringing in pictures of various trees. Below the image of the tree trunks is an image of some of the results from this teachers workshop.
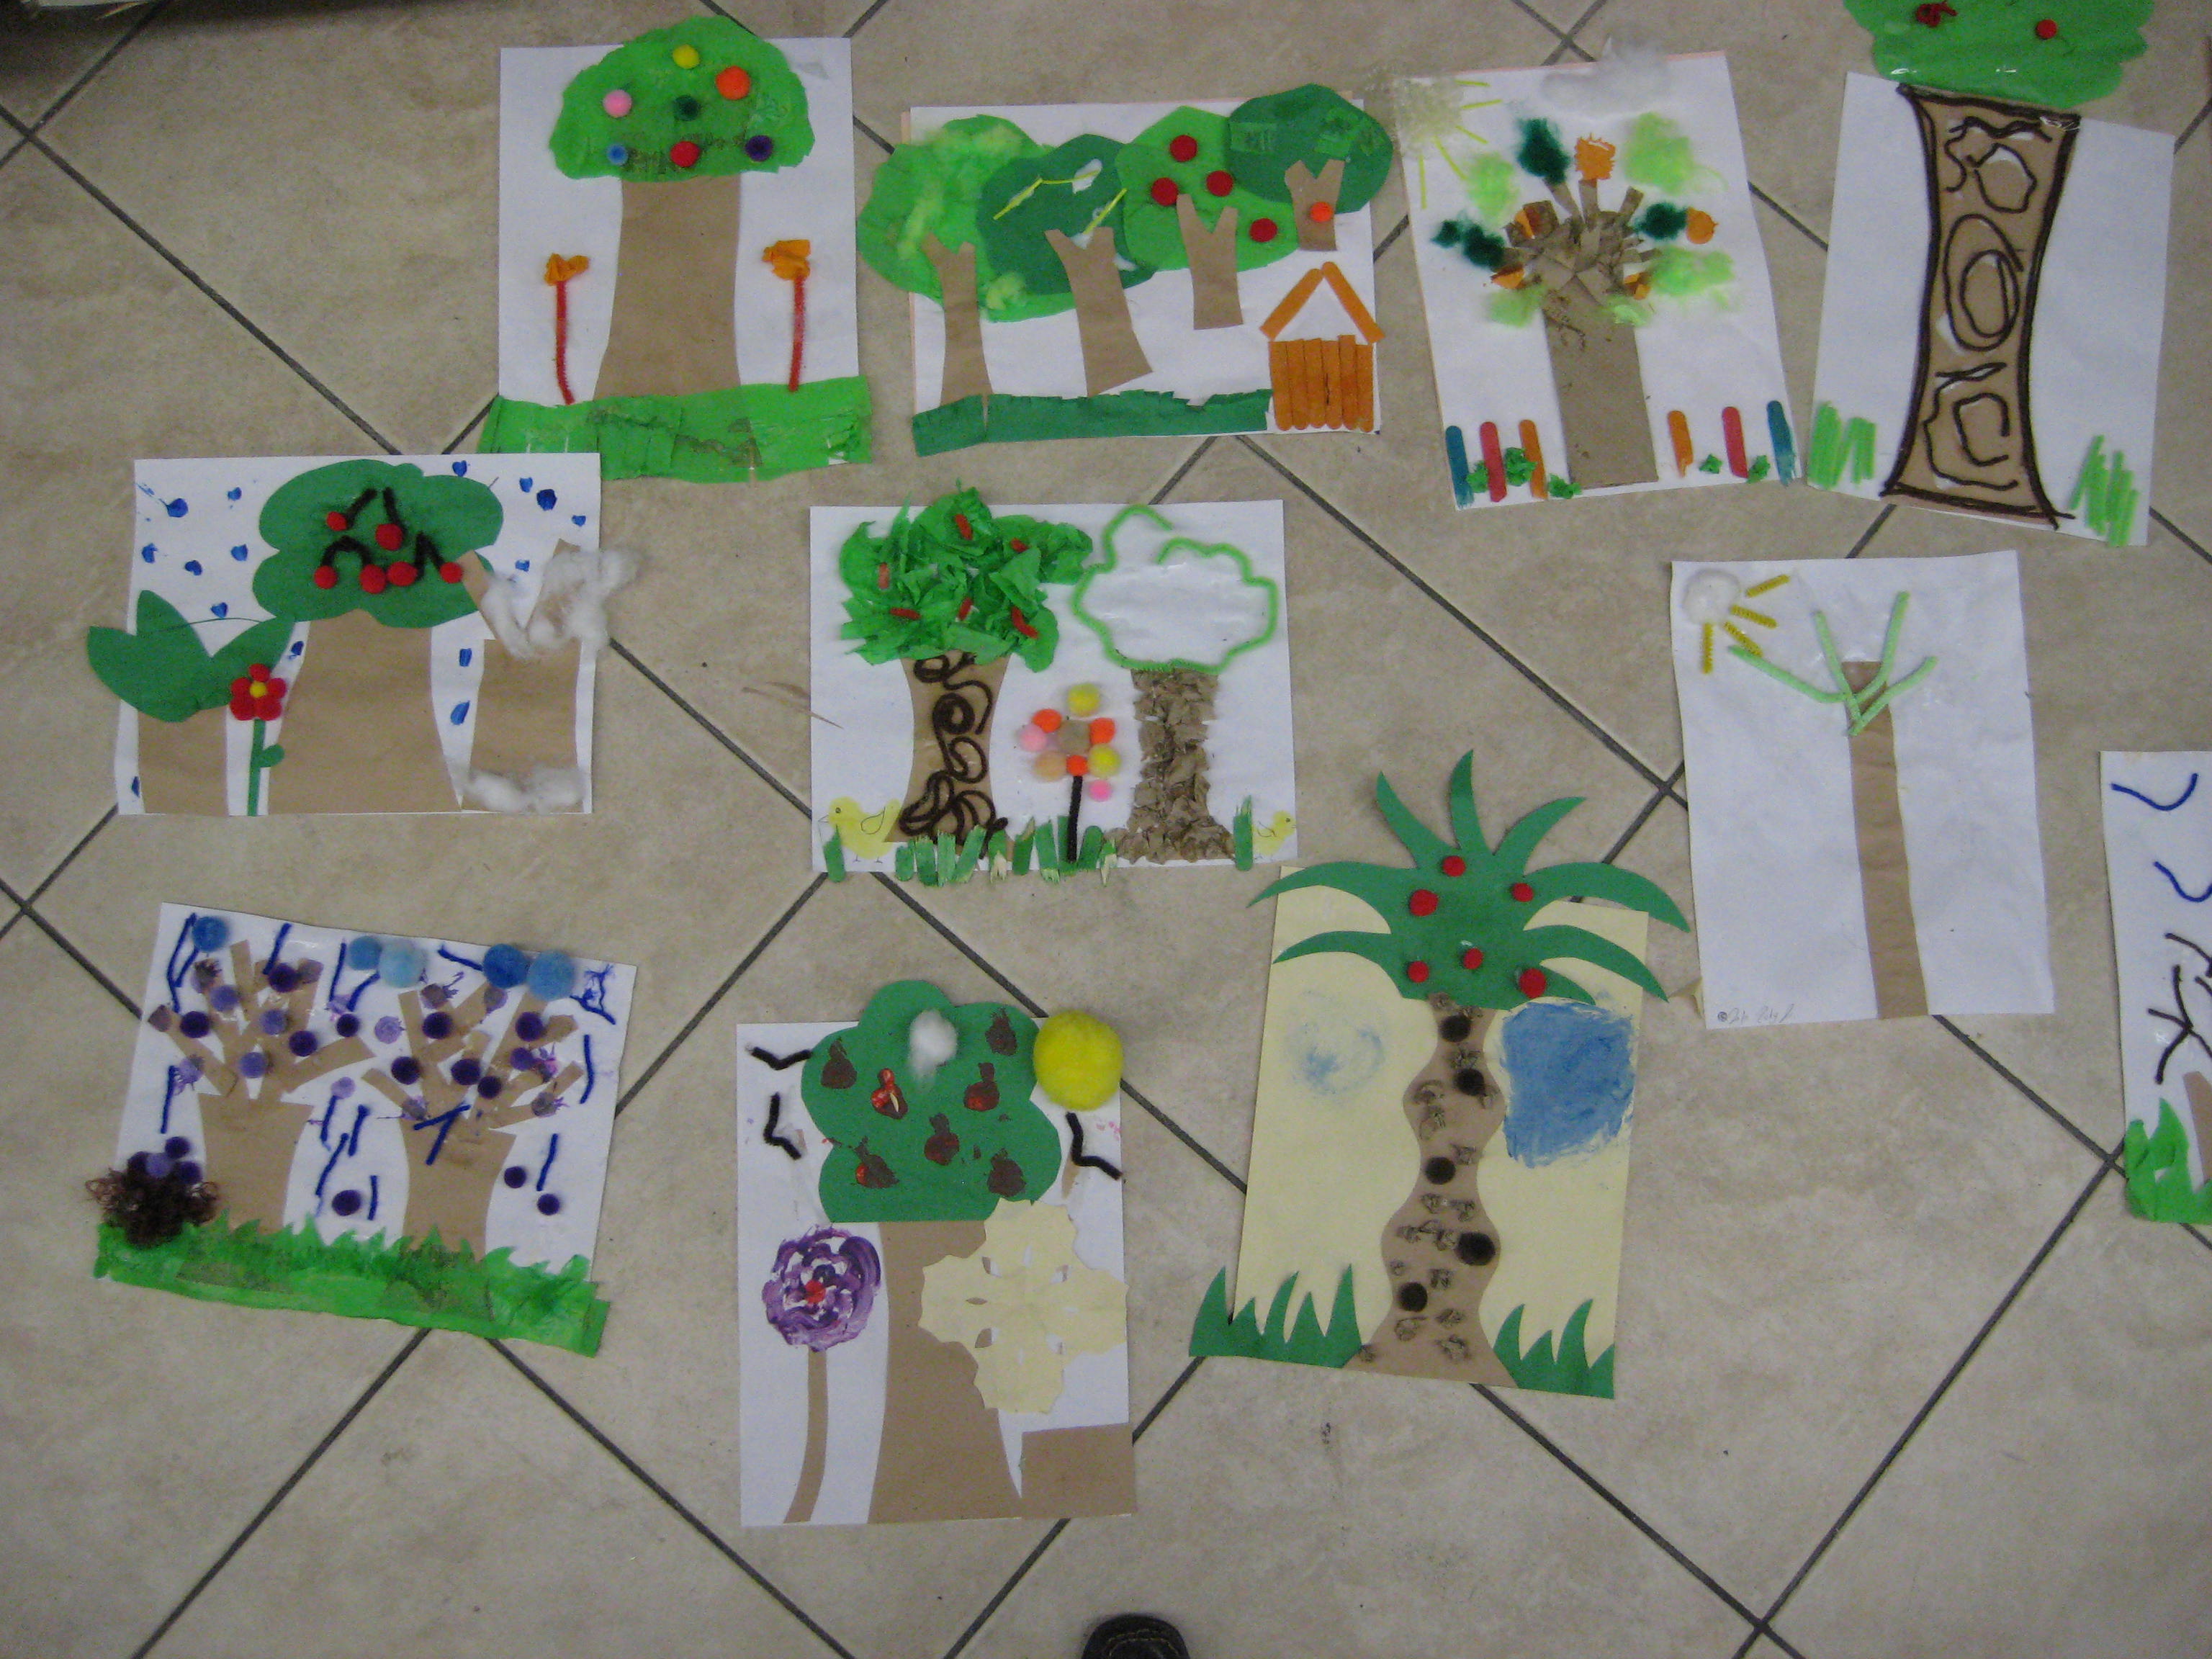
Of course, you need to have to have different expectations for different age children but, you can get an idea of what materials you can offer if you look closely at some of the pictures they created.
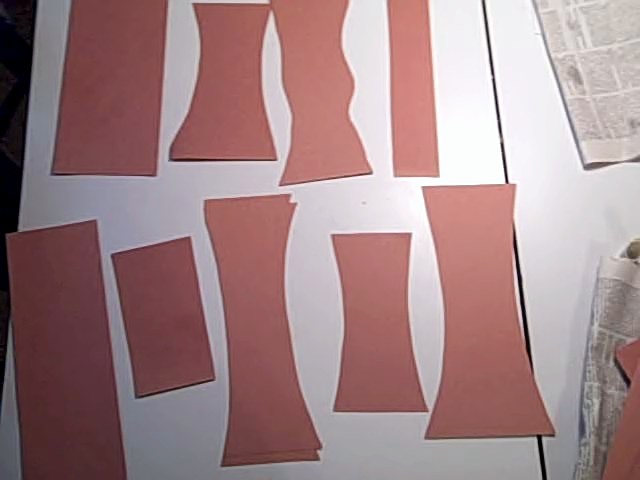
The next project (which is really the same idea as the first) was done as a fall project. You can see some of the materials I offered and obviously they are in fall colors. You need to make sure the children have scissors and glue available as well.
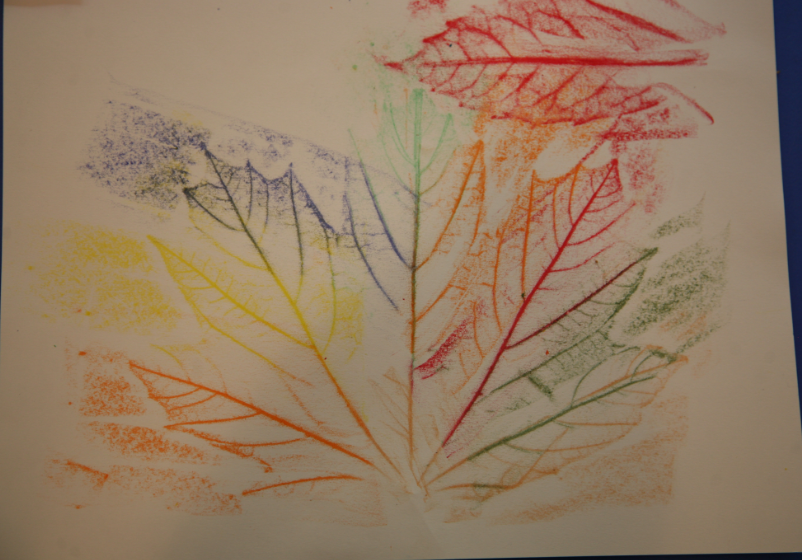
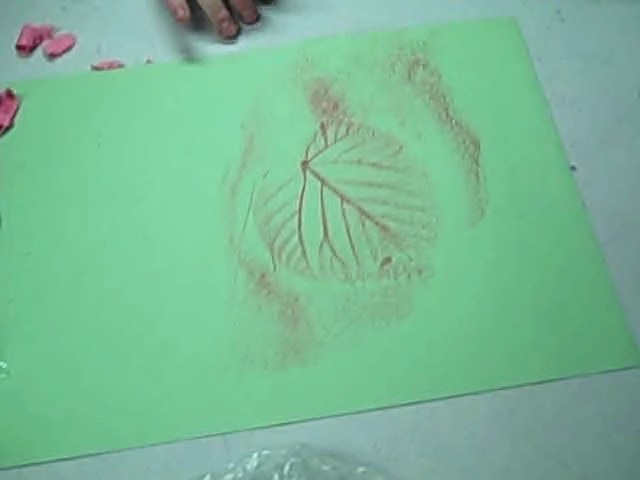
The next project used leaves for the children to make rubbings with. They placed the leaves under a piece of paper, vein side up and rubbed a crayon (without the paper on it) over the leaves. You can either leave it like this, framing it nicely or else they can cut them out and draw trees to glue them onto.
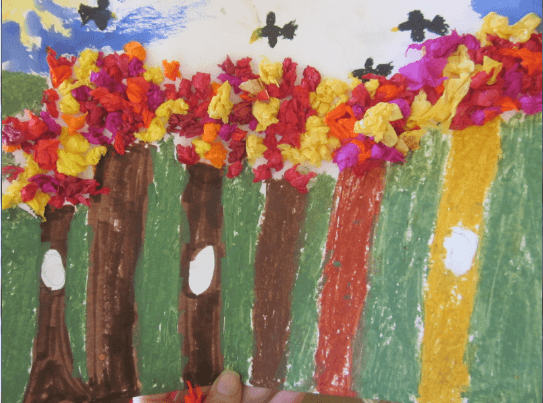
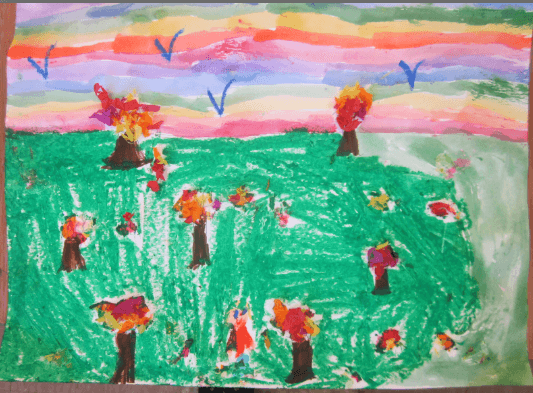
This project was another fall scene but, is a bit more sophisticated. The children had to create a horizon line, paint a sky whatever color they wanted their sky to be, draw trees (they learn that the higher up on the paper things are, the further away from us they are and smaller) and then they created their leaves with warm colored tissue paper.
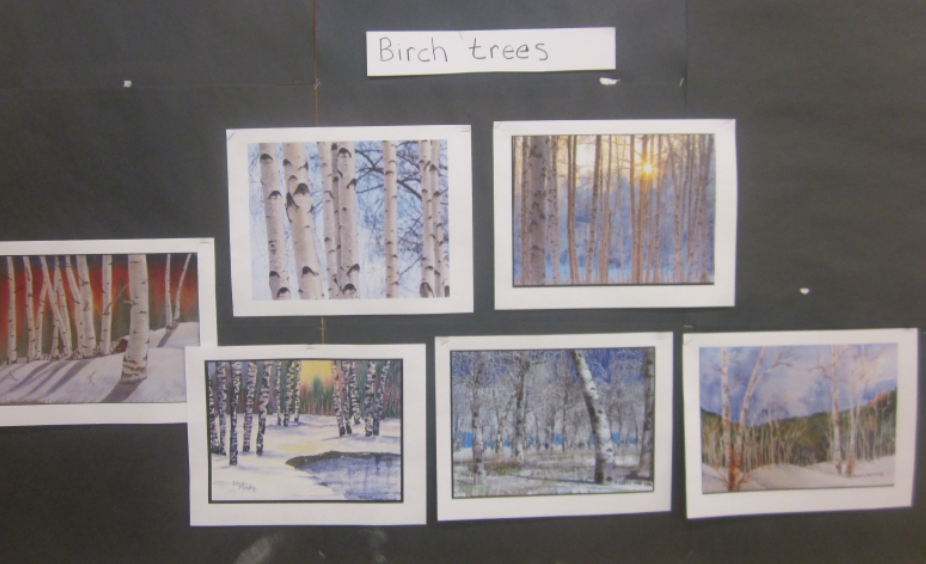
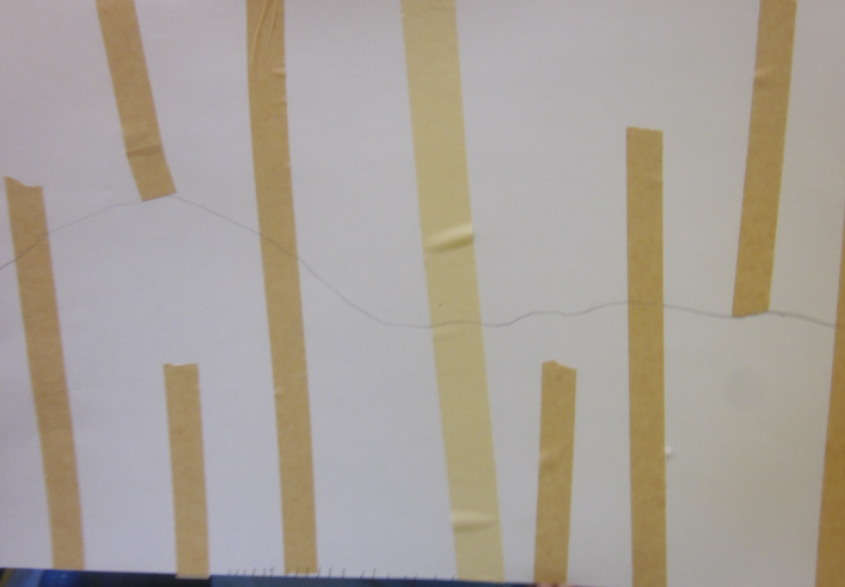
This project was winter birch trees without any leaves. There is a display of birch trees for the children to see what they look like.
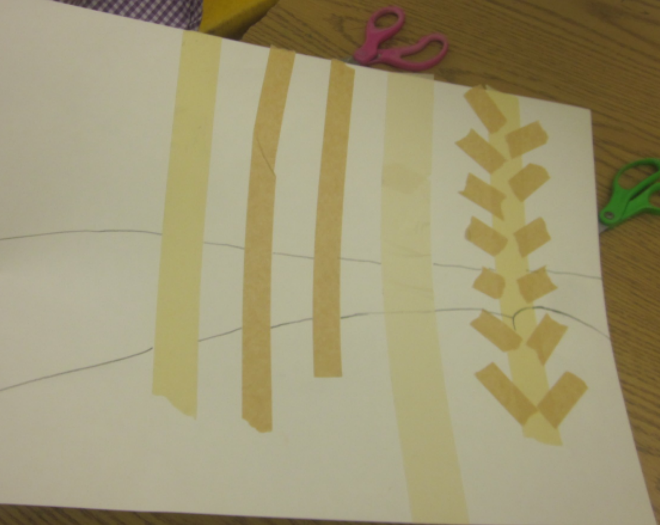
They were given a few widths of masking tape and told to create a number of trees. You can see some of the faint pencil lines the children created for their horizon lines. Some will add other branches or other decorative pieces which is fine.
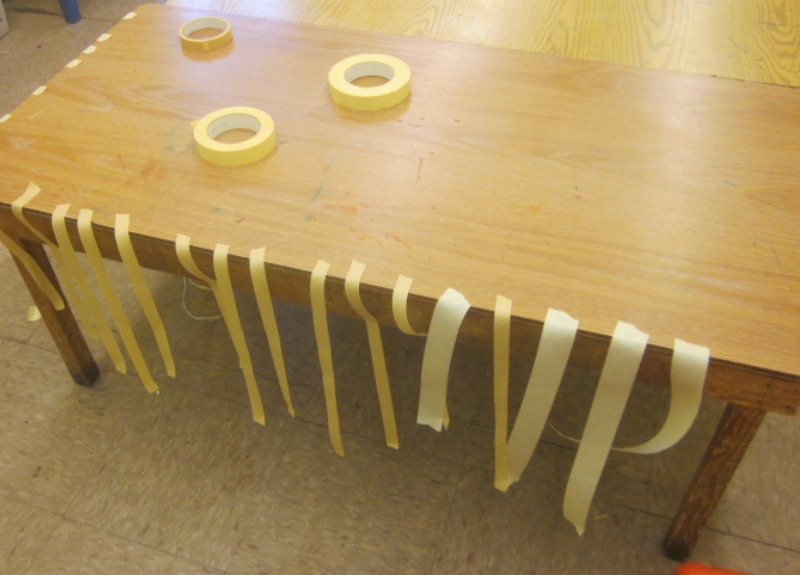
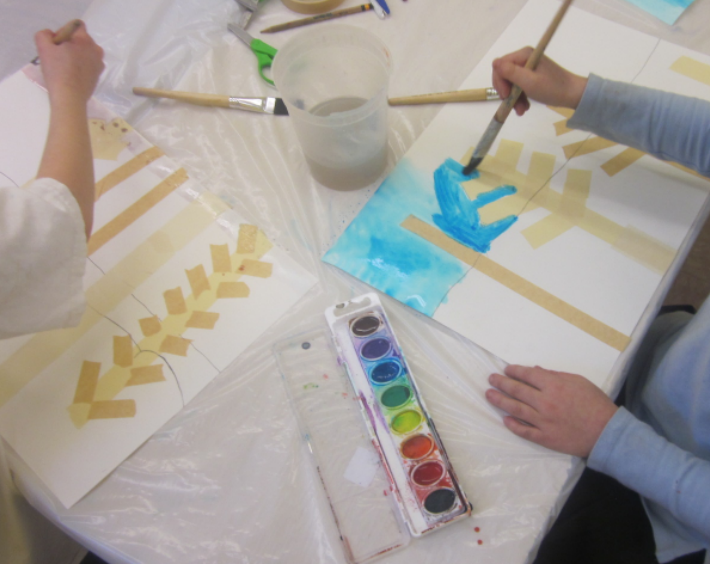
After the tape was on, they painted over the whole picture with watercolors. More mature children will make sure that they paint the sky differently than the ground. After the paint dries they carefully pull off the tape.

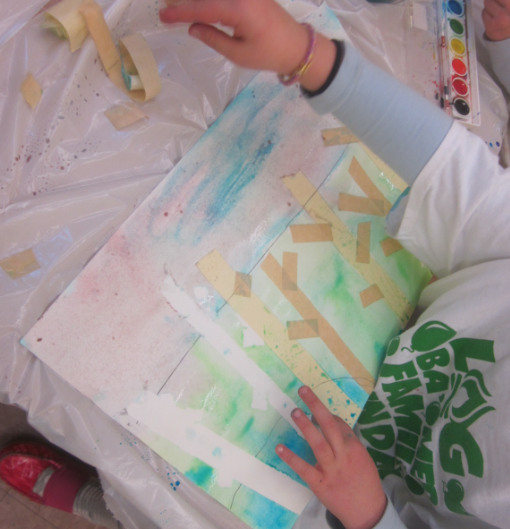
There is a warning here though: At times when you pull of the tape some of the paper comes with it. So one trick is to have the children put the tape on their clothing for a second before pasting it down as sometimes it makes it less sticky. Another thing is to hold the paper next to the tape when they pull it off.
If some of the paper does rip, it can be glued down when totally dry.
The children can also add embellishments with markers or oil pastels to their scenes if they'd like.
