St. Patrick's Day crafts often revolve around shamrocks, and I decided to give this iconic symbol a creative twist. While many holiday crafts lean toward cookie-cutter templates, I always look for ways to turn them into process-focused activities that allow kids to express their creativity.
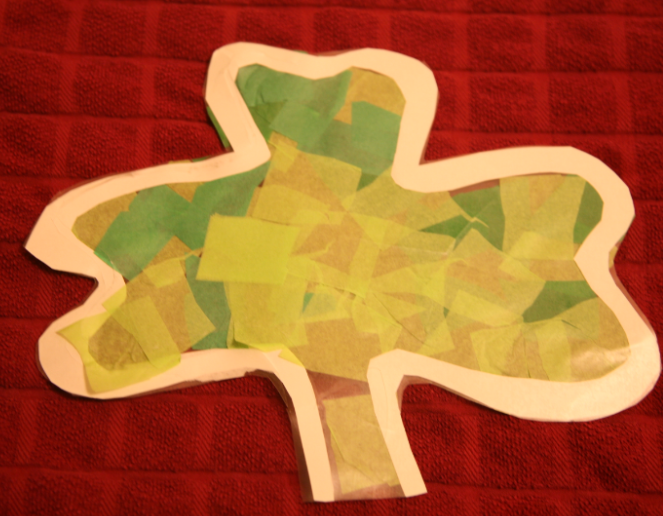
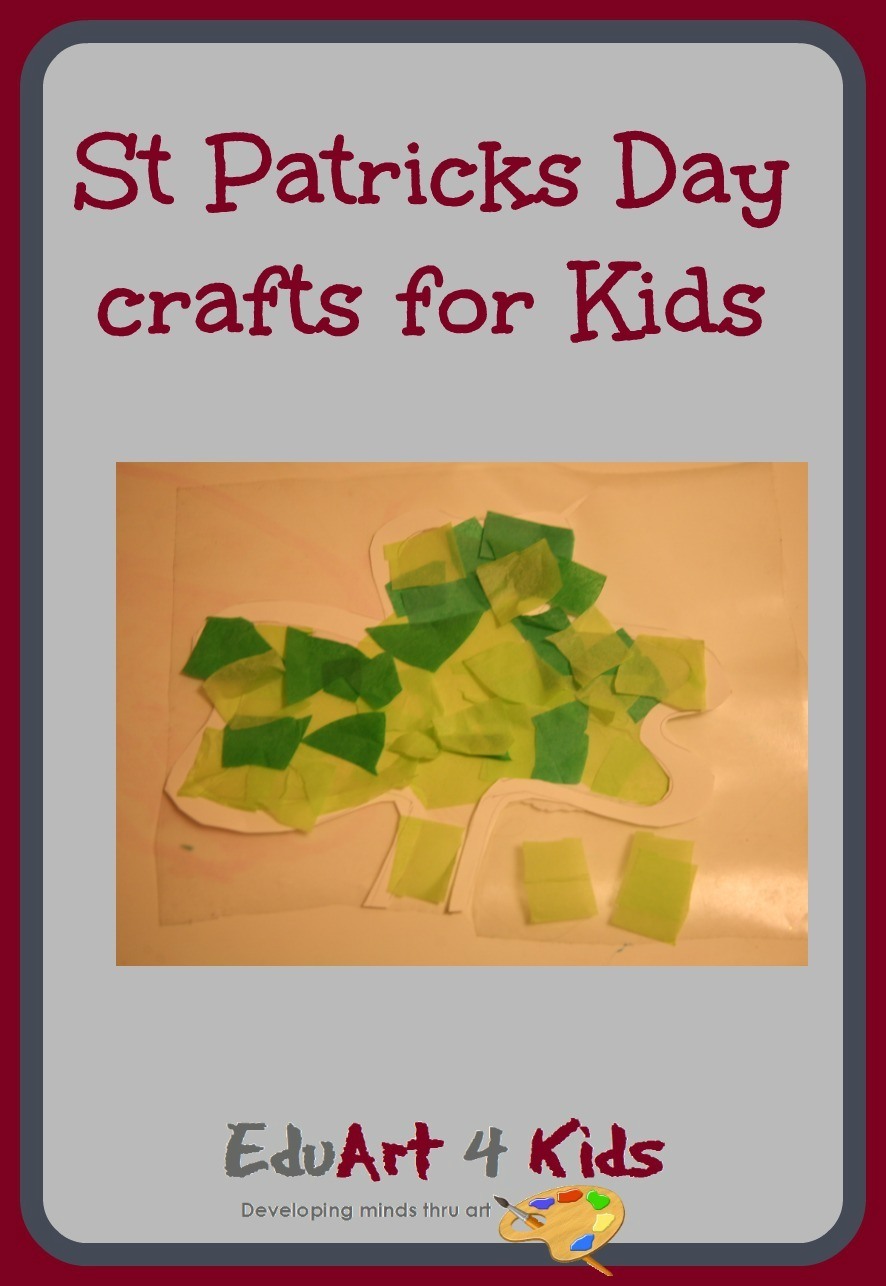
One fun project involved making colorful shamrock window decorations.
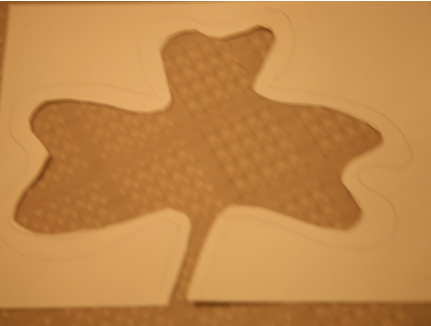
I started by creating a simple shamrock frame from sturdy paper.
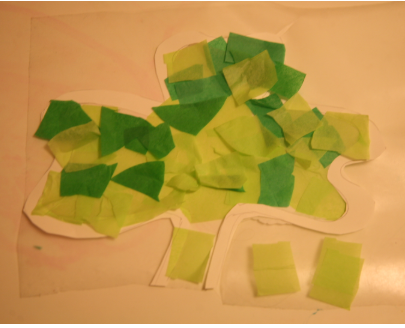
Instead of dictating how the kids should decorate, I handed them different shades of green tissue paper and let their imaginations take over. The sticky surface of clear contact paper made it easy for them to arrange the pieces however they liked. The finished shamrocks looked beautiful hanging in the window, catching the light in a colorful display.
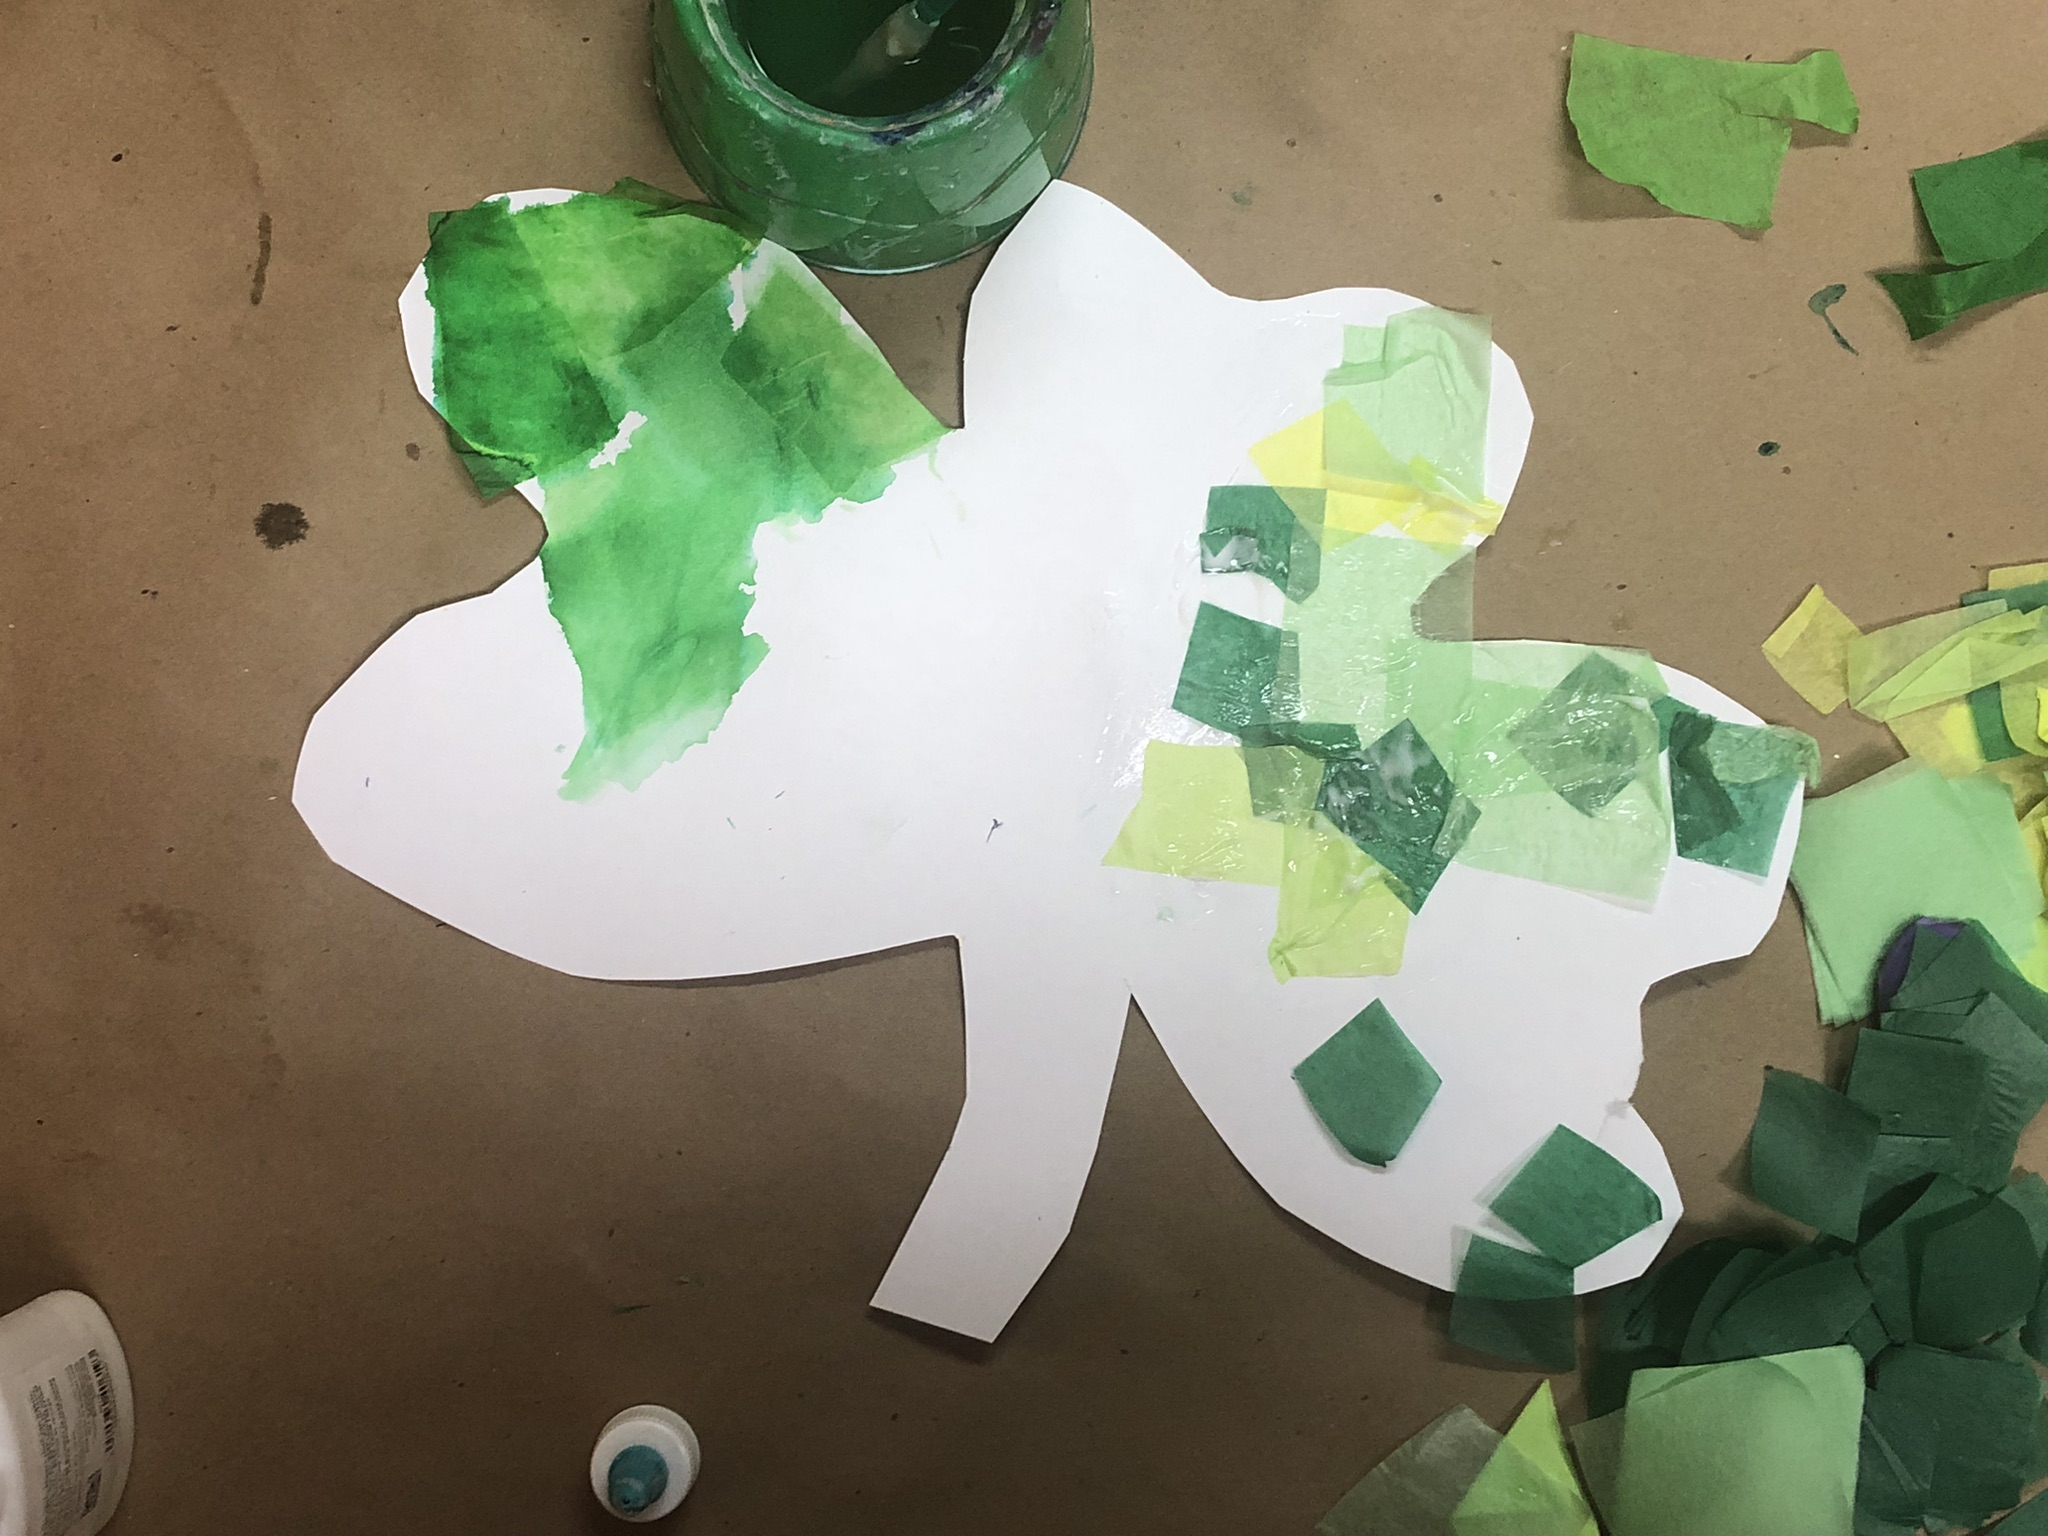
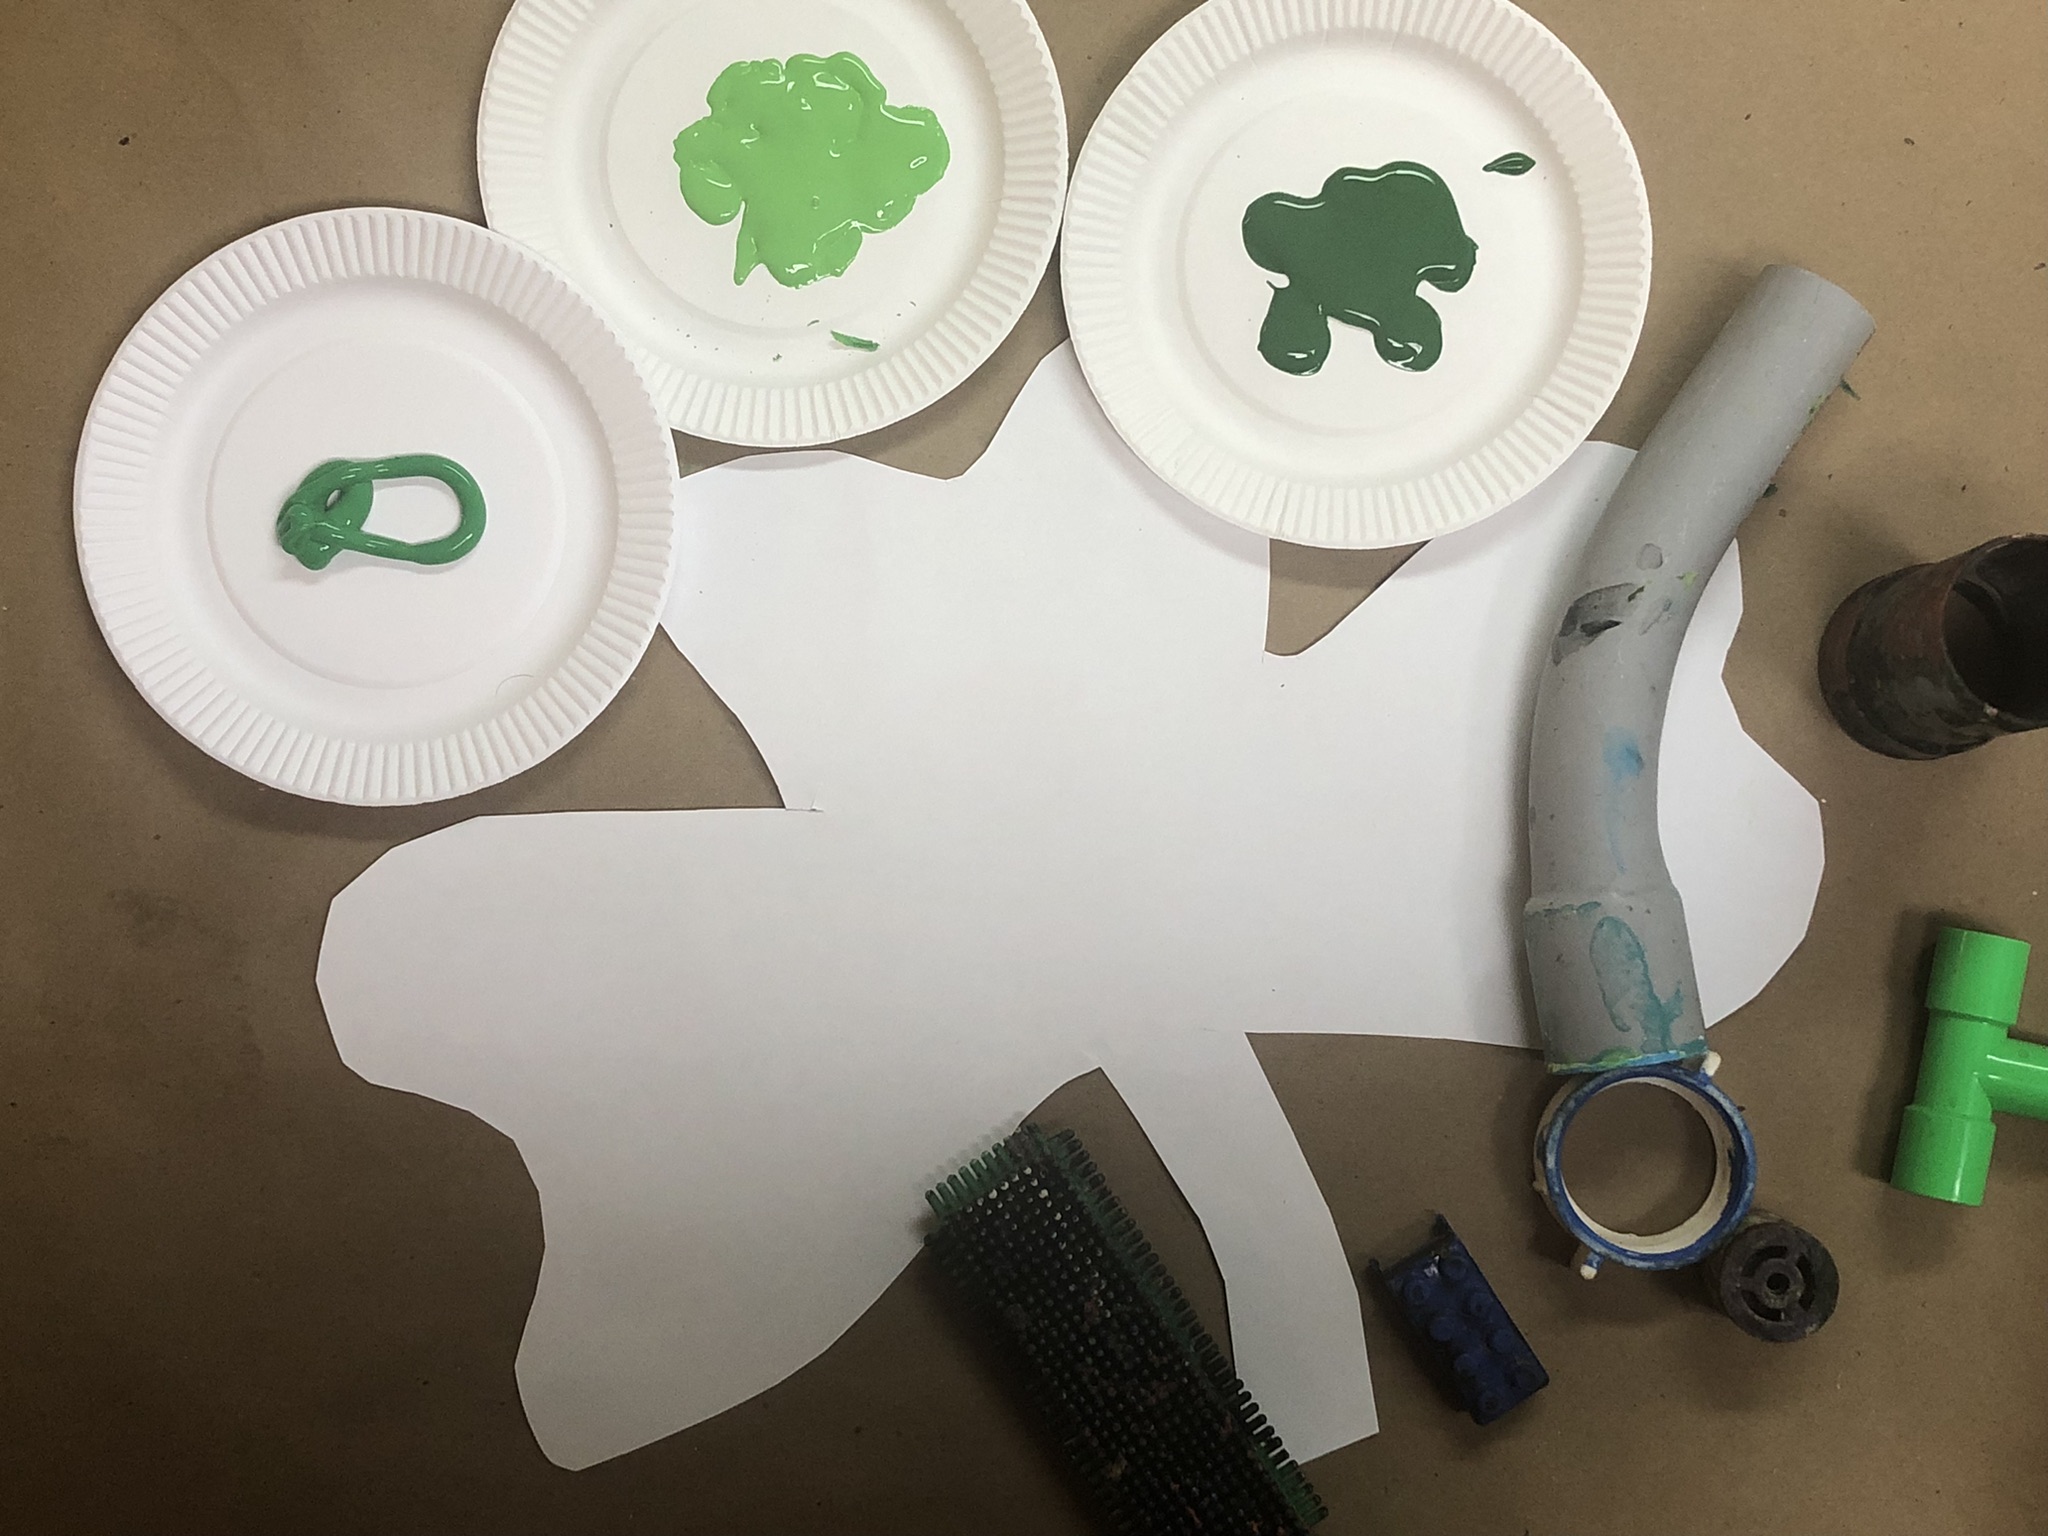
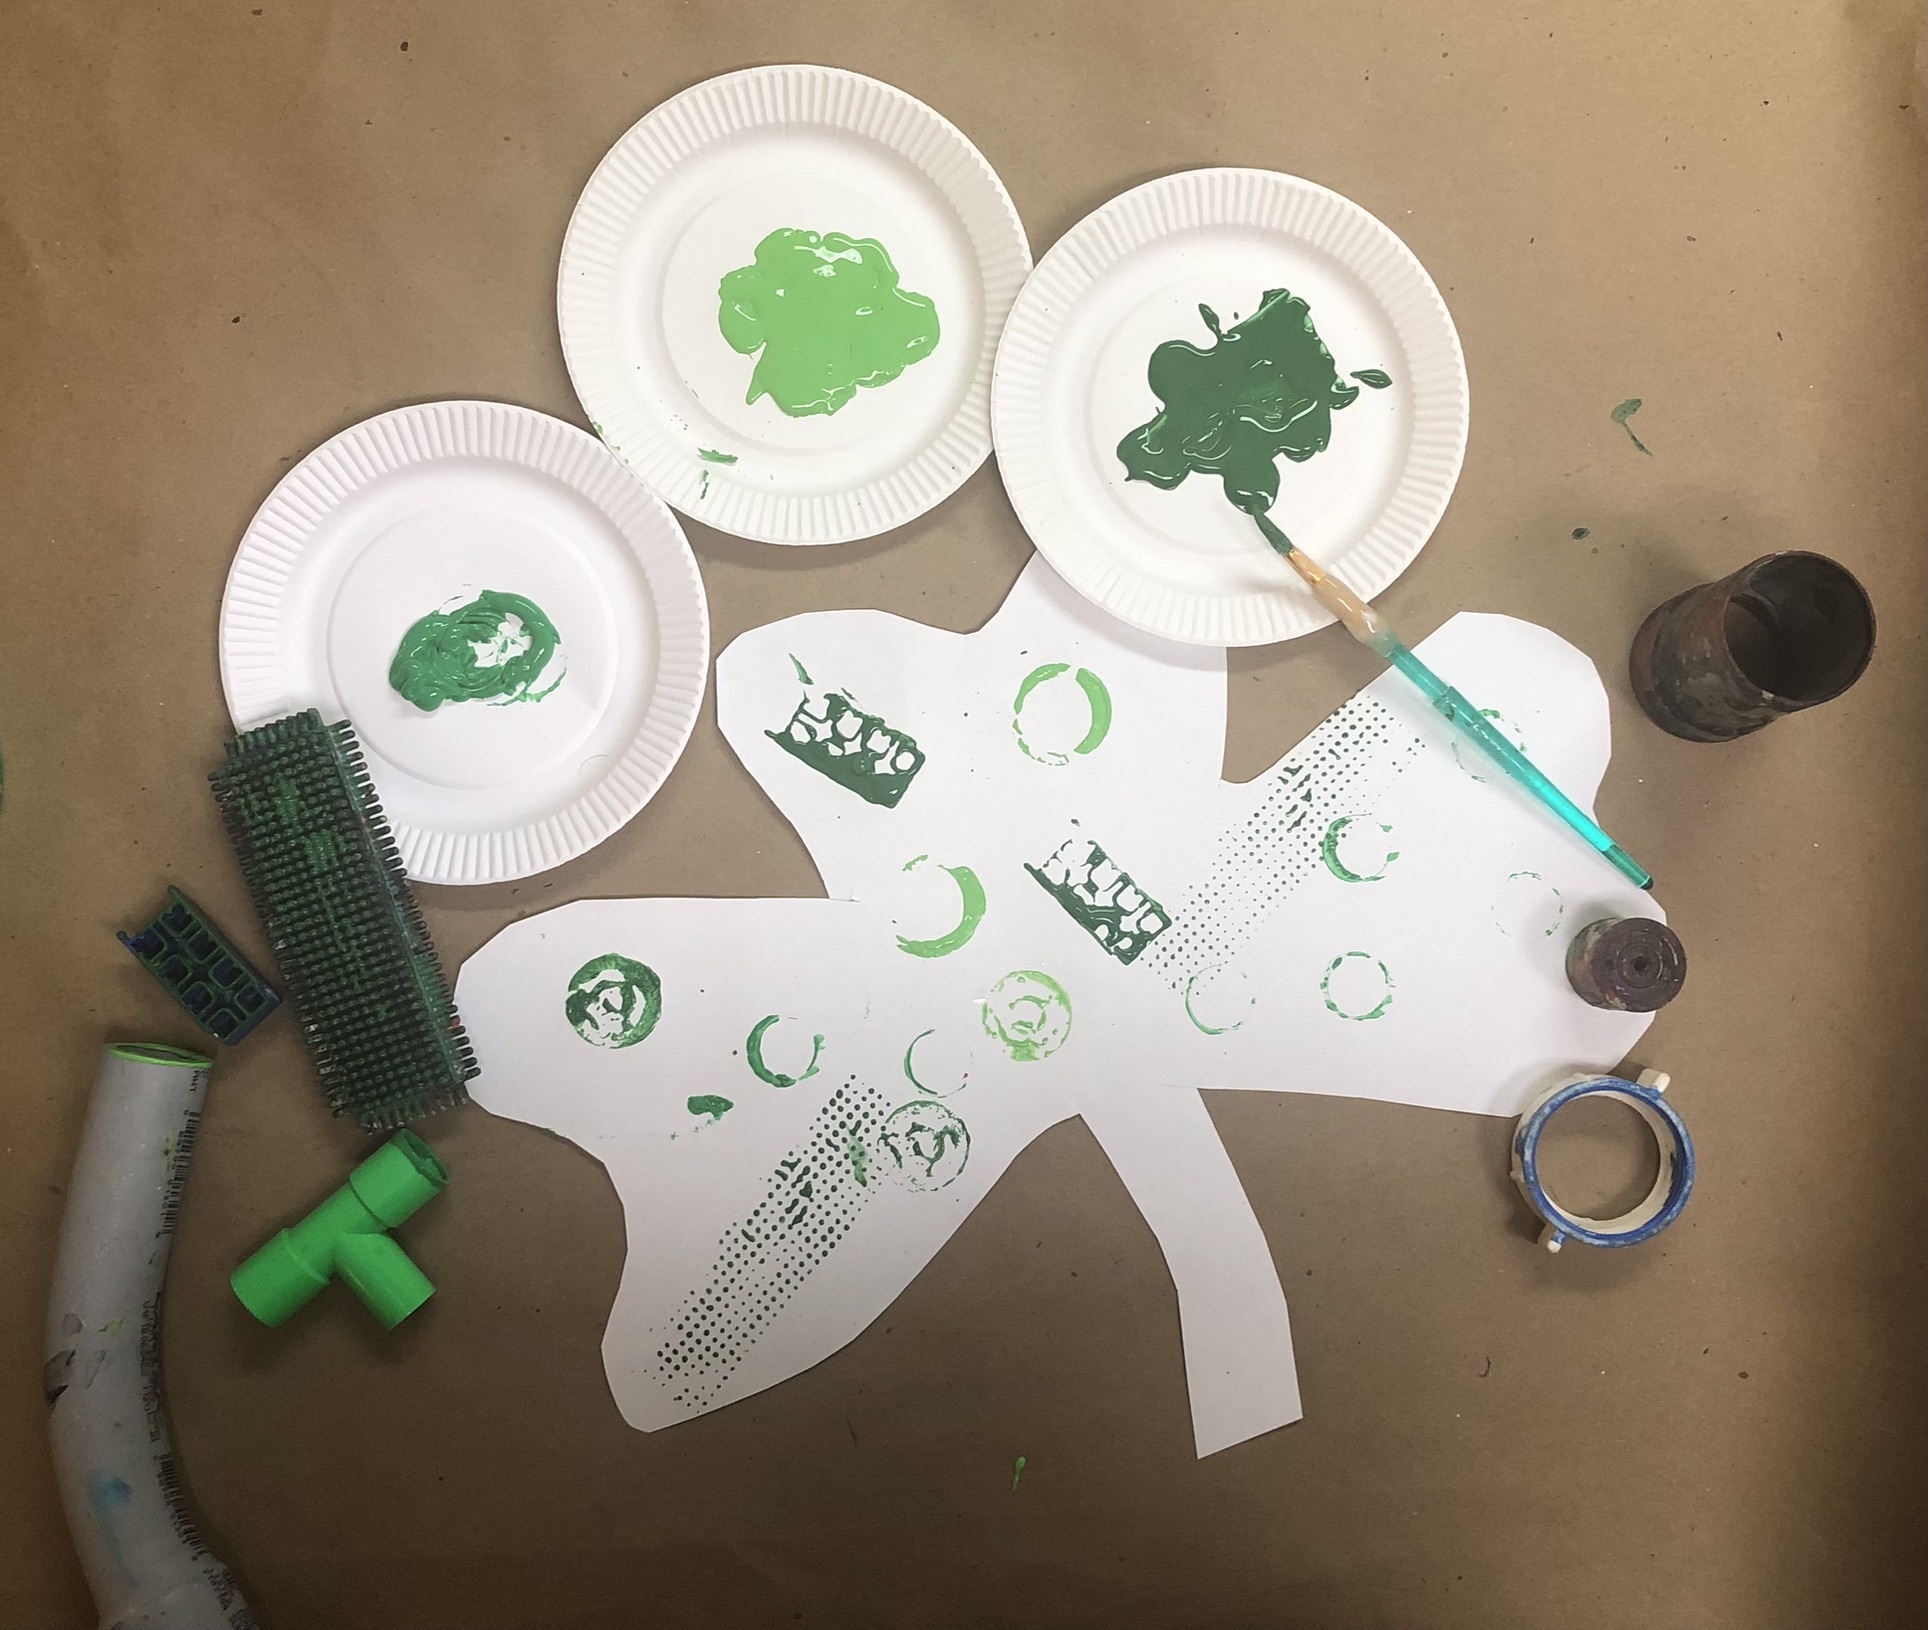
At another point I had the children use a template of a shamrock to do some process art only activities on them.
The first one used tissue paper. We used bleeding tissue paper to tie the template green and then we used regular green shades of tissue paper to glue on top of the shamrock
The second activity was printmaking with found objects onto the shamrock of course using different shades of green.
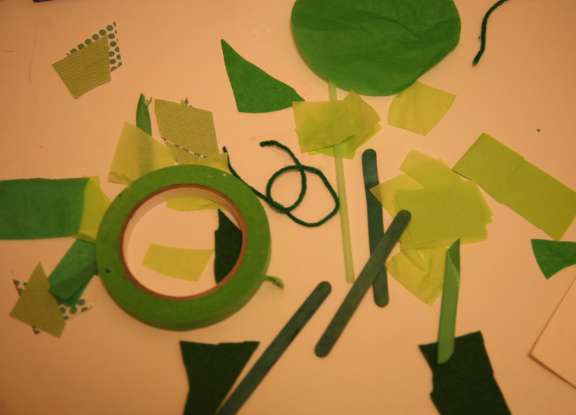
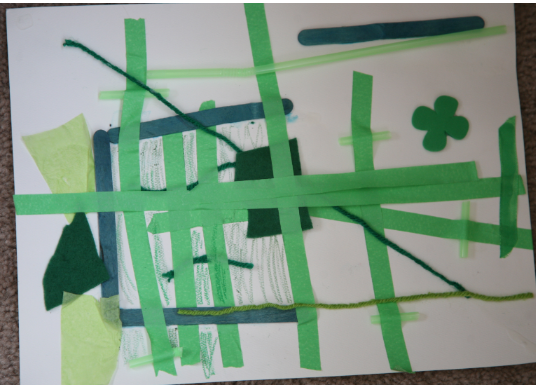
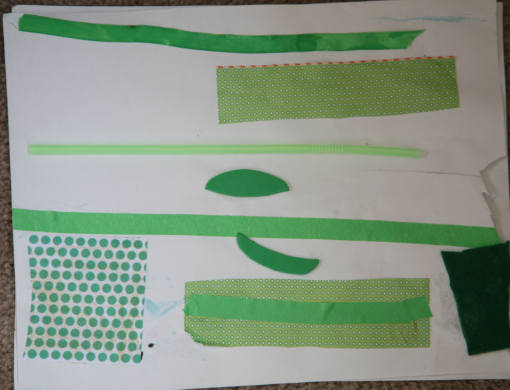
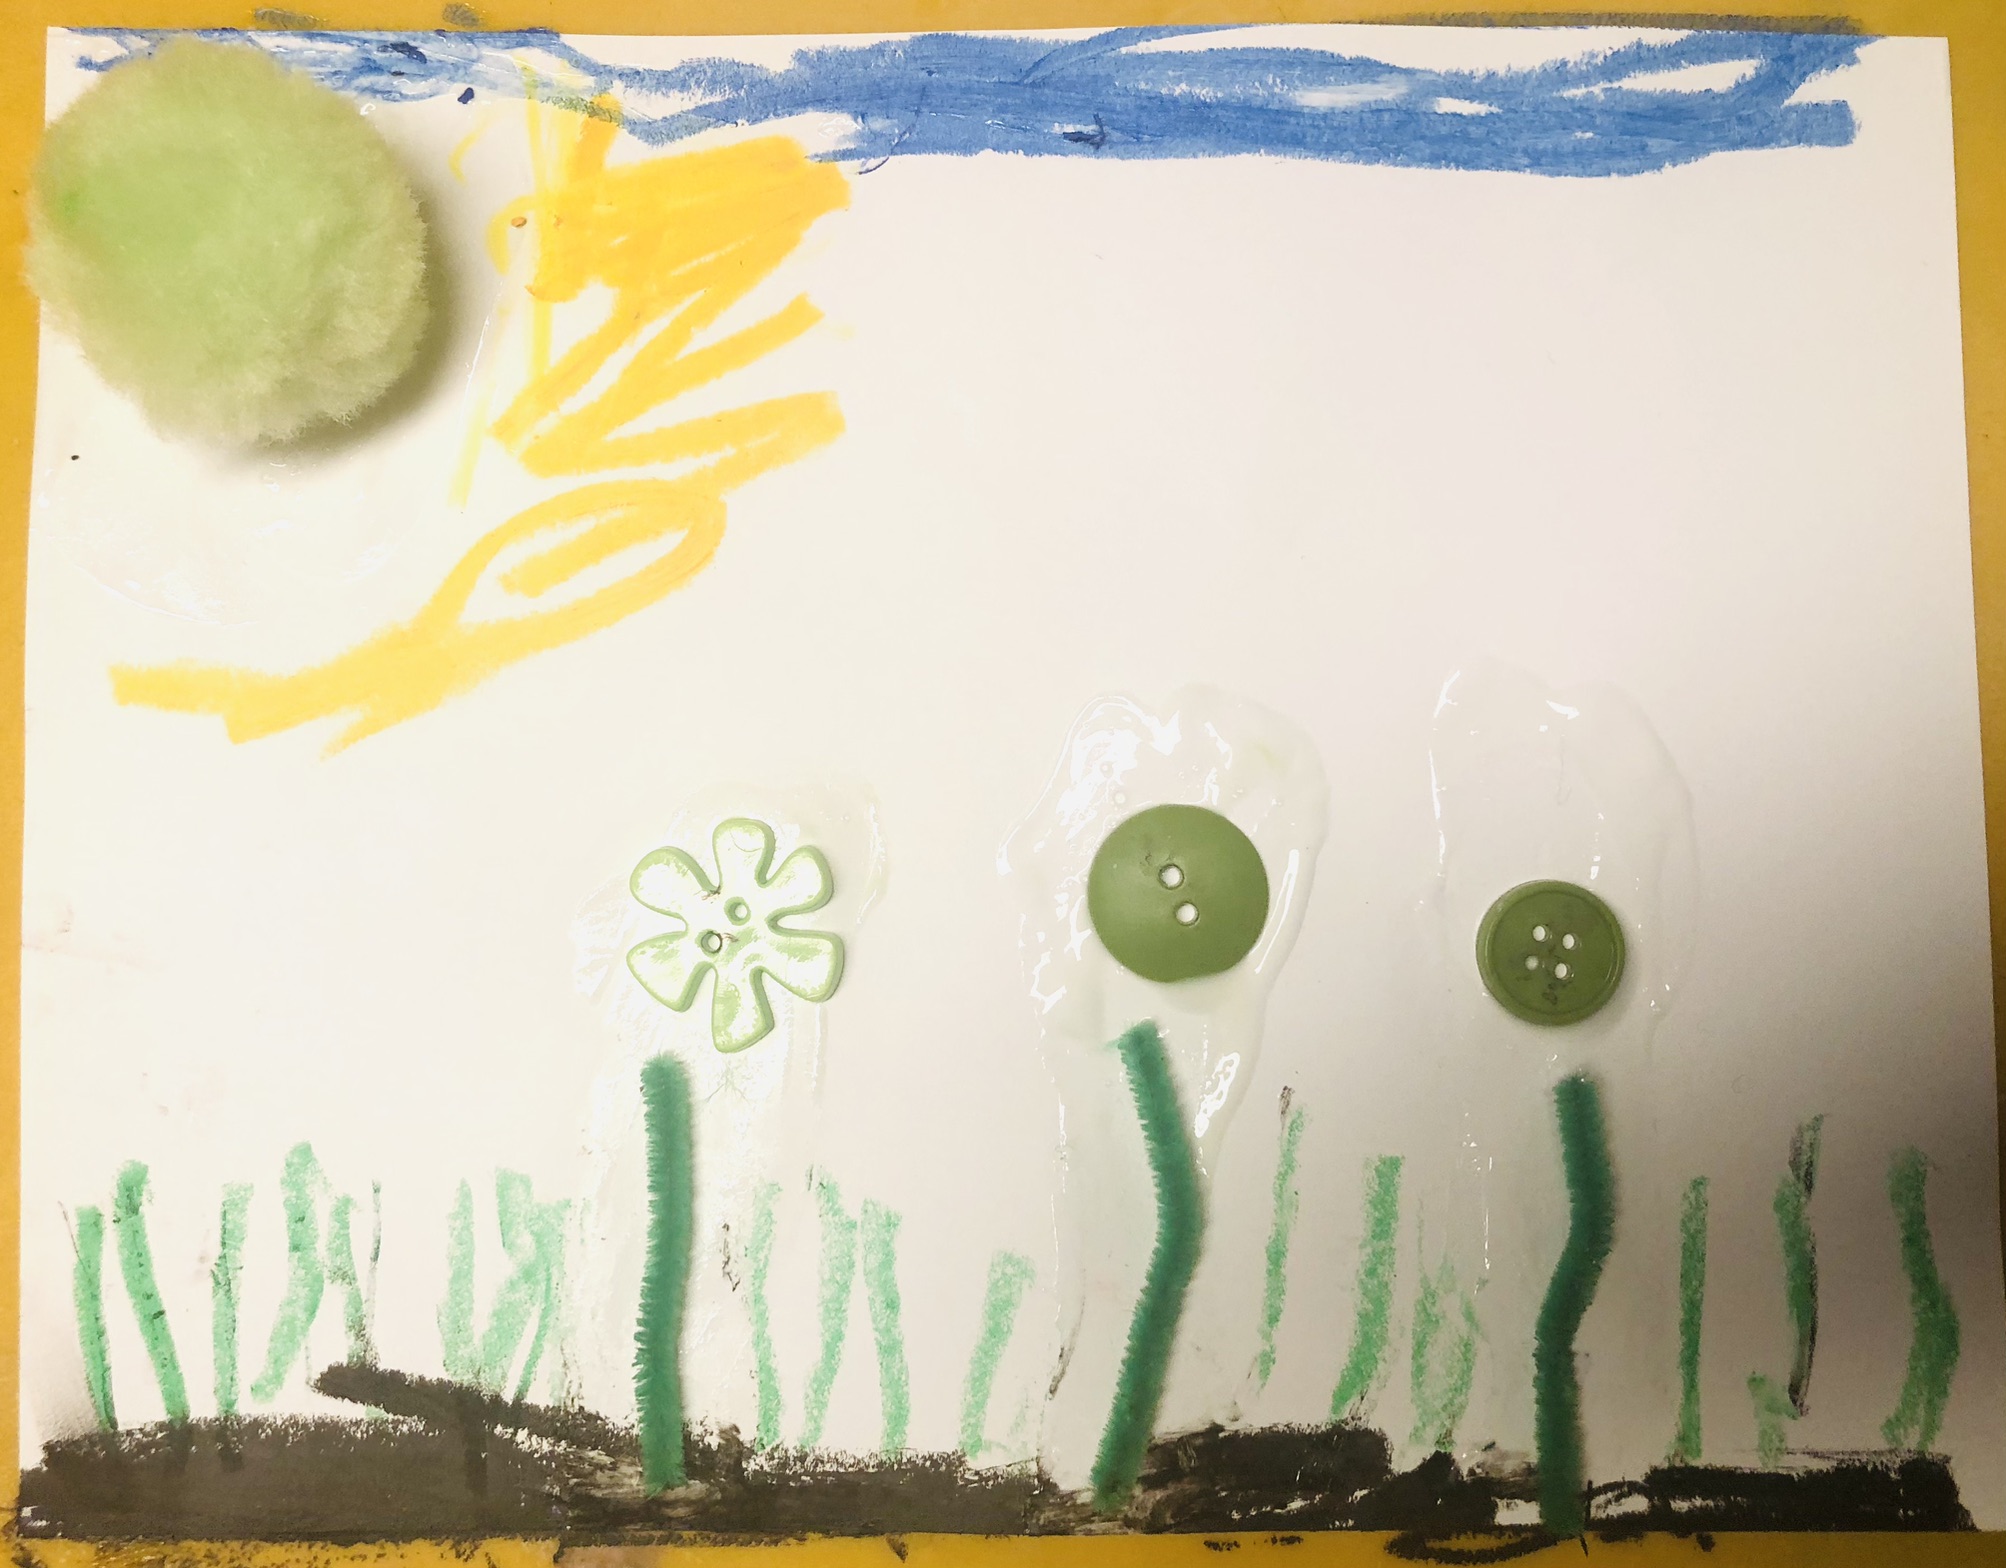
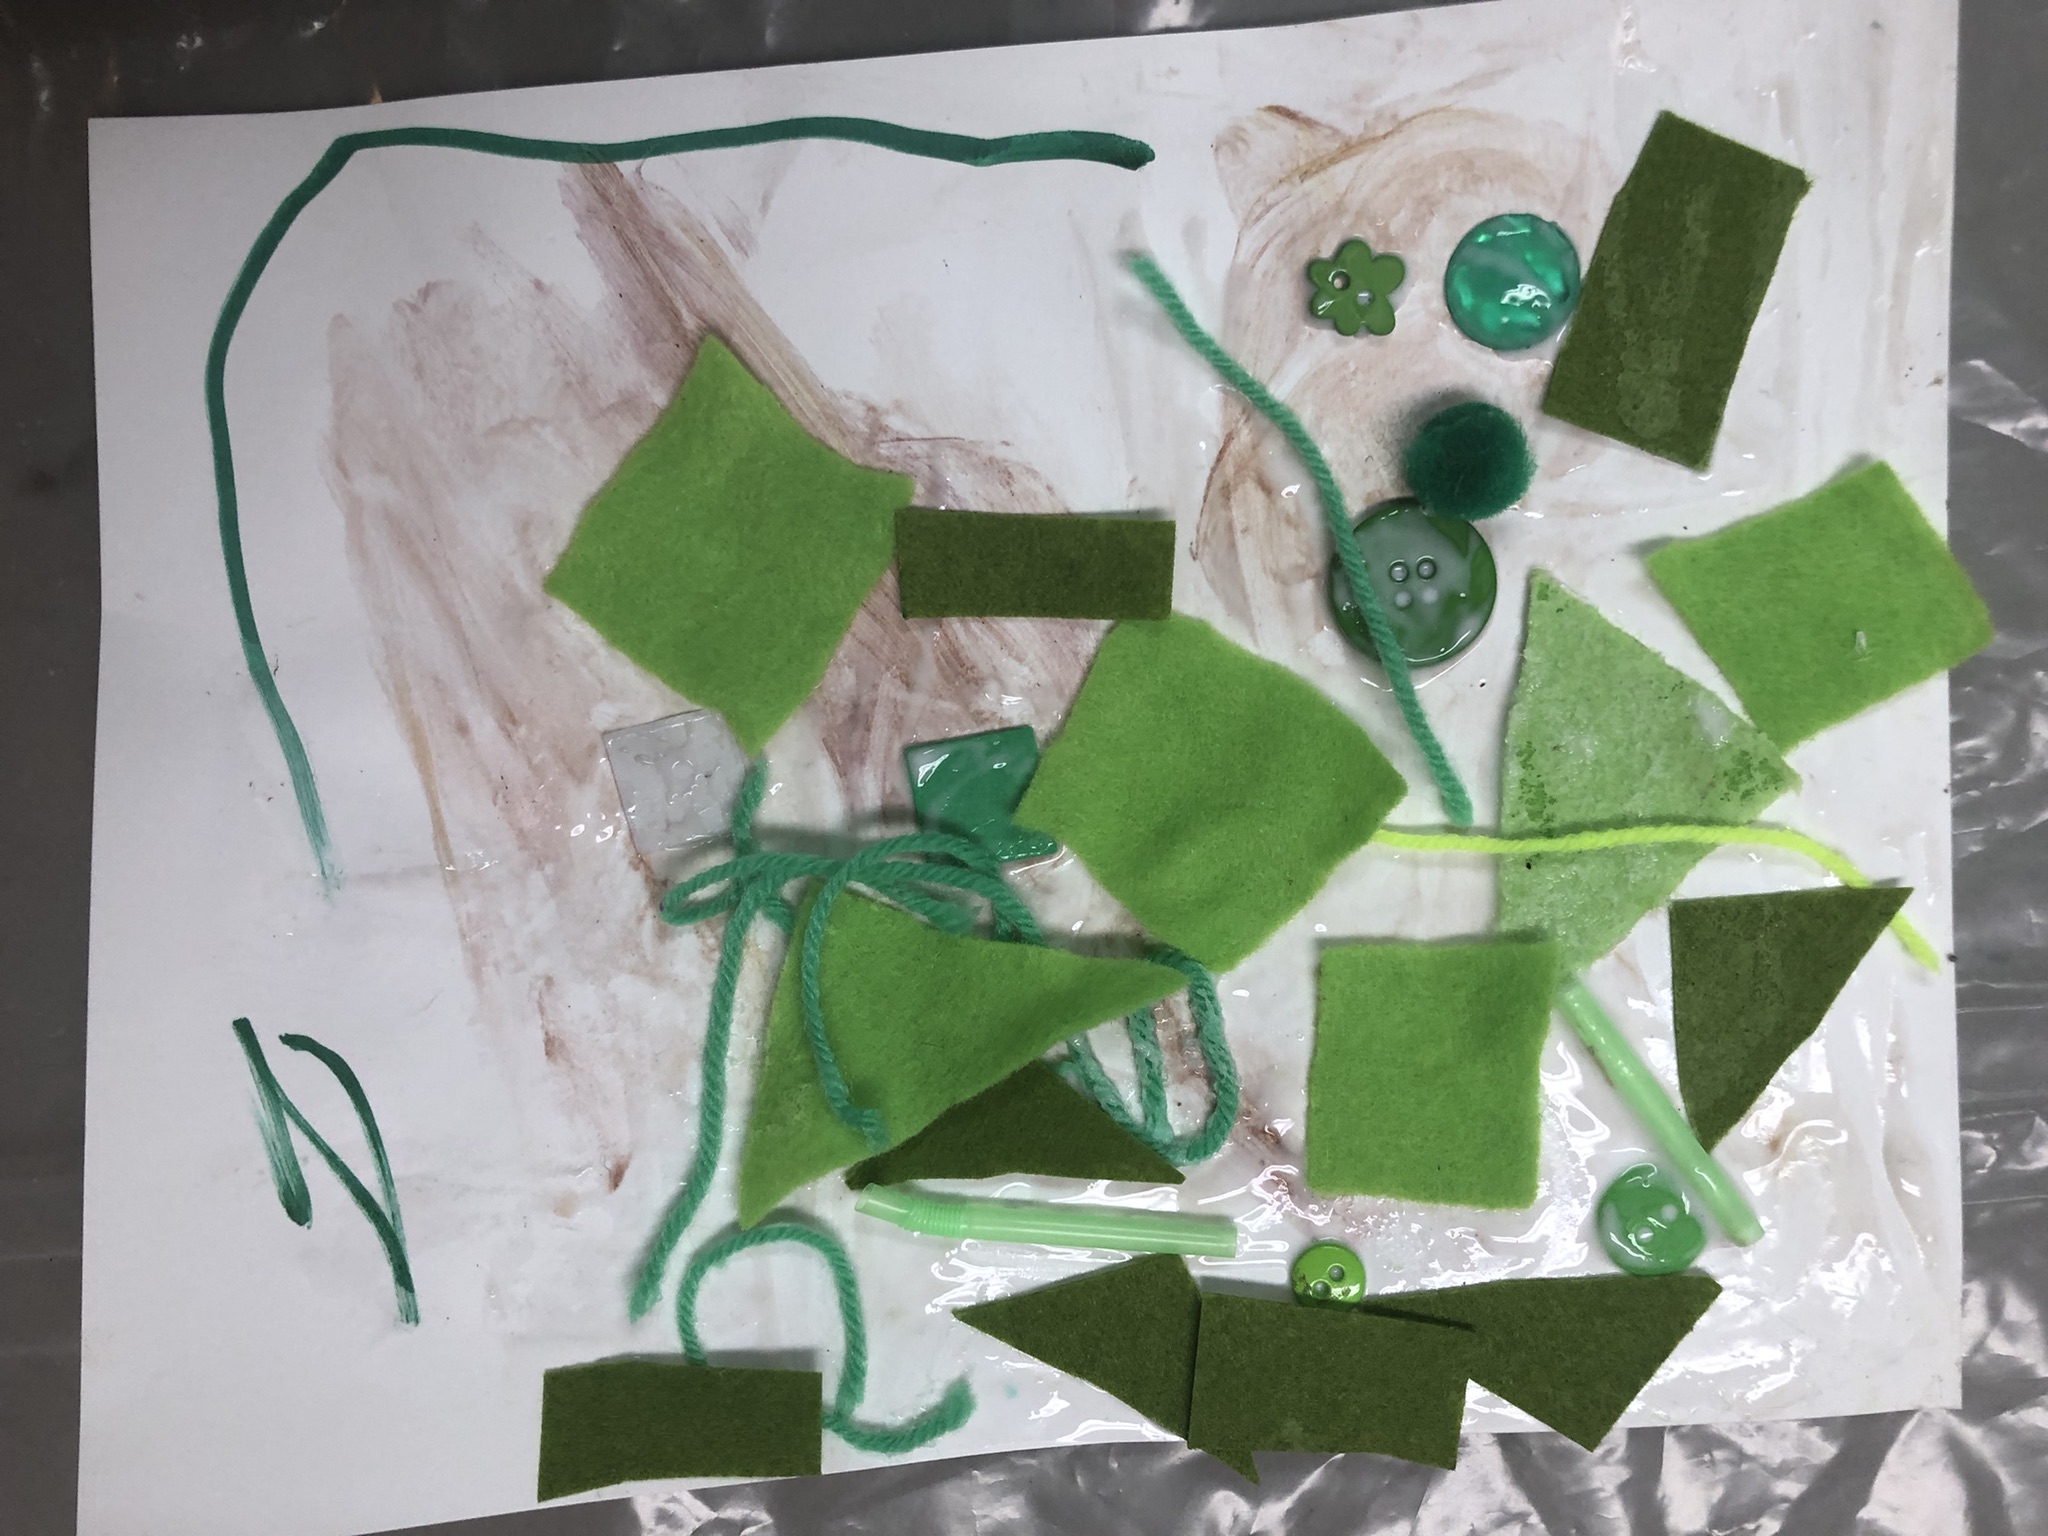
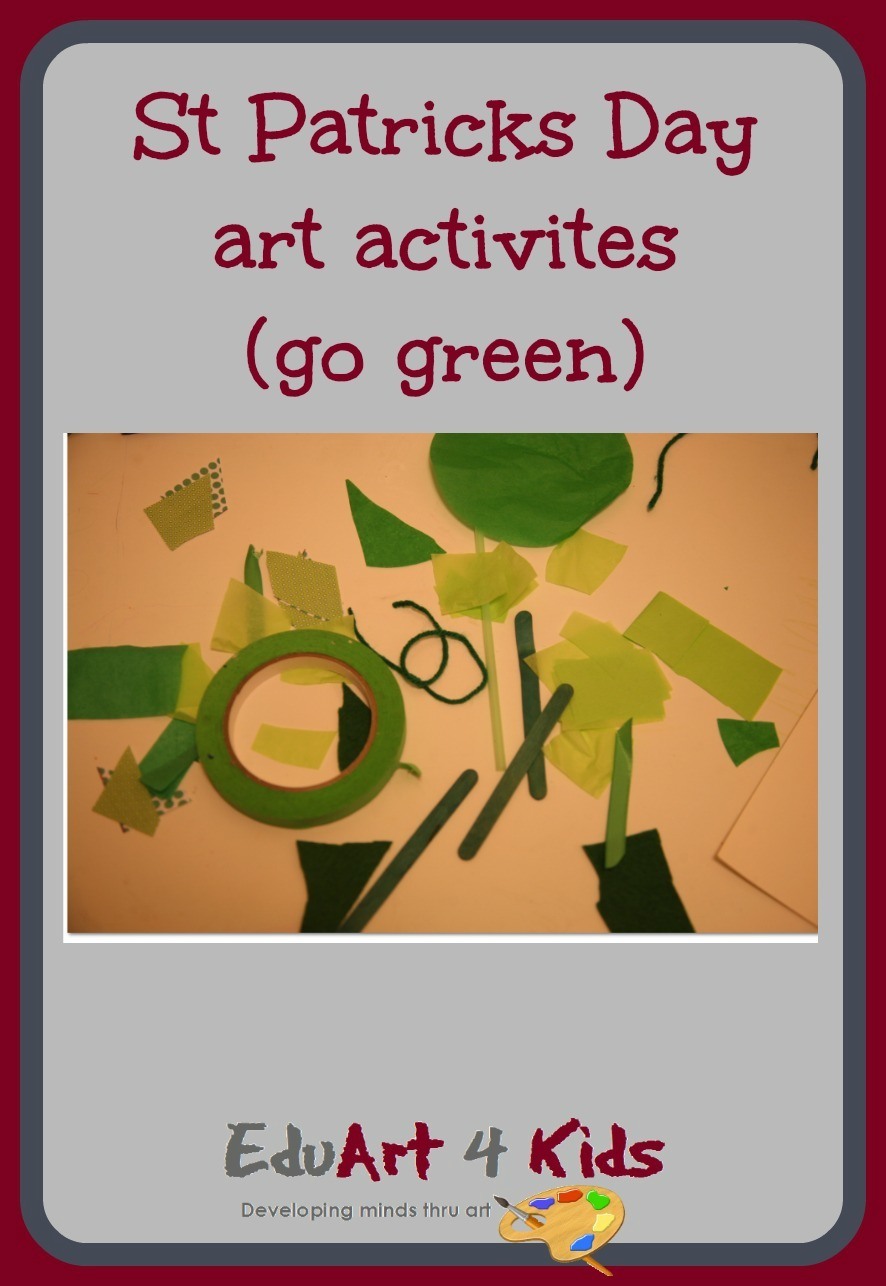
We also made vibrant green collages—simple but engaging. I gathered an assortment of green materials, from paper scraps to textured fabrics and shiny bits, and laid them out for the kids to explore. Some kids went for a more random approach, while others carefully arranged their pieces into patterns. No two collages were alike, and that’s the magic of process art.
Below are two images of different materials I offered on two different times.
Each of the two images shows collages made at these two different times.
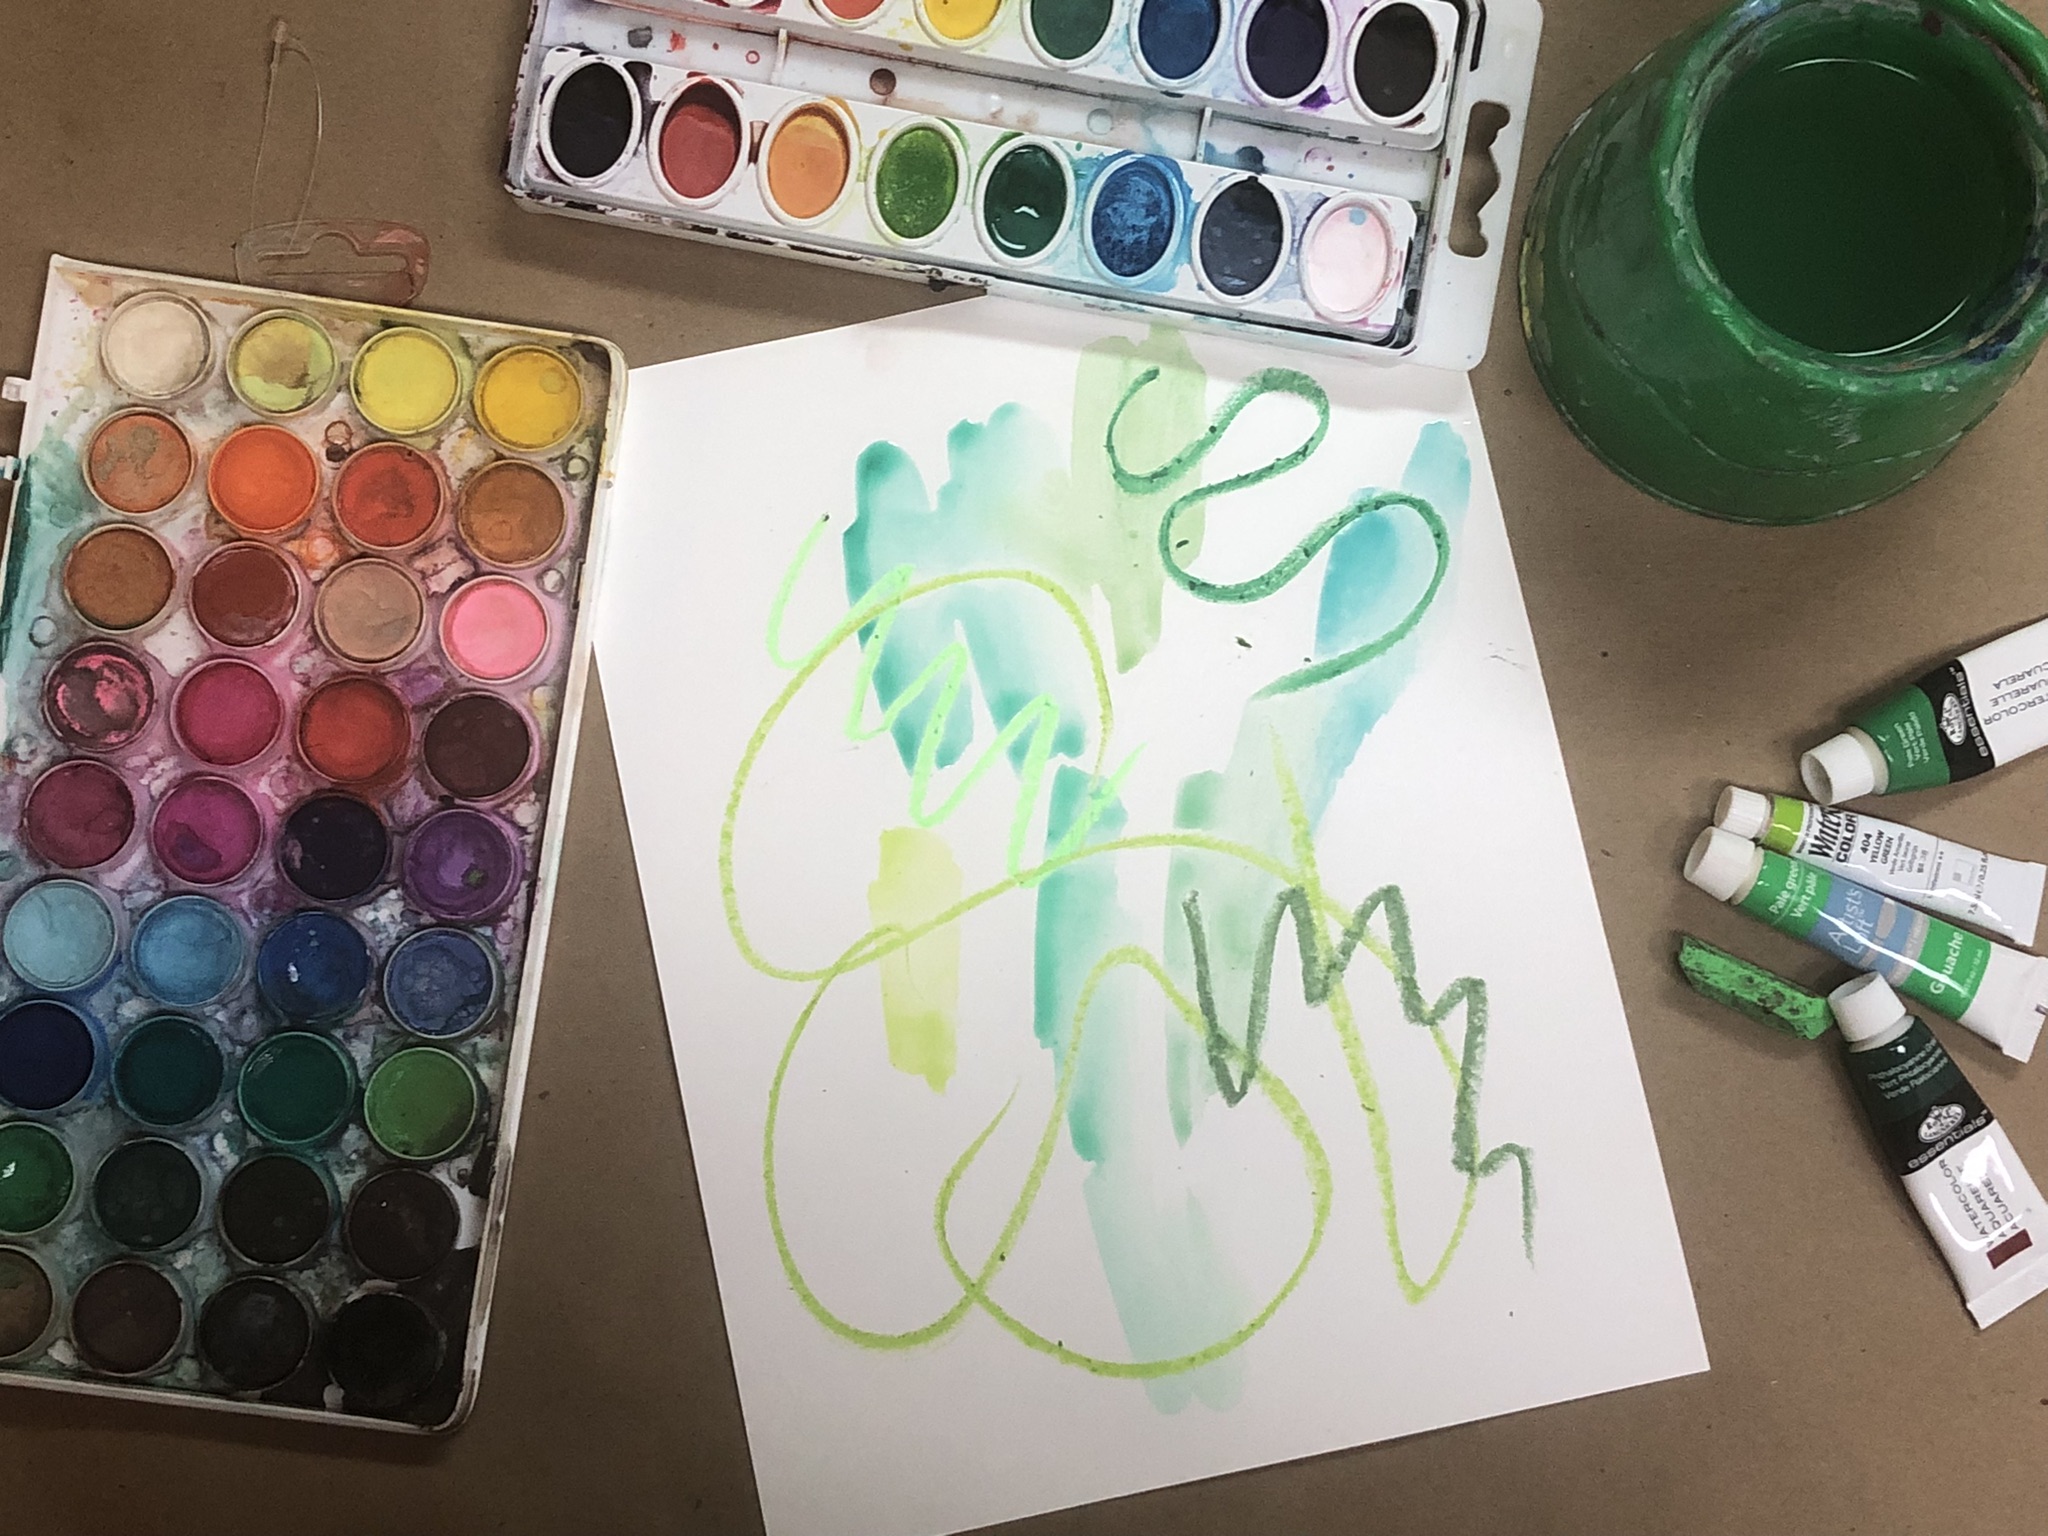
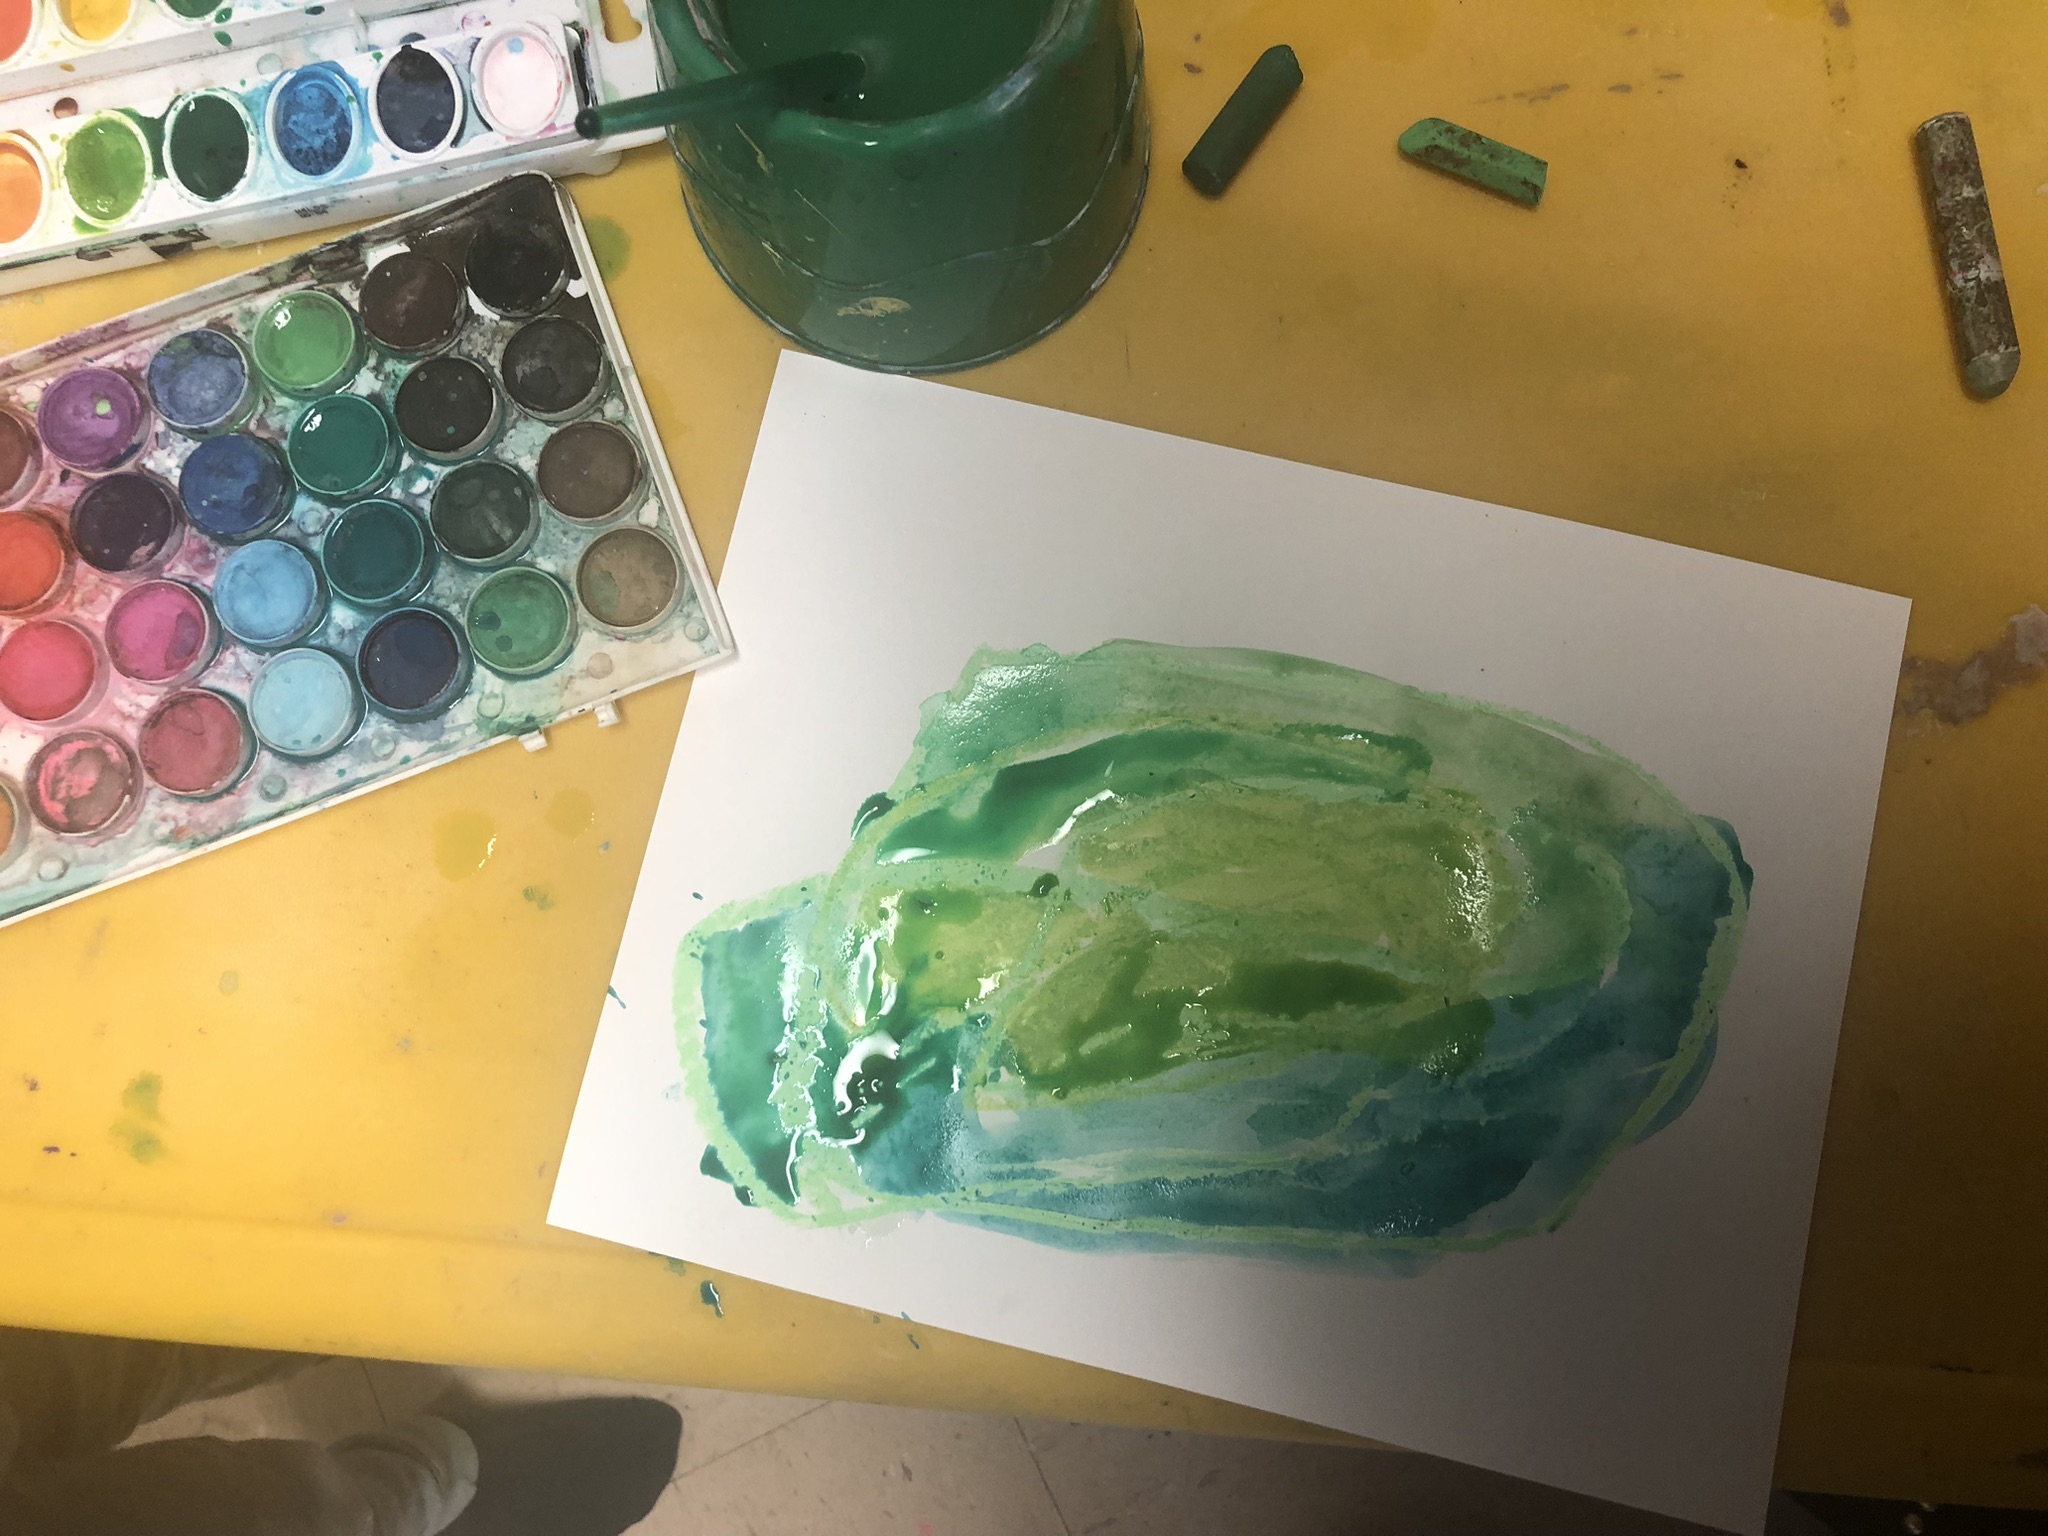
Another favorite was a green-on-green resist activity. We tried two versions of this technique. For one, the children used crayons to create designs on paper and then painted over them with green watercolor paint, revealing their hidden creations.
To round out our St. Patrick’s Day crafting spree, I worked with a four-year-old on a rainbow painting project. We talked about the colors of the rainbow and he told me which colors he wanted to paint his rainbow.
When he was finished I asked him if he wanted to add a pot of gold at the end of his rainbow which he did using some copper paint I had on hand.
These activities showed that even traditional holiday crafts can be approached creatively, offering children the chance to explore materials, make choices, and express themselves. By focusing on the process rather than the product, we turned St. Patrick’s Day into a celebration of imagination and artistic exploration.

