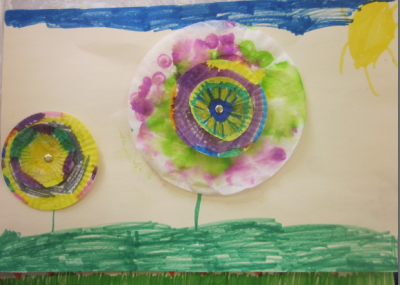
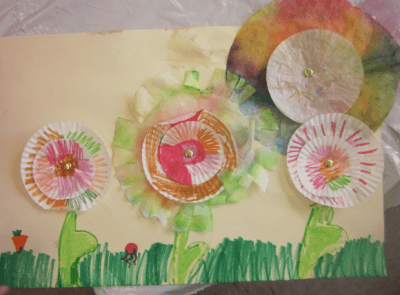
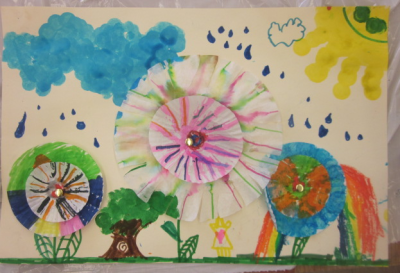
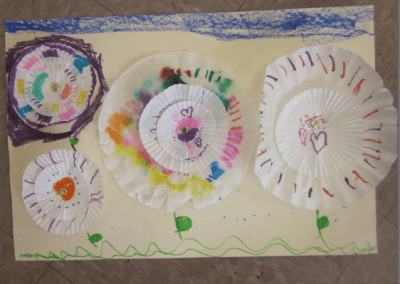
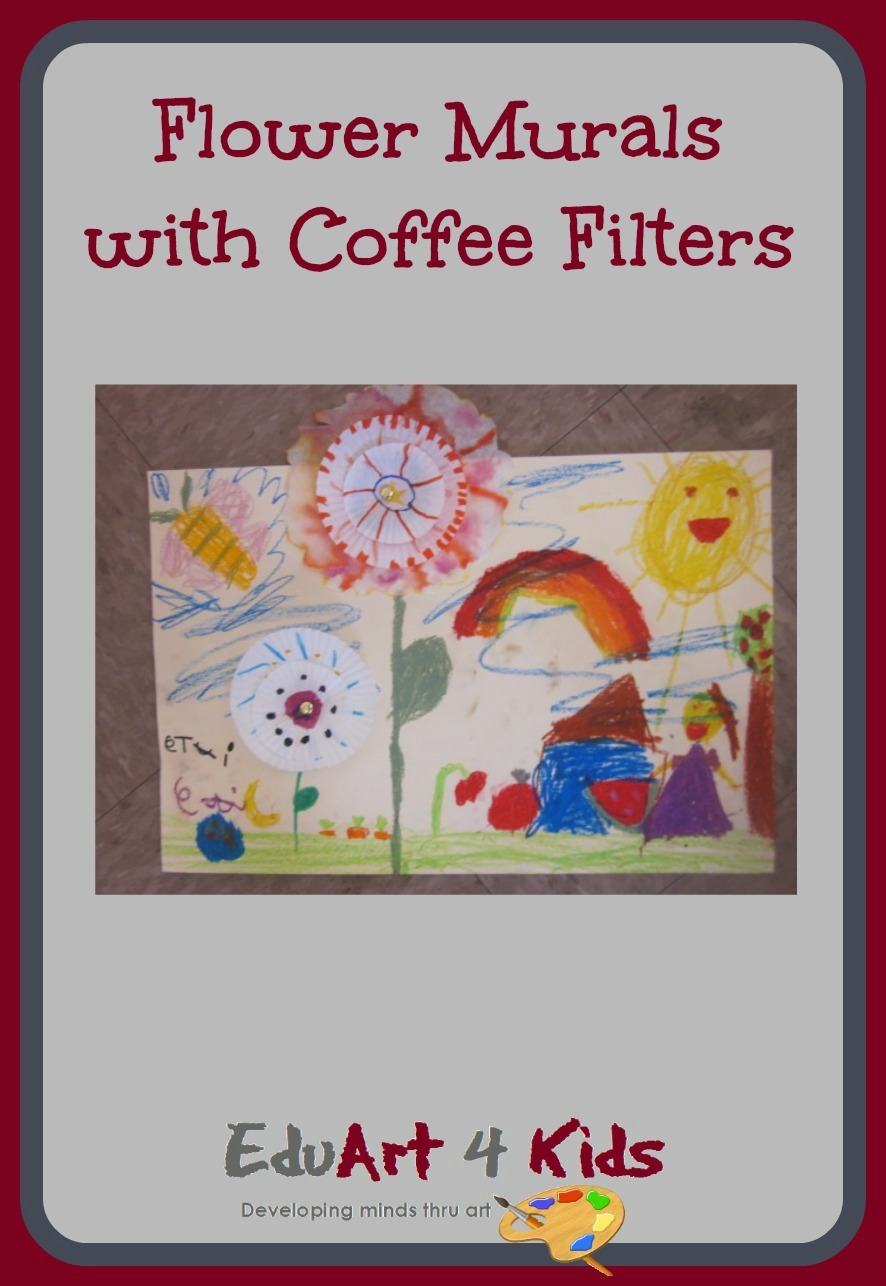
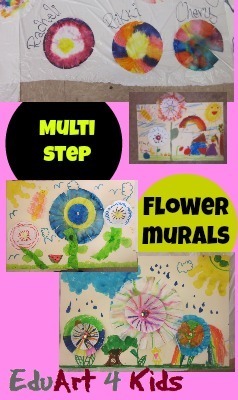
Spring and Summer are perfect times for flower projects with kids and this flower mural is such a fun idea. I actually saw the original idea on Pinkandgreenmama.com but, I changed it around a bit.
I love kids art projects that are not a one activity project and this multi step flower mural fits the bill.
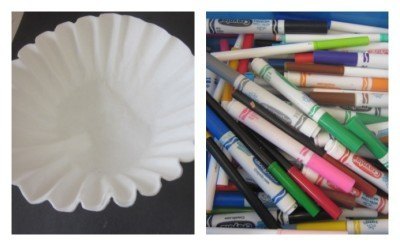
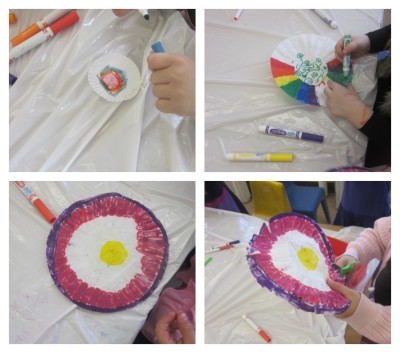
I use the large tagboard for this since they need a lot of space. I start by giving them coffee filters and washable markers to color them in.
After they were satisfied with how they colored them I told them that they could snip edges or cut them if they’d like.
Even though I do not tell the children how much and where to color I did encourage them to fill up as much space as possible. This was because when we sprayed them they wouldn’t have much color if they hadn’t colored a lot.
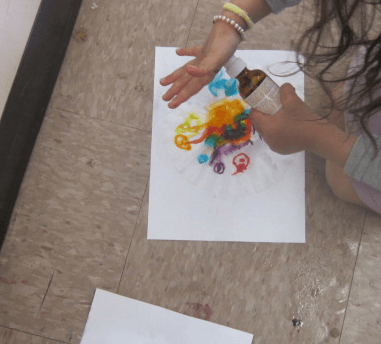
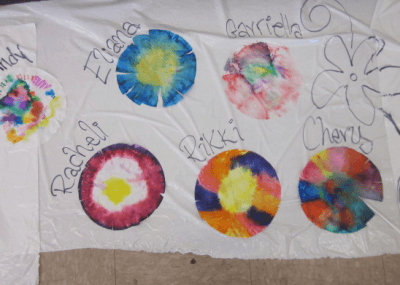
I then had them spray their filter with water.
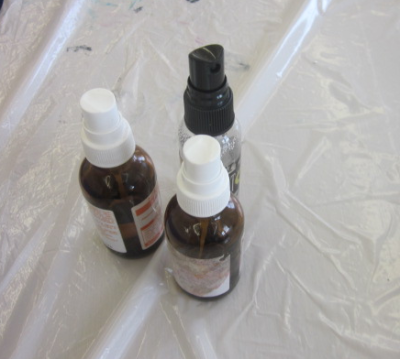
The bottles I had were old homeopathic spritz bottles like below.
You can of course, use any spritz bottles you have.
These particular ones were actually not that great and it took a bit of experimenting till we figured out how the kids could do them on their own.
You MUST put something under the filters when you spray as the colors do stain.
I used white papers at first and then ended up using the plastic tablecloths we were using to dry the filters on.
We laid them out on the tablecloths and wrote their names next to them as it was quite difficult to write on top of the wet filters.
The next step to the activity is to prepare the rest of the materials for their murals.
You can do this second part while the filters are dying or the next time you do the project when the filters are already dry.
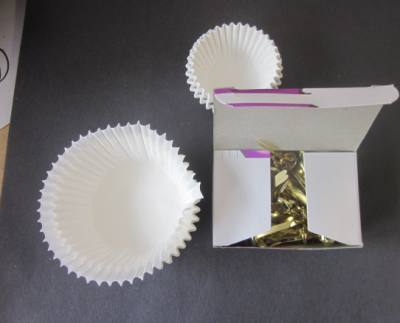
You can give them 2 size cupcake holders to choose from and paper fasteners.
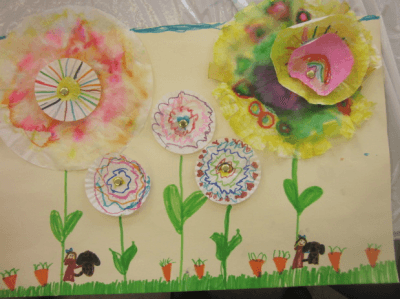
They were told to decorate the cupcake holders with markers and then to take their coffee filters along with these cupcake holders and to arrange how they would want them on their mural.
They of course, got the idea right away that they could stack the cupcake holders on top of the filters and we helped them make the holes through the tag board to keep them together.
It was not my idea to use the paper fasteners but, it was a great one since they could turn the inside parts of the flowers around once they were attached.
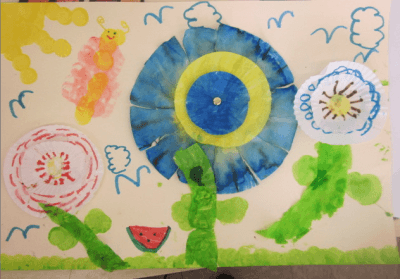
After they were done they were allowed to use markers and oil pastels to finish up their murals.
Some of the children were not mature enough to add great detail to their murals and were satisfied with simple flowers.
I also made these dot painters available for children who wanted to use them.
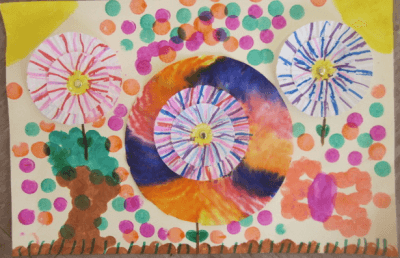 As they were working some of them noticed that they wanted more flowers so they went back and made more out of filters and cupcake holders.
This could easily take up to 3 slots to do and they can keep adding to their murals as they think of more ideas.
I find that when the children spend lots of time on a project it is much more satisfying. (especially for the adult running the project 🙂
Pin to save for later

