Halloween crafts and masks. A perfect match wouldn’t you say?
These masks are a long project that takes a few days but well worth the effort, if you are in this to really in this to give the children a great art experience. Otherwise don’t even start the activity if you don’t like mess and need something real easy.
You start with a balloon
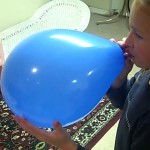
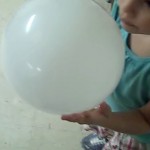
When you purchase the balloons, make sure they are of the larger variety, that blow up easily. You’ll probably be best off also if you get the round ones.
You can blow up the balloons or have the children blow them up and then tie them securely.
Then its time to prepare the paper mache mixture.
There are a number of pastes that you can make for the paper mache activity but I used the simple glue and water mixture.
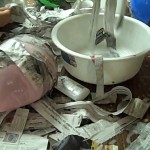
You basically mix glue and water in a 1:1 proportion in a big bowl.
Have the children or you rip newspapers into long strips.
The basic instructions for paper mache of this sort are to pull each piece of newspaper that you choose through the mixture and then wrap it around the object you are working with.
As paper macheis an art activity that can be done to transform old items to decorate, this activity is creating a mask from scratch and using the balloons as molds. Transforming an object would consist of wrapping the pieces around the object to transform it.
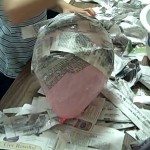
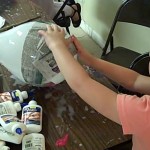
Because you will be making masks you will only put strips around the bottom half of the balloon.
If you would be making bowls you would also only use the bottom half.
You can do this the half baked way or the more solid way. If you want a stronger mask then do one layer, let dry overnight and then do another layer the next day. Otherwi you can make do with doing 2-3 layers in one sitting.
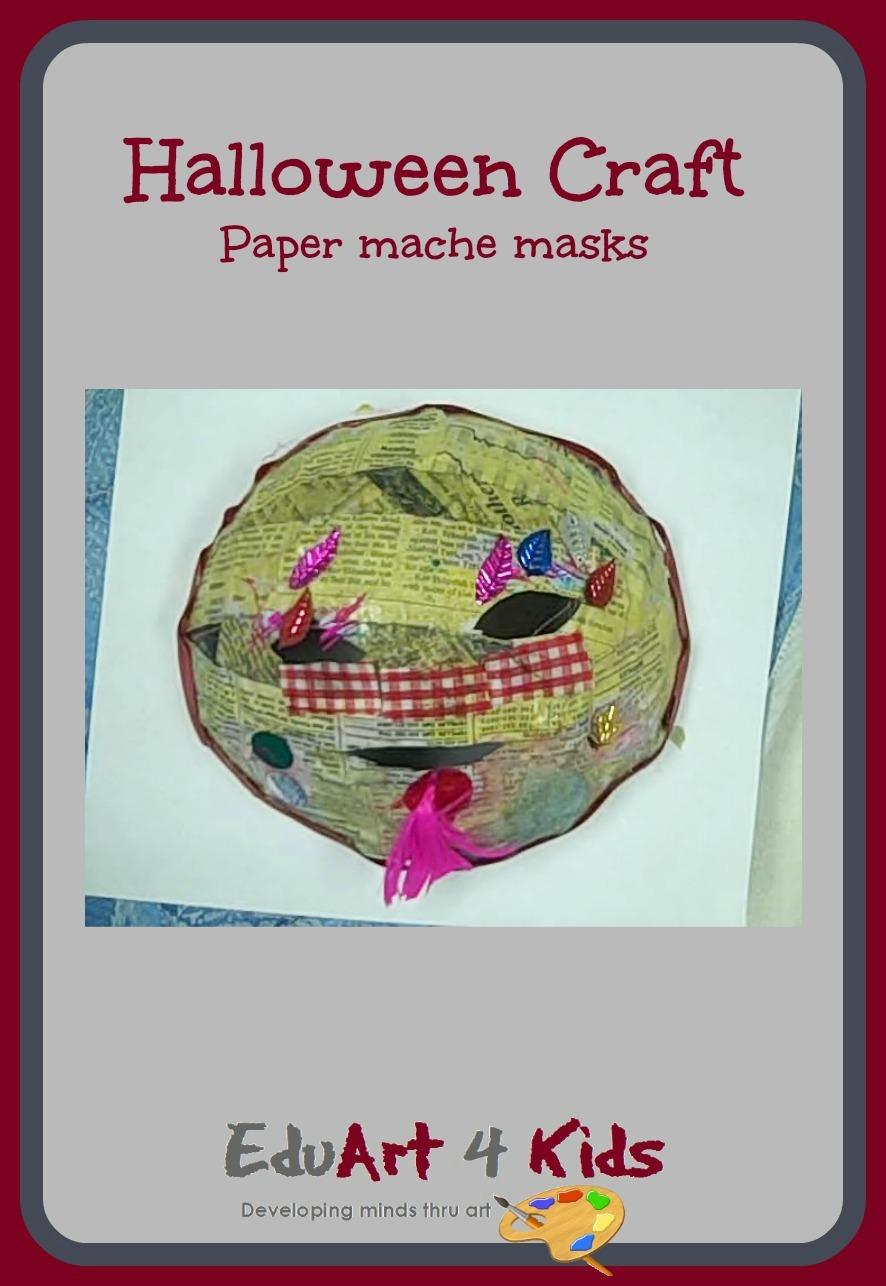
Once the paper mache is dry, you then take a sharp point and bust the balloons. The balloons will bust leaving a circle shape paper mache in its wake.
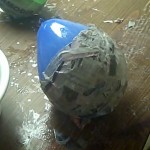
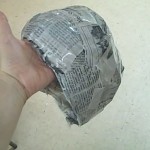
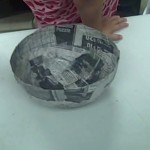
What you will need to do then is to cut around the masks to even them off so that they will fit the size of the children’s faces who are making them.
Once that is done, place each mask on the child who made its face and feel for where their eyes are and cut out a shape for the eyes.
I think a mouth is optional. That’s up to you and the children. I guess that will depend on the type of masks they are making.
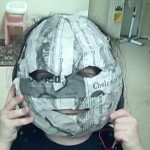
Now the masks will need to be painted.
We used regular tempera paint and I’ll tell you secret, we were not actually making these for Halloween. But it doesn’t matter as its all the same process. The only thing different would be how the masks are painted and decorated.
If you want to do a Halloween them then give them orange and black paint.
If you want to allow them to make Halloween characters then you will have to offer them items to decorate the masks with after they are painted.
They must be painted either way to cover up the newspaper.
If the children are making witches then they will need various black decorative objects etc.
You will need to supply them with the materials to help them make the characters they want.
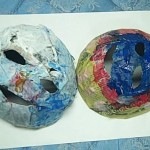
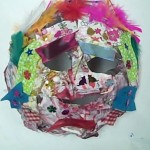
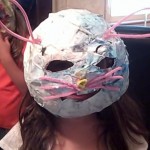
After the masks are painted, allowed to dry and then decorate them.You then take pieces of elastic and staple them to the sides of the masks to hold them in place.
These masks are real masks. They are far better in quality and work involved than those simple paper plate masks that so many children making their schools or home situations.
The children will love and are especially fascinated by the process of using the balloons as a mold.


Thanks for sharing this great tutorial with Afterschool!
I remember making a paper mache craft in 6th grade. I loved it — I’m not a saver, but I finally tossed it over 20 years later. It was still in great shape! Thanks so much for sharing at After School.
Wow, great masks! Thank you for sharing at Sharing Saturday!
You could have saved it for your kids 🙂
Great activity! I’m featuring it on my after school post on Monday!
Ok great. Thanks!
Love this craft ~ just pinned! Thanks for sharing with my NO RULES Weekend Blog Party!
Paula
lifeasweknowitbypaula.blogspot.com
I loved paper mache as a child! Just letting you know I’m featuring this post on this week’s Tuesday Tots post on Learn with Play at home. Thanks for linking up 🙂
Cool! Thanks. Lots of teachers & moms won’t try it cuz they think it’s too messy (they are not that wrong, but it’s so versatile)
Sharing as part of my Halloween activities round up today!
Sounds great, but I actually just came from there and I don’t see it…can you point me to where its posted? thanks