Thanksgiving is the perfect time to start working with clay. If you are a choice based TAB teacher then you can find more about using clay in the TAB classroom and if you are looking for some more Thanksgiving crafts then you can check my other post on pottery and Thanksgiving turkeys here.
This post however, is specifically about making bowls and cups out of clay. Clay is what the Indians (Native Americans)used so many centuries ago to make utensils to eat and drink with so it's a great way to show them hands on what was done.
I actually also have another post about 9 Native American crafts you can make with kids.
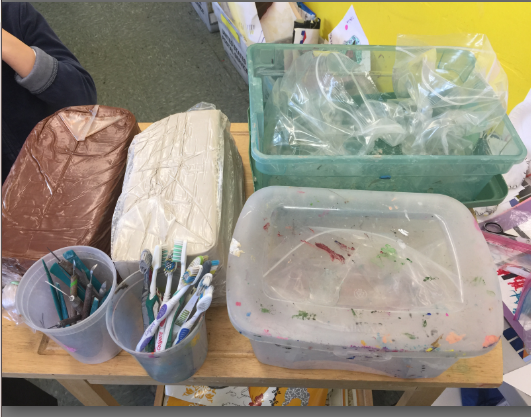
I am not however, using a kiln so this is only air dry clay that I use. I just picked one clay randomly to link to so do your research on the type of air dry clay you want to use. It comes in white, grey and brown and if you want to leave it natural then you might want to use grey or brown. If the children are going to paint it then it doesn't matter what color it is.
I am going to show you 3 few different types of clay bowls/cups that you can make. The children can use them to store dry items and let them know that if they use any liquid in their clay bowl then it will revert back to a sticky, wet form. (A kiln is great if you can get access to one as that makes the clay waterproof.)
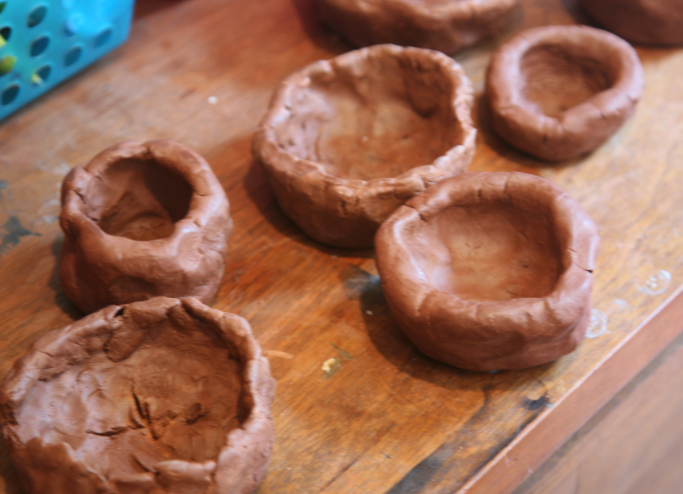
The clay bowls below are the classic pinch pots. They make a ball out of the clay and then slowly using their finger turn the clay around in their hands pinching it together so that it forms a bowl.
They can then smooth out all the cracks with a wet infer. Make sure they don't pinch the walls to much as the walls will be too thin and will crack very easily when dry.
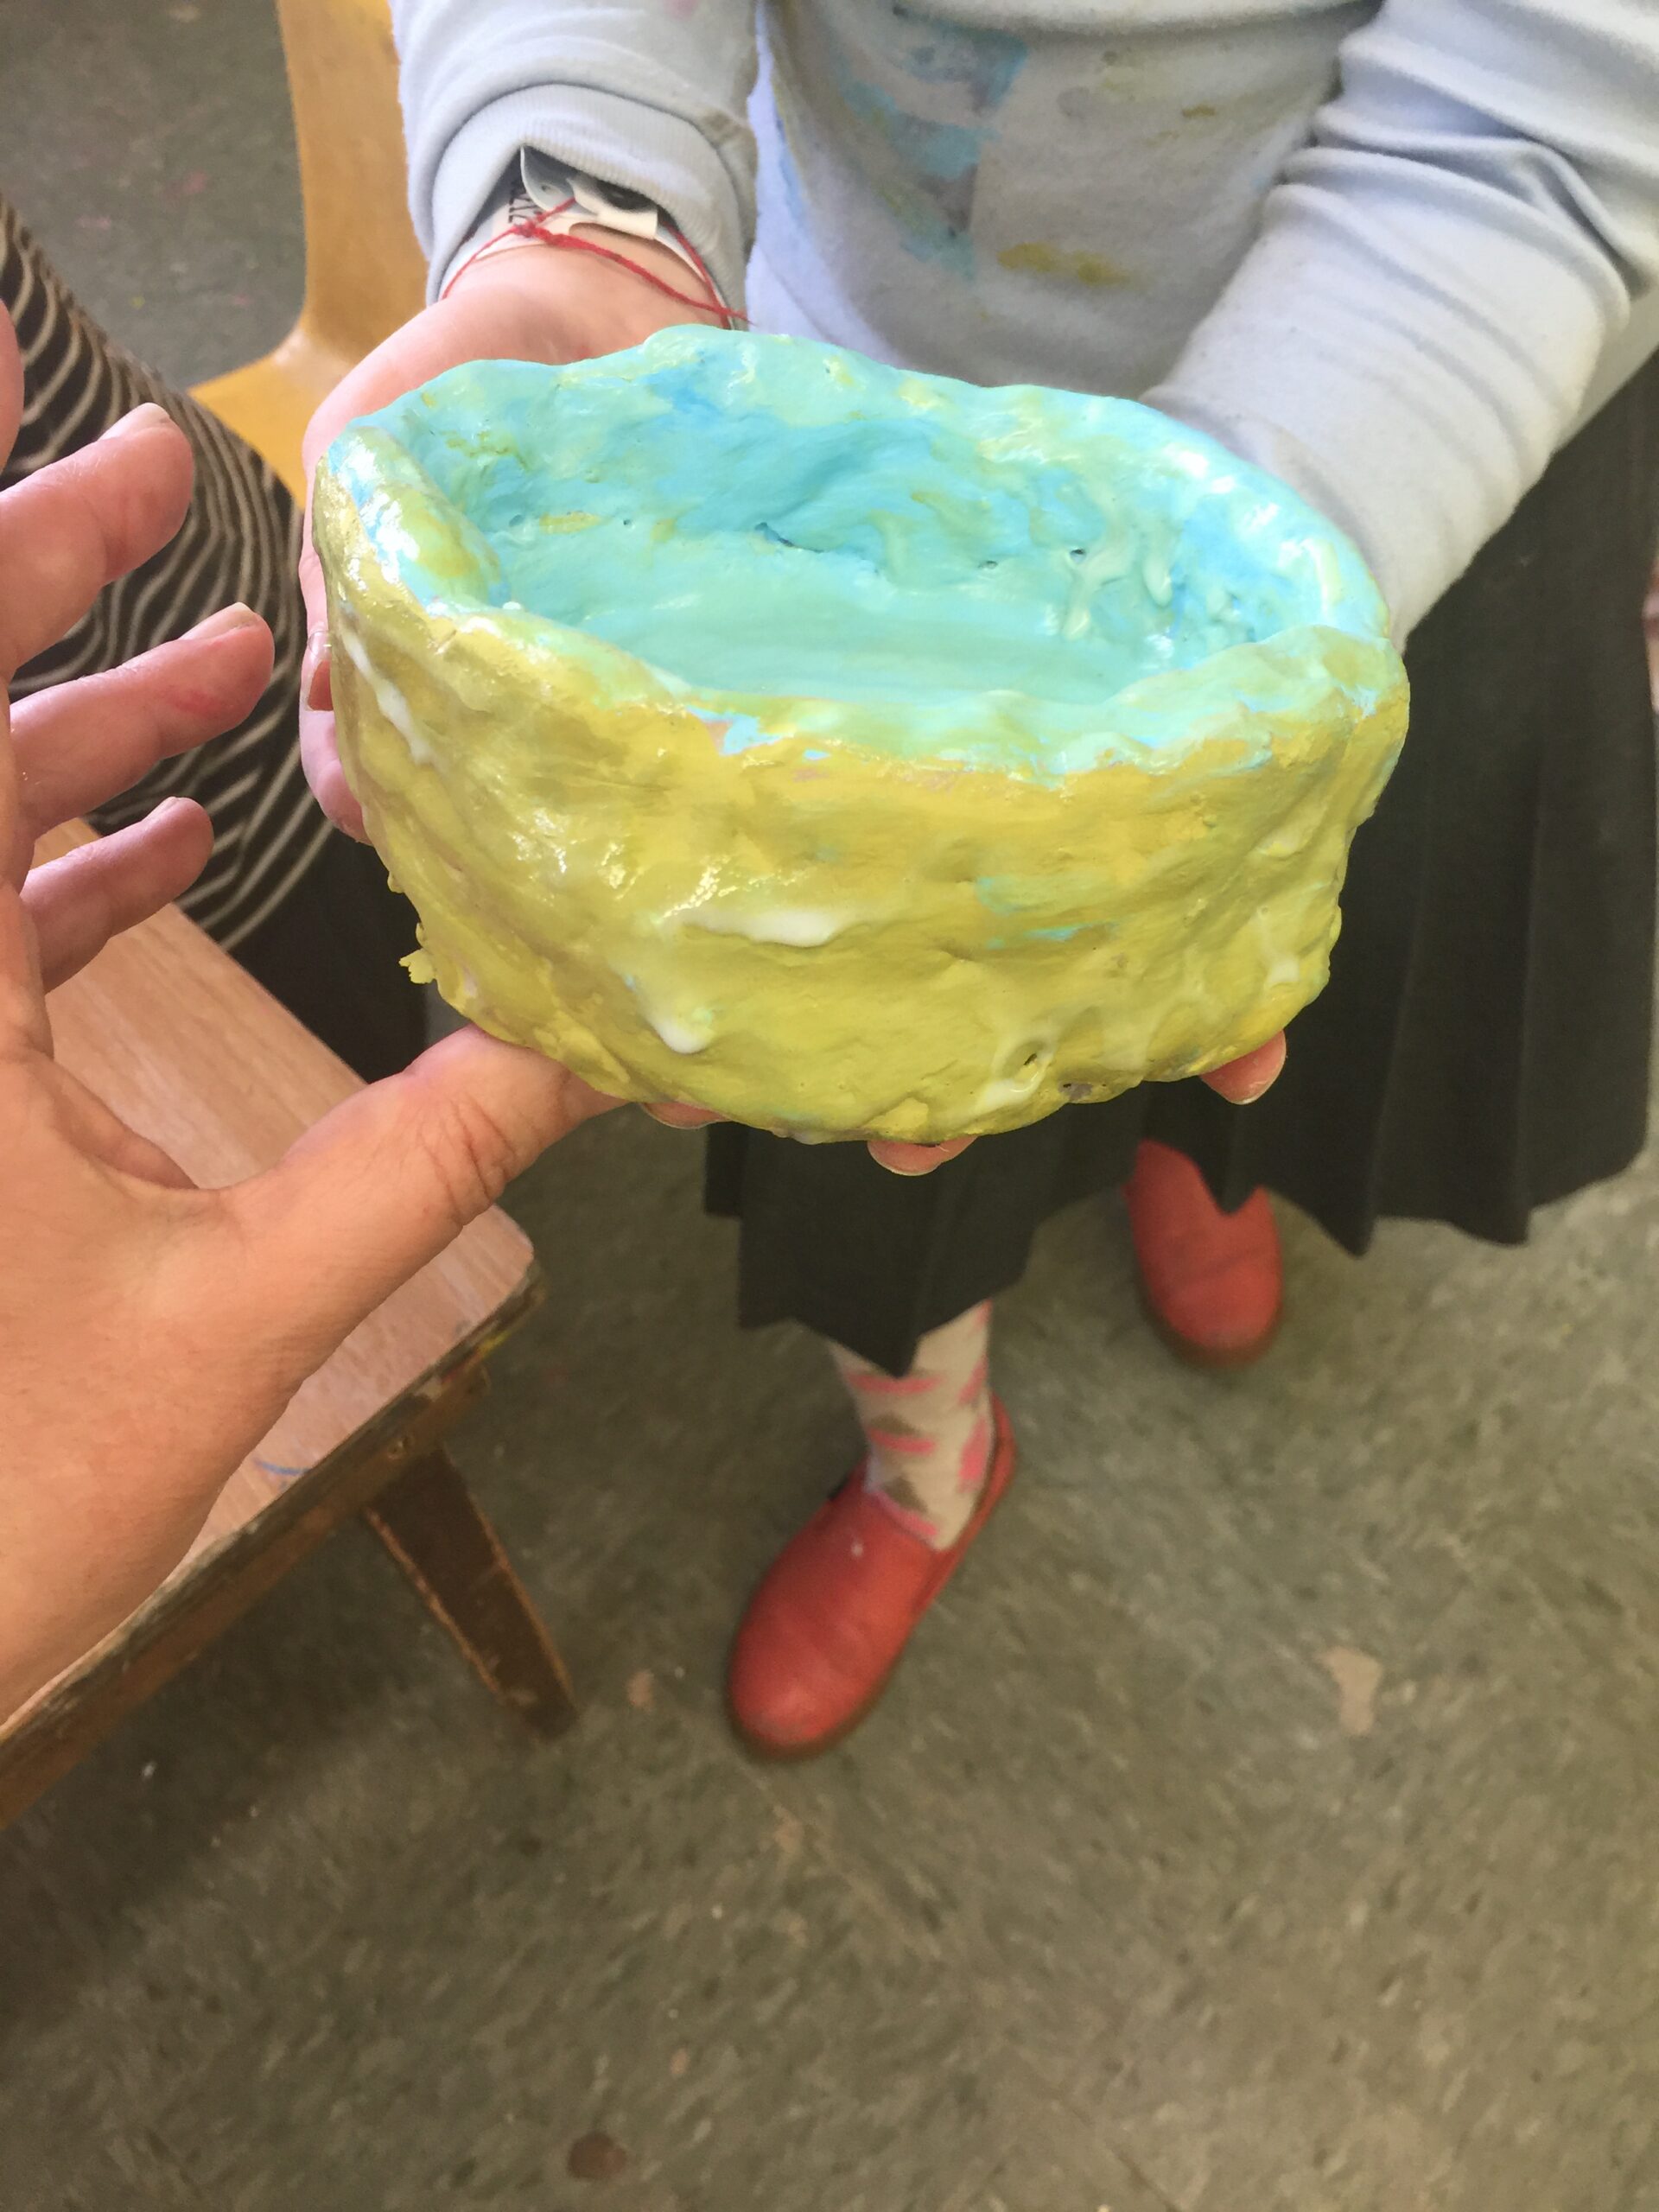
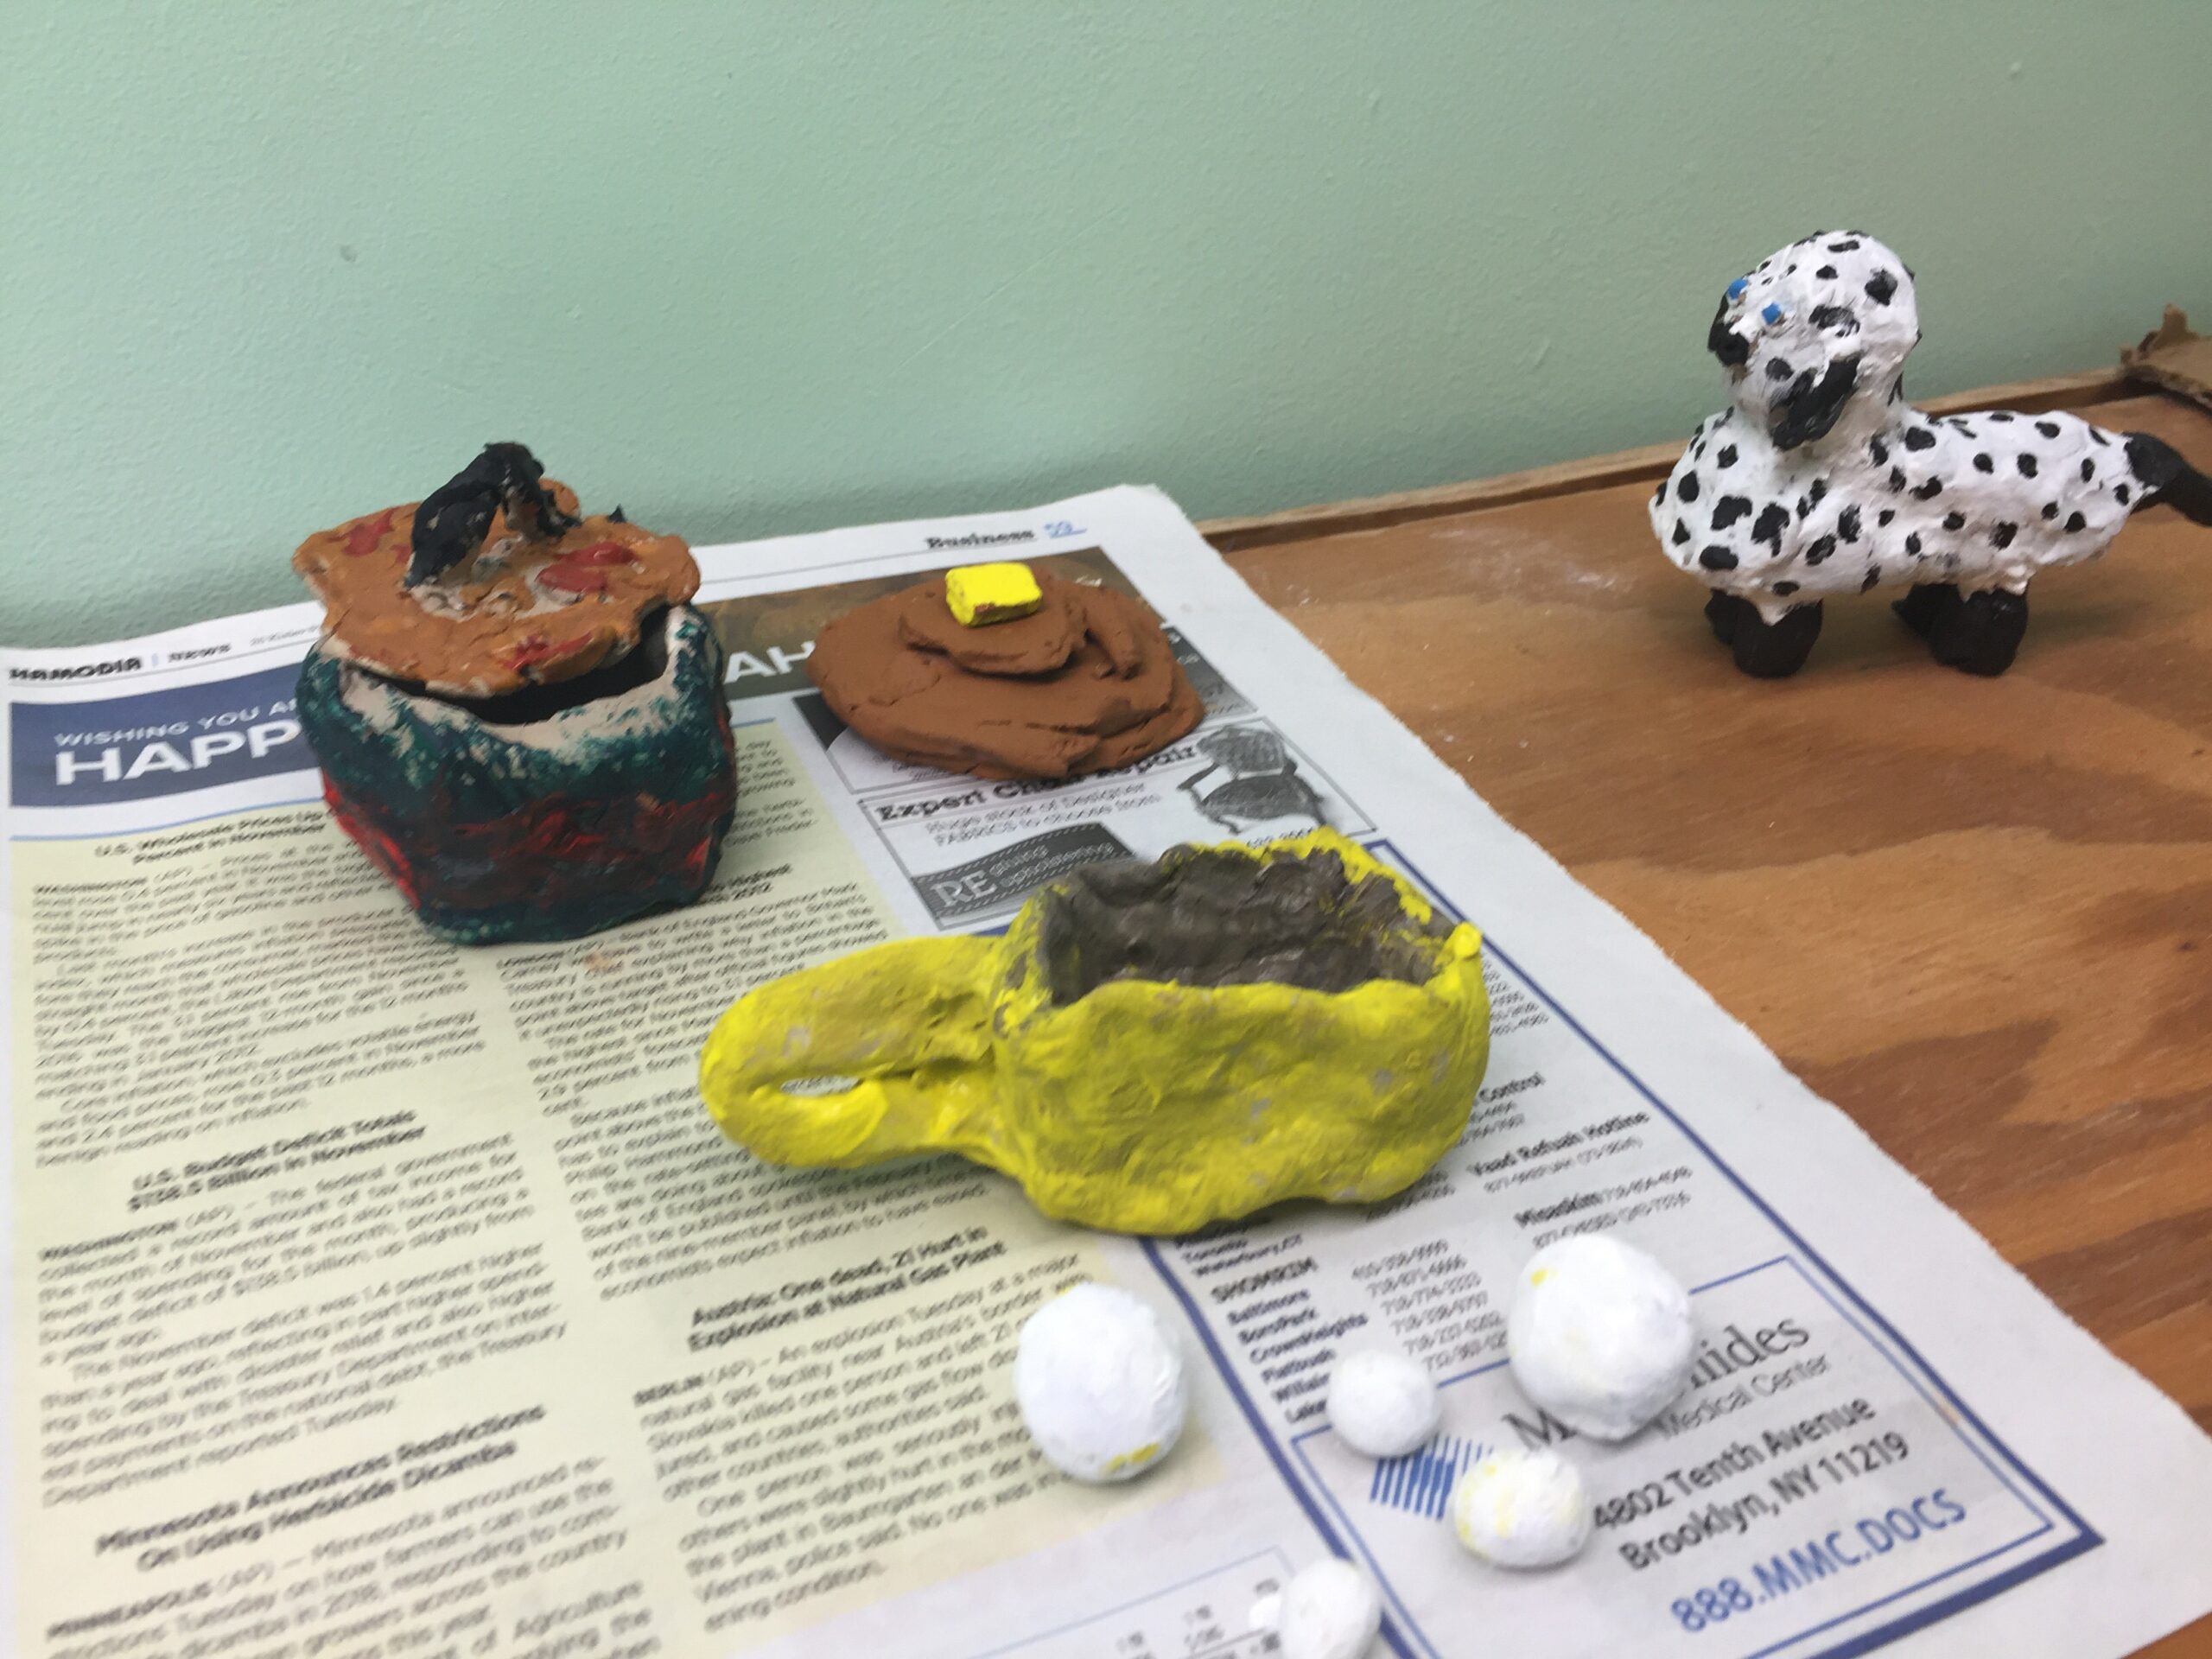
These are some bowls painted and some children like making covers for their bowls. Those often are too thin so that's another thing to watch out for.
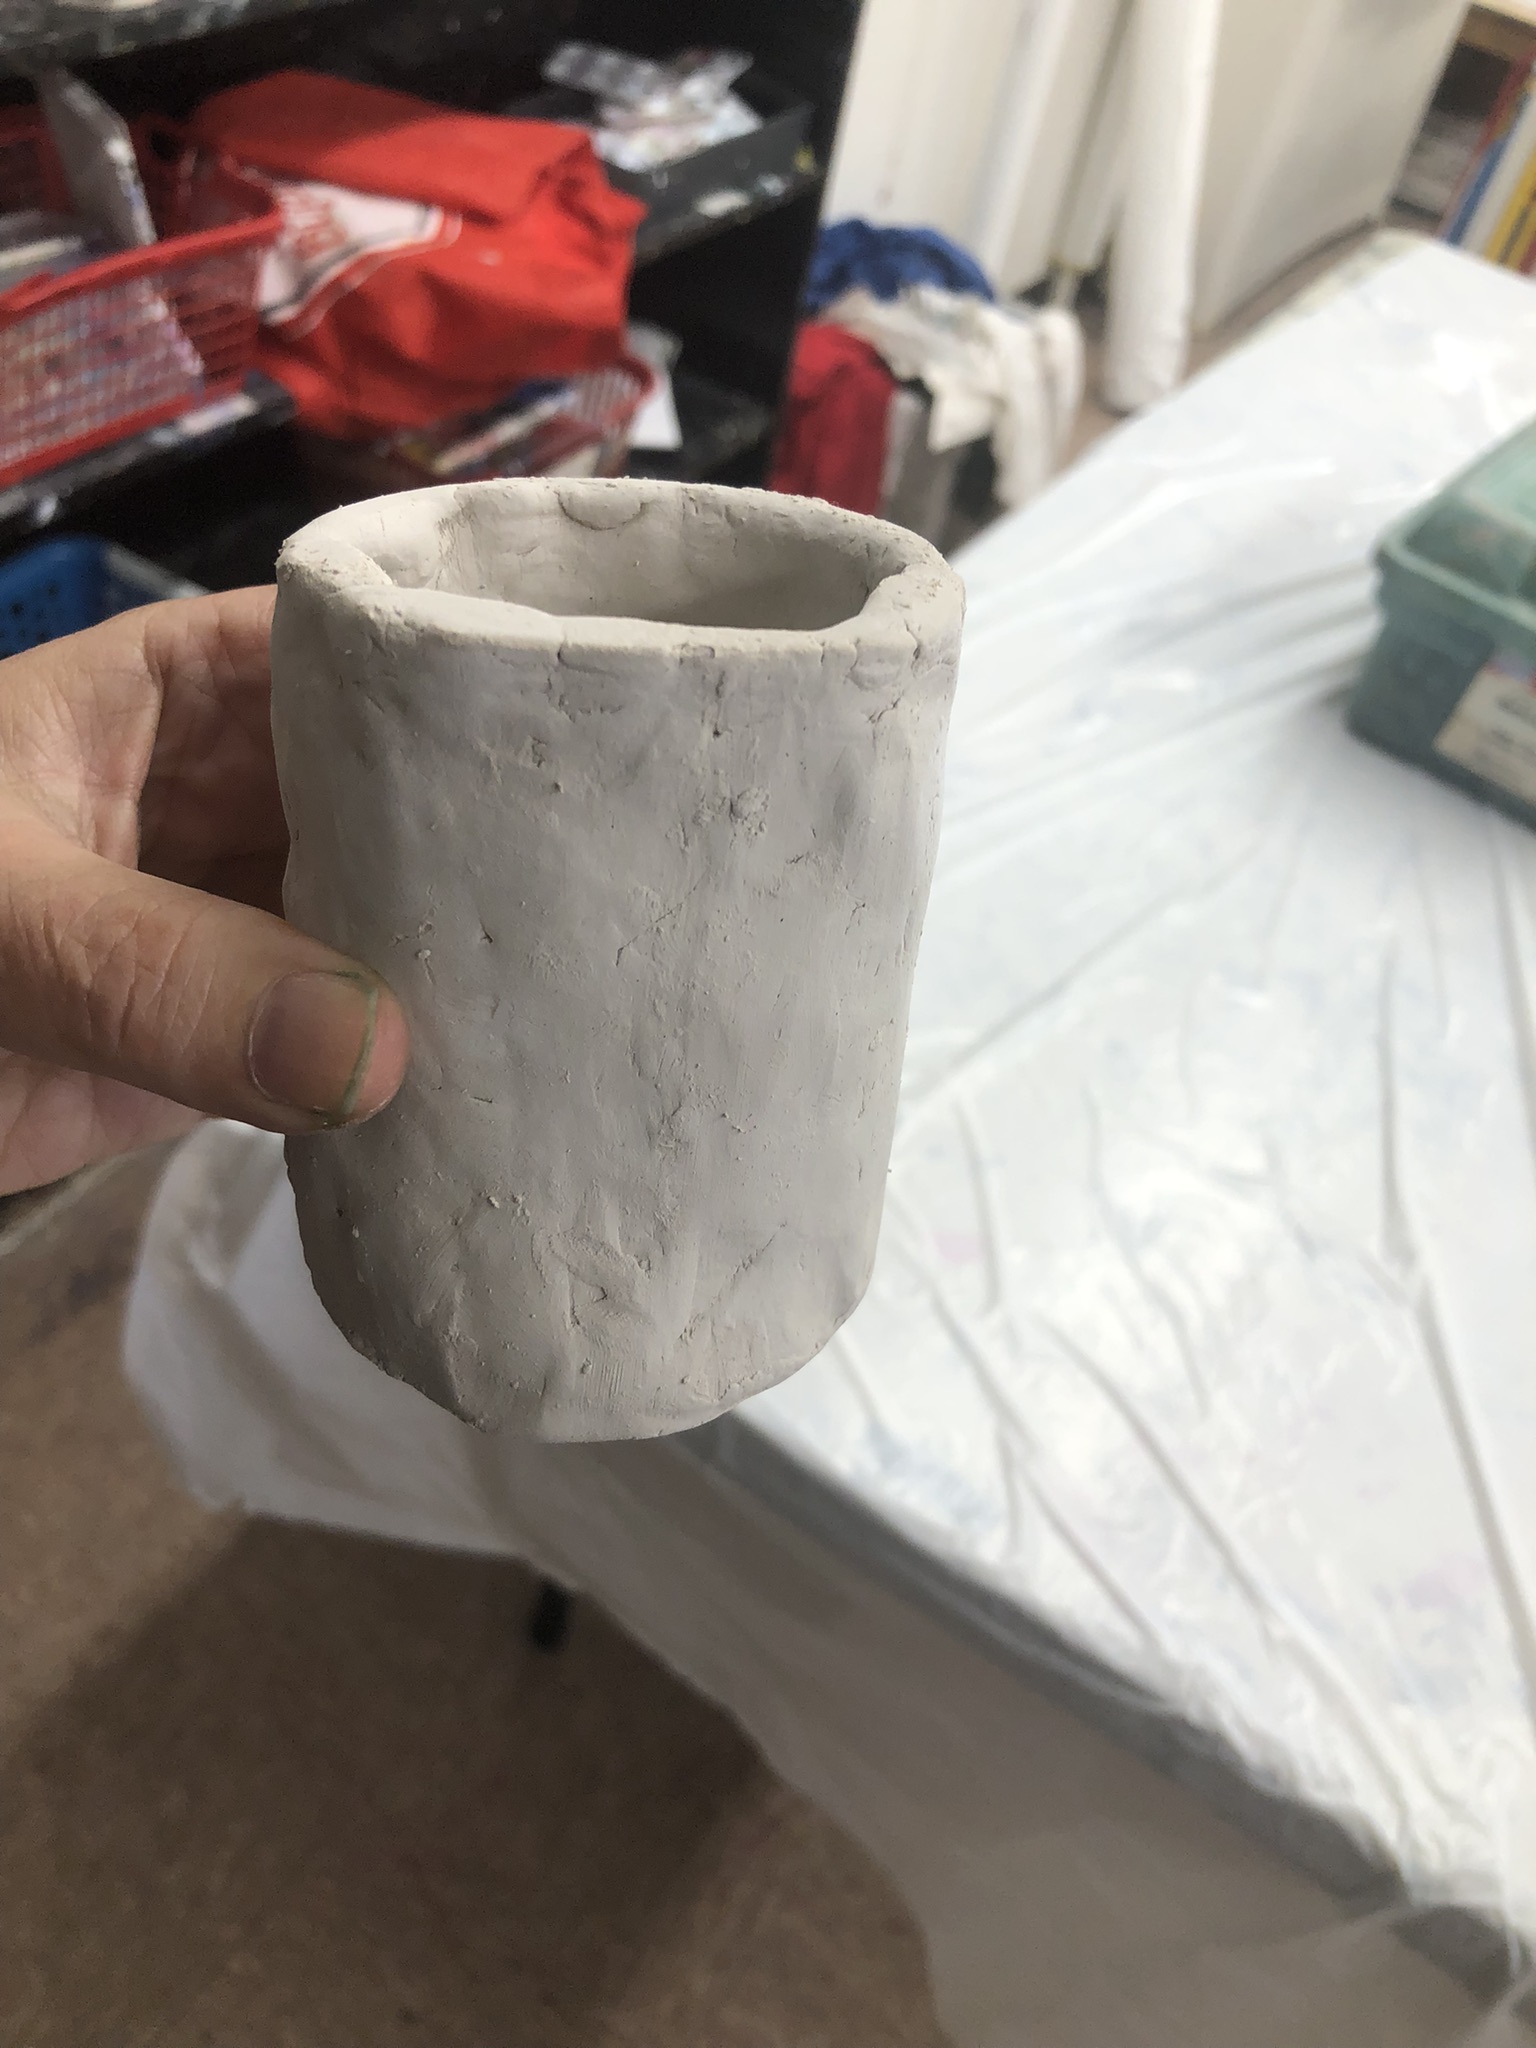
Once you have the size you want then you roll it over to form your mug/cup or pencil holder. You need to make sure to score and slip the ends together and smooth out any openings with a wet finger.
They can then roll out a circle for the bottom and attach it the same way.
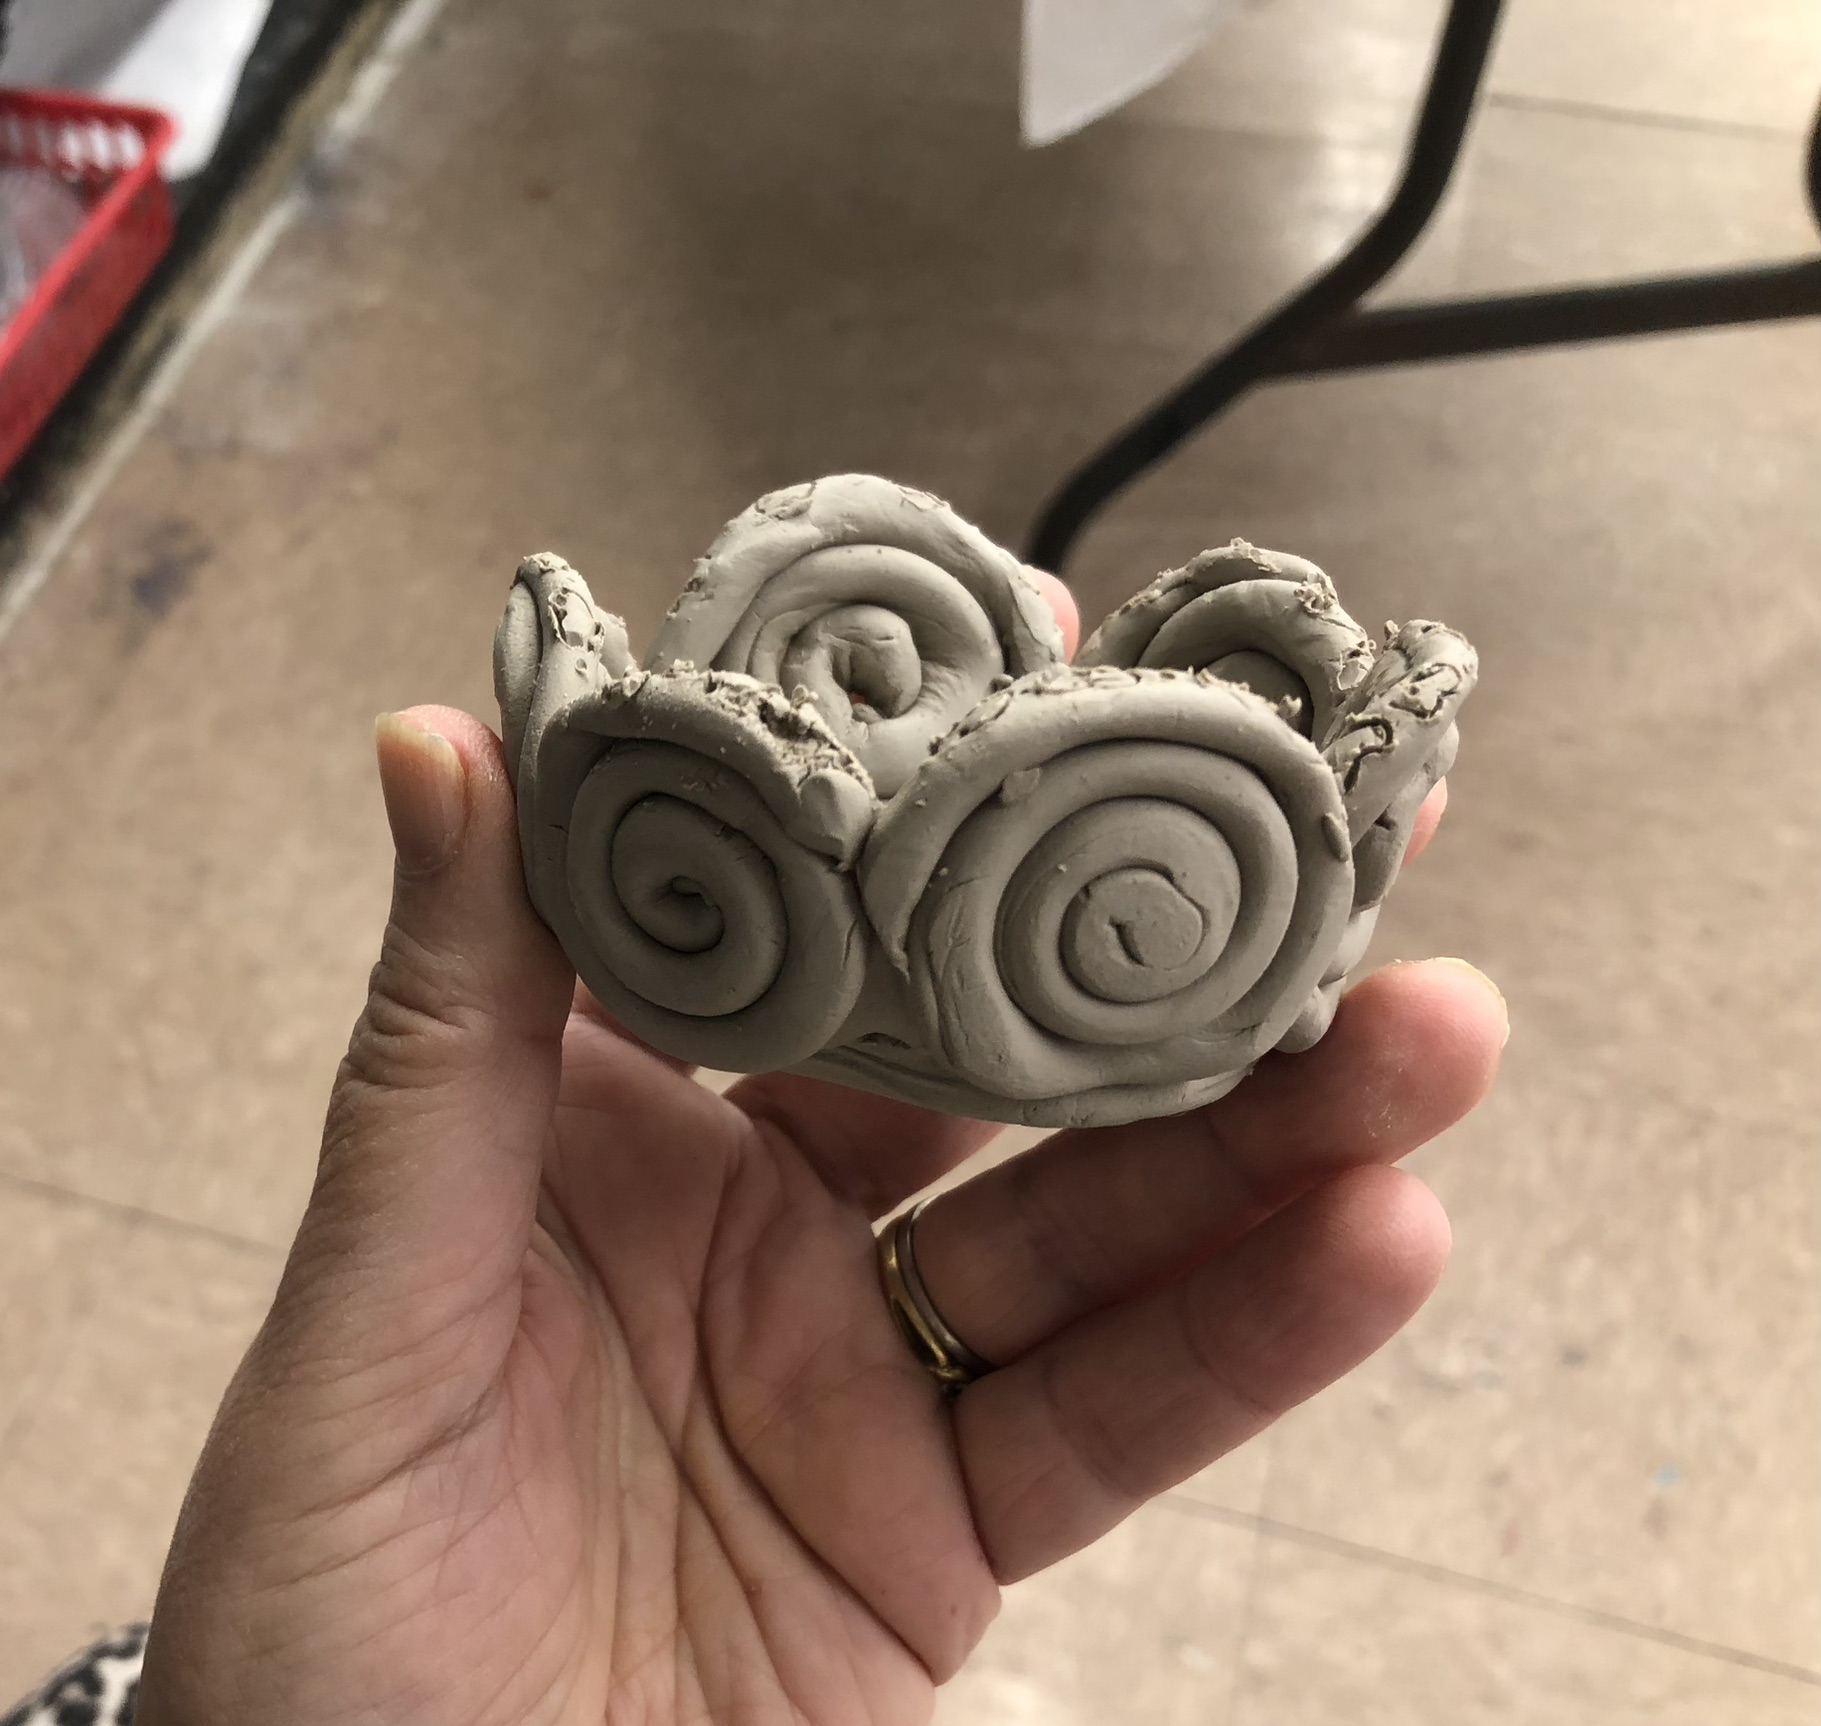
This is the third way to make a utensil. For this you need some kind of bowl and plastic wrap. Put the wrap into the bowl and add a piece of clay to the bottom.
Then take a piece of clay and roll it out to be a snake. Male a coil and add it to the side of the the plastic wrap making sure it touches the piece of clay on the bottom.
Keep adding coiled snakes around the edges until its all filled up. Then take small bits of clay and fill up all the cracks and crevices smoothing it out as you go.
If its very well smoothed out inside it will not detract from the coiled look on the outside is
Allow it to dry like this and when it is dry then it is very easily removed from the bowl because of the plastic wrap. They can leave it as is or paint.

