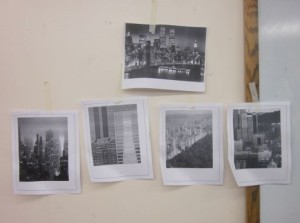
I did this activity with the Kindergarten children. I hung up an assortment of city scenes that I printed out in black and white. (which is the kind of printer I have)
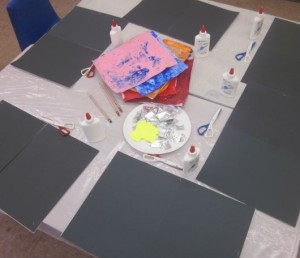
I gave each child a large piece of tagboard with 2 pieces of black construction paper stapled to it. I wanted them to make large pictures and I did not have the large black construction paper, so I compensated by using 2 of the smaller ones.
I then put the papers that the children had decorated in another class (and you can see how we did that there in my post about how we made these papers in my first class as an art teacher) in the middle as well.
I told the girls that they were to make a city scene and that they could take any parts that they wanted from the ones hung up or they could do their own.
They had scissors, pencils, glue and the papers. I also cut up a whole bunch of small yellow paper and aluminum foil squares. This was a suggestive material to use for windows.
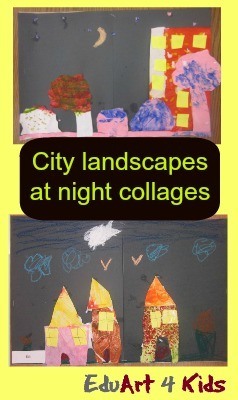
Many of them used these small squares which really added depth to their artwork.
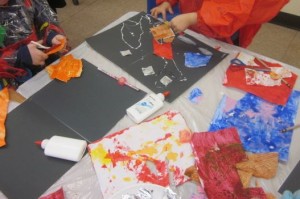
When they were done gluing, I gave them oil pastels (which has become one of my favorite media) to finish up their artwork.
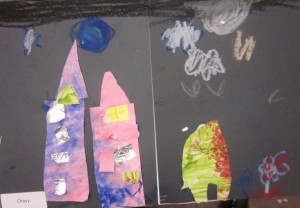
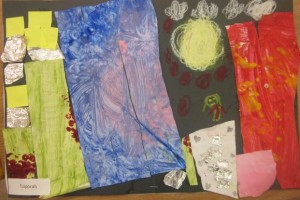
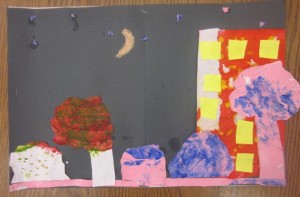
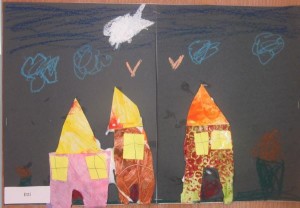
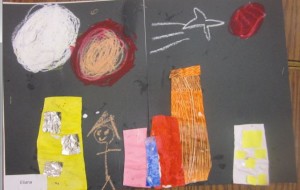
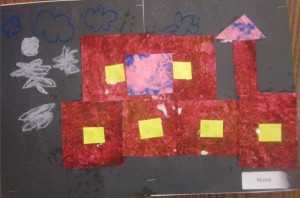
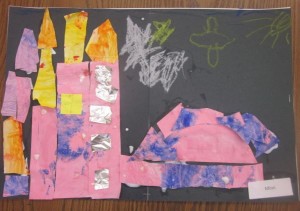
You can see the variety of developmental levels in the 4 pieces below.
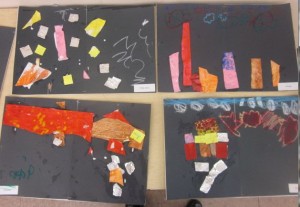
I think what makes these pieces of artwork so dramatic is the background color and the addition of the oil pastels.
Pin to save for later


GORGEOUS!! Thanks for sharing at After School!
Thank you. I love them also