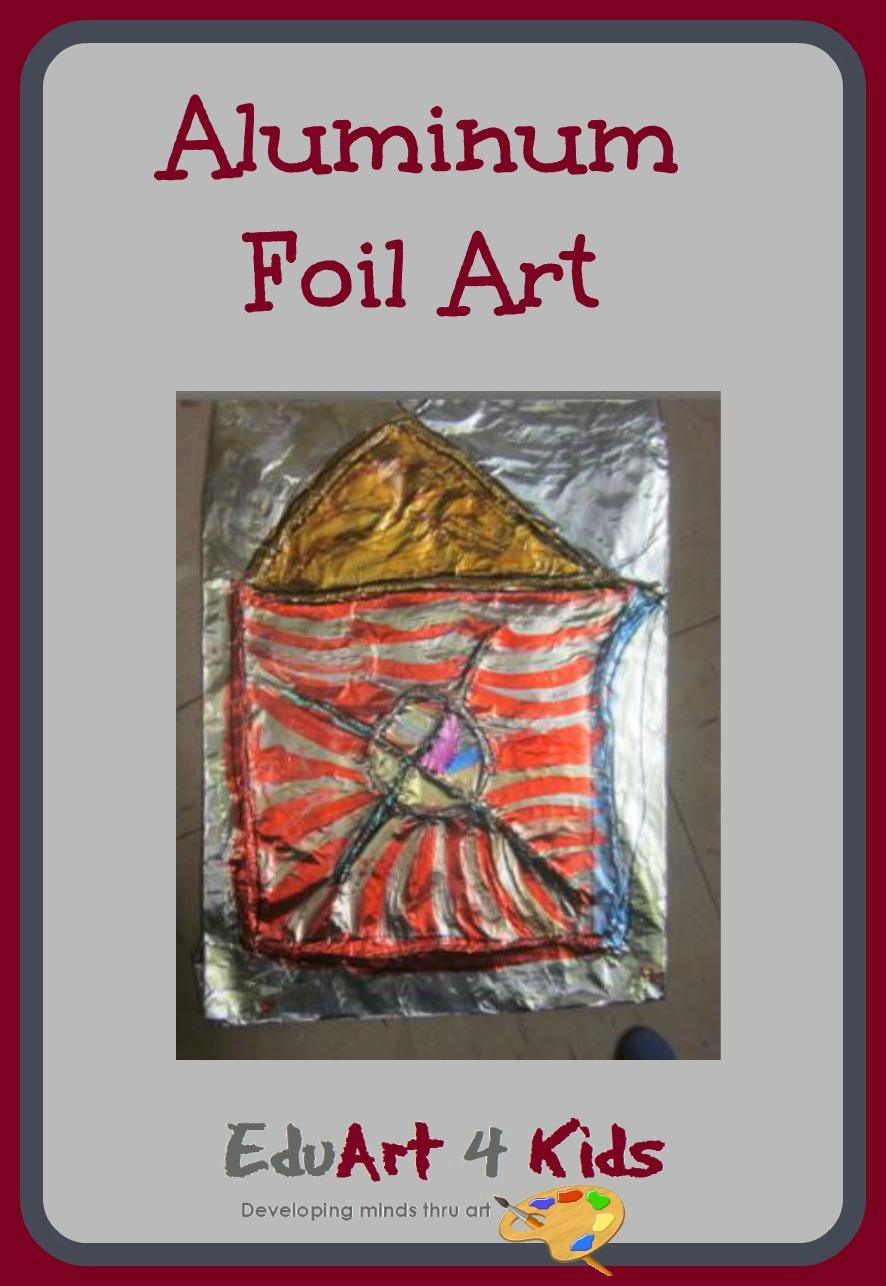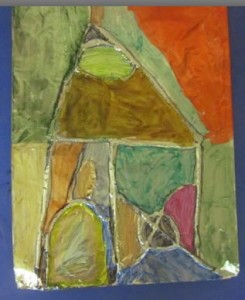
I originall thought this was the perfect art activity for what I needed to do.I saw it on Pinterest and you can find it at kids-finelines.blogspot . It turned out that it was not as perfect for what I needed as I thought.
In one of the classes I teach art in at a local school I was trying to think of a way for the children to store their artwork. I decided to have them make portfolios out of oak tags. I would fold a large oak tag in half, the kids would decorate the outside and these would be portfolios large enough to store all of their artwork. So far so good.
I also wanted them to be able to take them home the same day they made them, so that excluded any painting or lots of gluing since they wouldn’t dry in time.
I happened to come across this aluminum foil art with yarn from the site I mentioned and though it would be a great way to decorate these portfolios.
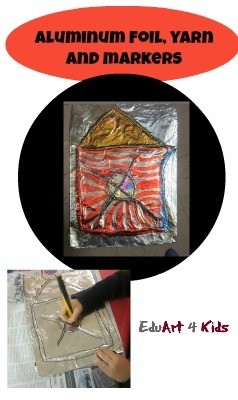
The activity was to put glue on the paper, add yarn in design, cover with aluminum foil, press on the yarn so that you could see it in relief and then decorate with permanent markers.
I figured, Great! When they cover the whole paper with aluminum foil there will be no glue to dry and they can take them home that day. I also then had this brilliant idea to have them write their names before they put the glue on so they could cover them in yarn so that when they pressed on the foil, you would see their names.
So let me delineate all that went wrong.
- I had them write their names on the prepared oak tags
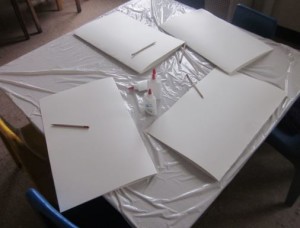
2. After they wrote their names they needed to cover the entire side of their oak tag with glue. I gave them brushes along with their glue to help them spread it.
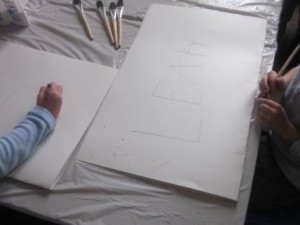
3- Then the fun started. It was a lot more difficult than I thought. These are only first graders and the fine motor skills needed here were not for the faint of heart. Aside from the fact that the yarn kept sticking to their fingers.
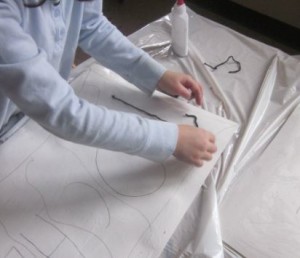
Some of them actually managed to complete their names.
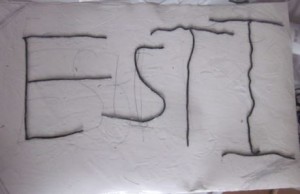
Many others I just told to continue with initials…then I even told those who couldn’t even do that to just make designs with the yarn.
4- Next problem was that I didn’t have very large sheets of aluminum foil. I had individual sheets from a box of pre cuts and they had a very difficult time matching them up to each other so that it wouldn’t look too messy.
5- You also couldn’t see that there was yarn under the foil by many of them.
6- In the end they were unable to take them home that day, because there were so many pieces of aluminum foil stuck all over the place that I had to spend so much time after class, snipping pieces off and taping them down with packing tape.
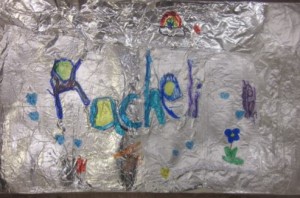
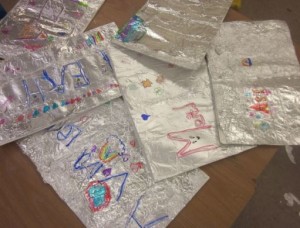
7- I also realized that the size of the portfolios were too large to get the effect I was looking for especially since it is really hard to cover so much space with markers.
I did get a chance a week later to see how the project could actually work out when my grand kids came to visit and I did the project with them.
Firstly we used a smaller size tag board. I had them cover it with glue and then gave them yarn and told them to make whatever they wanted with the yarn. Both of them chose to make some sort of house with a design.
They then covered the whole paper with aluminum foil
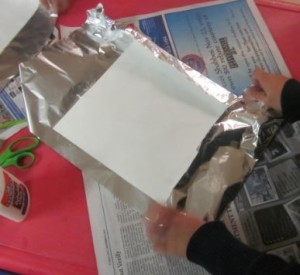
and rubbed over the yarn well wo that it was very visible.
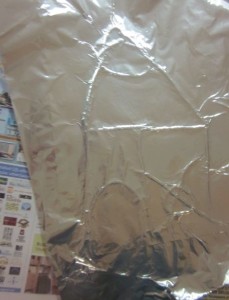
I then had them go over the edges of the yarn with a black sharpie to make it stand out more.
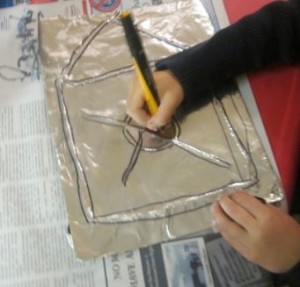
and then gave them permanent markers to color in the whole picture.
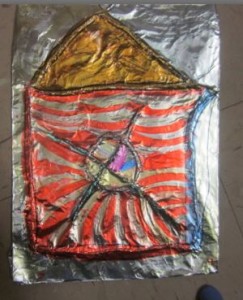
Now it looks like the original idea I saw.
So I saw the way to make the project successful is to use small tag board, let them make what they want with the yarn, use one piece of foil for covering and use a sharpie to outline before they color in. And it really is a great art project, especially if you don’t want to get too messy. (even though you do have to watch out for those permanent markers)
Looking at all of the aluminum foil and markers I am reminded that its almost holiday time for many of you and if you are looking for some cheap, easy Christmas crafts for kids you may want to check out that post.
Pin to save for later

