Finger painting with kids
Finger painting with kids is the ultimate process only art activity. Meaning that all the kids really care about is mushing in the paints and don’t care if they “make” any art with it.
I am going to share with you how I’ve done finger painting for toddlers and even older kids. Many of you will not be able to deal with the way I’ve done it as it is VERY messy. You really need to believe that what you are doing is good for the kids, have a pretty big tolerance for mess and don’t mind cleaning up after them.
If you don’t mind the mess, just the staining then you may want to try doing this activity with Thick and Rich Cream Shaving Cream.
When you give children finger painting you will really have to stick around for this activity. No such thing as giving the kids some instructions and then kind of walking off to take care of something else. Try that and when you come back walls, chairs, faces and hair will probably be all full of finger paint.
There are 2 basic ways to finger paint. The first way is to pick up some simple primary colored Crayola Fingerpaints and maybe a Finger Paint Paper Pad
. The children sit at a table with the table that they are working on that is covered (hopefully) or on a children’s art table that is easily cleaned. They take a dab of finger paint and delicately move their fingers and hands around and around the paper. The piece of artwork of course, does not look like much as it is pure process only and the kids really don’t care.
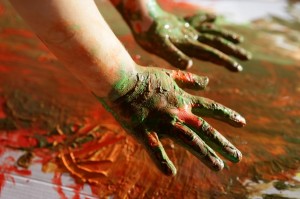
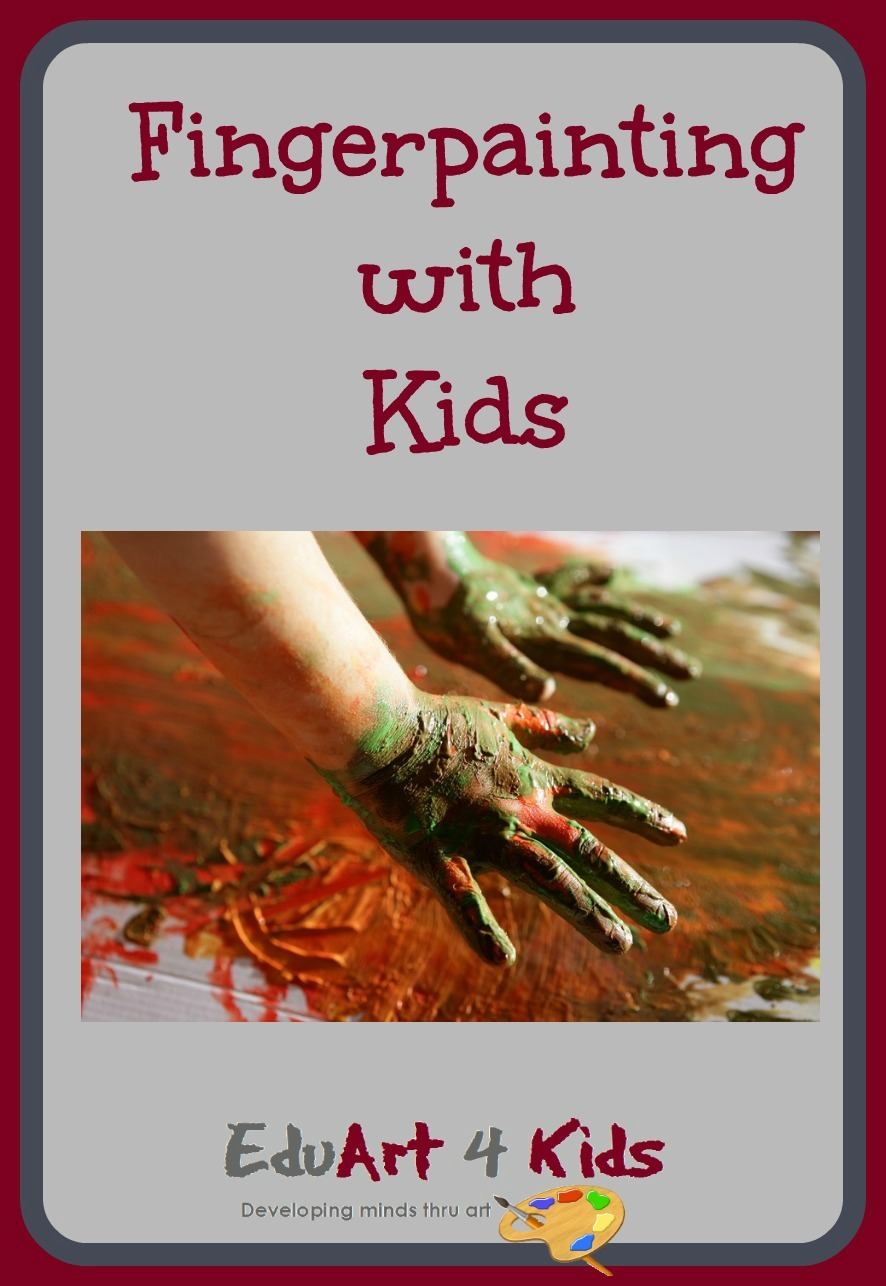
HOWEVER, the best way to do this type of painting is an almost full body experience. It’s actually called DAPP meaning direct contact with medium.
I did this recently with my young grandchildren and my older children thought I was a bit out of my mind to allow them to do this. The pleasure kids get out of this is so immense and so good for them that I think its well worth it. I used to do this activity when I taught preschool many years ago and was just very careful in allowing only 2-3 kids at a time and was always well prepared.
The best finger painting ideas for the table
What this means is that we basically allow the kids to finger paint directly onto the table without giving them a paper to finger paint onto. I will give you step by step points and instructions on how I do this. The ideas I will give are not ideas of what to make with the paint, but what parts of the hand they kids can use to get all different kinds of marks.
- Make sure the children are very well covered up. I used to use large garbage bags because the children’s smocks are often not enough cover. It is best if they are wearing a short sleeved shirt as well.
- It is best to do this on a children’s table that is plastic or very easily cleaned.
- Using either homemade finger paint or store bought, put one dollop of paint onto the table
- Tell the children they can start finger painting.
- They may be tentative at first as they feel the cool, slimy paint on their finger tips but, as they get used to it they will be all over the table.
- Add dollops of paint as the paint dries up
- There is not much of a need to add other colors as the children are really just concentrating on the feeling and the experience of the activity
As you hang out near the table you can encourage them to use different parts of their hands:
- Palms will make wide strokes as well as the back of their hands
- Side of their hands are good for long, thin and zig zaggy strokes
- Fingertips make dabbing marks
- Knuckles are best used together
- Thumbs can show finger prints
- Fists make massive swirly marks
- Hands spread out wide make hand prints
Finger painting is such a wonderful activity because the children get to be really messy without any fear of reprimand and is an amazing sensory outlet.
If you want to add a bit of variety to the activity you can put on some music and have the children paint to the music.
Even though paper is superfluous in this type of activity what we used to do sometimes in our classrooms was after the children would draw something we would kind of save that image.
After the kids draw with their fingers on the table through the paint, we would give them a shiny piece of finger paint paper and have them put it directly on the drawing and gently rub over it. At times I would give them items like a comb to run through the paint to see what designs they can make with it.When we lifted it up the image was on the paper in reverse.
Almost like a print and this way the children felt that we were saving their drawings. (most kids don’t care about saving these drawings)
You will most likely have to do this for them as their hands will be full of paint. If you don’t want to use the finger paint paper that is quite expensive you can use shiny shelf paper or any other paper substitute that works
Finger painting without finger paints
If you really love this idea of allowing the children to have this full body sensory experience but, either don’t have the finger paints available you can either make your own or use Thick and Rich Cream Shaving Creamlike I mentioned above. We’ve used shaving cream in the past and the kids love it just as much. As a matter of fact, if you add some food coloring to the shaving cream it actually seems like finger paint. If you want to make your own finger paint here is a recipe for you to use.
How to make finger paint
There are a few recipes you can find online but here is one that I found.
- 2 cups of instant laundry starch
- 1 quart of water
- 3 cups of ivory flakes
- 3/4 talcum powder
- 1 teaspoon oil of cloves
- food coloring
You will need to dissolve the starch in the water. Add the food coloring to the water before you mix it. Then mix well an then add the flakes and the talcum power. As it thicken and peaks you will know it is done.
Personally if I had to go out and buy all of these ingredients that I didn’t have in my home I would rather just buy some shaving cream and food coloring. Or just buy the ready made fingerpaints
Cleanup
One thing I should make you aware of. I once tried using some tempera paints as a substitute for finger paint because it said on the bottle that it cleans up well and can be used as finger paint. Don’t do it. It stains quicker and is harder to wash off the kids hands. I did see somewhere that it says if you add liquid detergent to paint than that turns it into finger paint and is easier to clean. If you are using commercial paints then only buy the stuff that specifically says finger paint.
If the children are going to help you clean up then they MUST still wear their full smocks or garbage bags. Adding vinegar to the water helps it get clean quicker. I have use very large sponges in the past and make sure you have pails of clean water and pails to wash the paint into. Make sure to keep lots of paper towels around. It’s a big job to clean up but, for the kids that’s part of the fun if you want to let them help.
Like I said, this activity is not for everyone….only the fearless and those who love to give kids great experiences.
Here is set of paints that includes everything you need to paint with RoseArt Washable Finger Paints Set, Includes Paint, Paper, Sponges and Wood Spatula
Fingerpainting may not be an activity where you make something that you keep like felt crafts, but the benefits far outweigh the problems.
So what would it take to make you take up finger painting?
Pin to save for later


