 I wanted to teach the children something about line and value. These activities that I have in this post were not actually done all at the same time but, they seemed to go together. I decided to start talking to them about line. It’s a concept that is discussed a lot in art books and I figured why not try it with the art class I was giving at the time. I had read through a particular book called Children And Painting
 and decided to test out these ideas to see if they actually work with young children.
I began by having the children watch me create various lines on a whiteboard.
We did horizontal, vertical, diagonal, zig zag, curvy, dotted, broken and swirly lines.
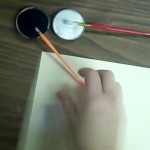
The children were then given black paint and some standard, thick paintbrushes and told to make as many of those lines as they could on their papers.
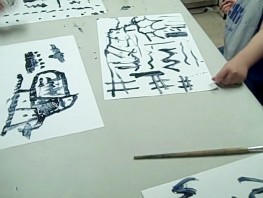
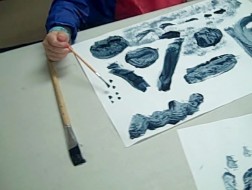
One child absolutely who was unable to follow the directions at all and proceeded to just totally paint with the black paint all over. An initial intimation that maybe the kids were too young for this.
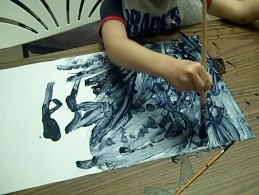
I was working with 2 groups of children and the younger children about 4-5 years old did not have much interest in going further with these line paintings so I left them to do what they wanted with the paint.
The older children, 5-7 yr olds were much more-in tune and interested.
After they had made their line paintings I gave them thin paintbrushes and told them to make a smaller version of their lines next to the fatter lines they had made.
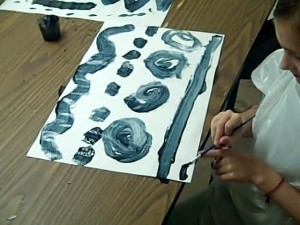
Below is when this little 6 year old was able to add thin lines the same type as the first ones.
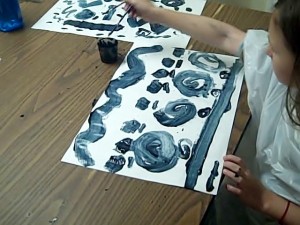
I then told them to connect all of their lines.Some children did and some didn’t.
In the book Children Painting by: Cathy Weissman Topal she discusses teaching the children to depict many types of weather through line. I figured I’d try that out as well.
We discussed lines and weather and how we can tell different types of weather by the lines.
I found the types of weather they could think of were very limited, but they could think of some so I gave them an activity to use weather lines.
We folded a large paper into 8 and then had the children make weather paintings in each box using the lines we had talked about, most of them could do only a few.
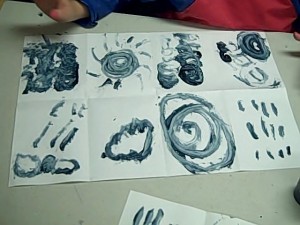
I realized that line in weather was a bit sophisticated but, why not take the black & white painting a bit further.
I decided to get into value, using black & white to begin with.
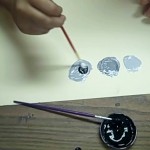
The children were given only white and black paint and a piece of tag board. (not pure white, the manila tag board).
I started by having them make a circle of white. That is actually the reason for not using white tag board as I wanted the children to be able to see the white paint and it is more visible on manila tagboard.
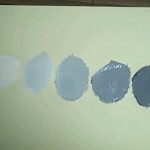
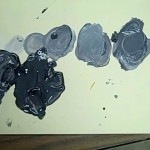
They then had to add tiny little bits of black to each additional circle showing them different shades of gray or value. They each made a whole line of circles that got increasingly darker until the last one was black.
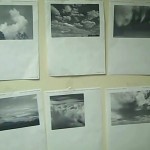
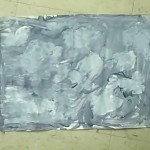
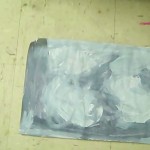
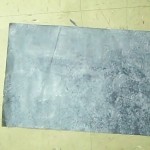
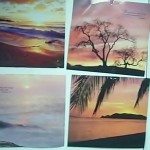
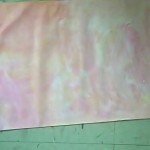
After they had made their value charts, I hung up some sky pictures and told the children that they were to make a sky picture using at least 2 shades of gray.
One of the points of this exercise was also to give the children broader views of skies can be.
They tend to make thin strips of blue lines for skies and I wanted to broaden their horizons.
Another point was to show them that they could use up a whole paper to make only the sky. We started talking about horizon lines and how much of a painting has sky, foreground and middle ground.
This activity was a natural segue into other kinds of skies.
What I would do now if I was doing this activity again would probably be have them make collages that fit this sky activity on top of these paintings.
However, instead I continued value paintings in color.
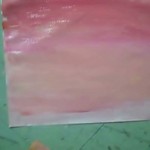
The next week I used calendar pictures of various colored skies.
In this activity you really do need colored pictures.The first set of picture I printed out on my black & white laser printer but, for the color pictures I used pictures I got from some calendars.
From these pictures I was able to show them more definite horizon lines, and how skies can be so many colors.
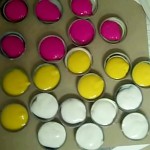
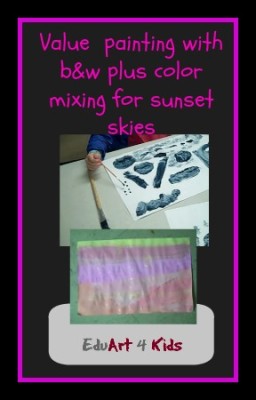
For painting I gave them red (in this case magenta) yellow and white and had them create different shades and values of these colors.
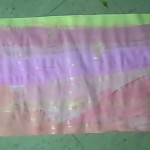
They then made sunset like skies from these colors.
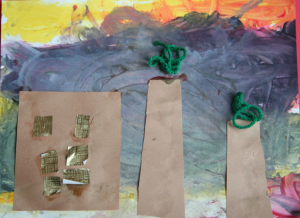
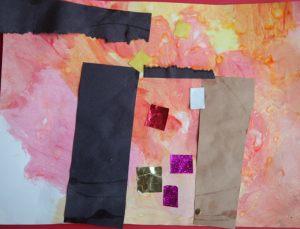
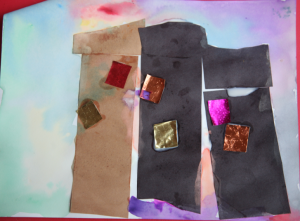
At a different time we did the same activity by making landscapes and we then used the sky pictures as backgrounds for later city landscape collages .
You can also have the children paint or draw on top of them to finish the picture.
I found that having them make the different types of skies win black & white and color, plus guiding them in the idea that skies can fill up many parts of the paper was very enlightening for these children.
One of them reported back to me the next week how she was driving with her family and she saw the NY sky line and she saw how much of the scene had sky in it.

