Scrapbooking for kids is not as huge as it is with the Moms which has truly become a national obsession. Stay at home moms and working moms alike have all jumped onto the scrapbooking bandwagon.There has been an effort to get children involved and they often do that with scrapbooking birthday parties.
If you understand what scrapbooking is all about you will realize that is not an easy feat for preschoolers. One of the main activities in scrapbooking is the adding of the pictures, with letters and the words that are supposed to go on top of each page.
For children that don’t read there is little left for them to do.
I am going to share with you how we did this project in our summer art camp without sacrificing on our principles of letting the children do the work.
Our basic idea was to create a mosaic of the summer camps activities. We made sure to take lots of pictures of all of the special days and the parts of camp that we wanted showcased in their scrapbooks.We then assigned each page for a different activity and event.
We then gave the children wonderful, process only art activities to do on the background pages of their scrapbooks. We actually had them do most of the artwork on cardboard stock like tagboard and then pasted them onto the larger pieces of the prepared scrapbooks that we bought.
In some cases we pasted the artwork directly onto the larger scrapbook page and had the children finish up decorating around the the edges of the background paper.
So really what the children’s main job in this scrapbooking activity it have them create beautiful artwork and then use those pages as the backgrounds for their scrapbooks.
The younger children basically ended up just pasting their pictures down on top of their pages and we added explanations. Some of the older children were already starting to read so we made letters available to them.
If they did not know how to spell a word we would write it out for them on a separate paper and they would take the types of letters they wanted for their pages.
It was a full summer activity and we worked on in it a few times a week. Below I am going to show you images of the types of artwork we did to create the backgrounds for their pages.
We tried to imitate some styles of famous artists in making their pages.
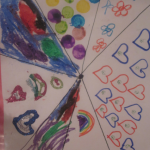
The first one below was trying to imitate to a small degree the ideas of an abstract expressionist artist name Frank Stella. We gave the children this paper on which it was already divided into a number of sections. The children had to do a different techniques in each of the sections. We did pastels. crayon, dot art, scratch art, glitter pens and a number of other ideas that I don’t recall. The point was not to repeat the same technique in another section.
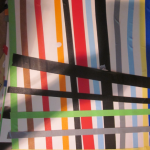
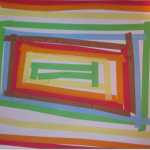
The next page is supposed to emulate Mondrian. He was very big into lines and geometric patterns.Here are 3 samples. They used small rolls of colored tape and the results as usual, are quite varied.You can use this kind of designer Masking Tape
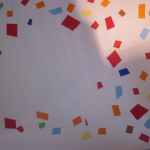
The next picture is a tissue paper collage. Sometimes when we do tissue paper collages we allow the children to just use the pieces of paper to paint with water on the paper and then lift up the tissue paper to have the color dyed onto the paper.
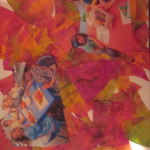
The one below used the technique of spray painting. The children were allowed to make any picture they wanted, or letter of their names. They then laid the pictures down on the background paper and spray painted the paper. They then lifted the pictures from the background and were left with relief pictures. We bought a Spray Bottle Set from a craft store and filled them with Liquid Watercolors
.
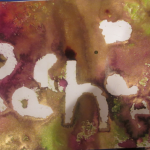
Below are three other backgrounds.
The first is a weaving activity that they did on a piece of paper. We basically cut slits down the whole length of the paper, then made strips of various colored papers for them to weave through. When they finished each piece they taped it to the end to stick it down tight.
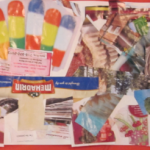
The second one is a decoupage montage. The children had to find all sorts of pictures they liked in magazines and then glue them all over the paper like a montage. The decoupage part was that they used either modge podge or a watered down glue to almost paint over the finished product to give it a glass like look.
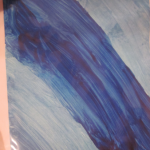
The third one was a regular painting activity and this child chose various blues to work with.
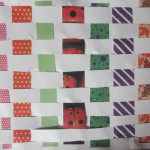
As the children finished each background page we had them decorate it and put words on it. Like I mentioned before, the children that needed help with the words either stamping them of gluing them, had help from us for this as well.
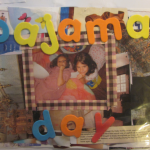
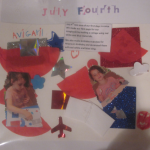
The last picture below was just one of the pages that was finished. On the top was stamped what activity day this was about. there are the pictures of the little girl that was created that page and it is made on top of a red, white and blue collage. For each page we also had a small blurb that we typed up and printed out so the parents will understand what actually took place. It is also a great way for the children to remember as they look back on this scrapbook over the years to come.
The project was extremely well received and aside from the fun activities left a permanent reminder of the wonderful summer the children had in the art camp.
Other Summers we made different kinds of art portfolios with the kids that you may want to check out.
Pin to save for later



I love seeing kids get opportunities to express their creativity in so many ways. This is fabulous!
Thanks for sharing at Monday Funday Link Party!
Hope your week is extraordinary!
Thank you and thanks so much for visiting