This post is from a series of art classes I did years ago with some children. We are exploring art fundamentals with kids through lines and shapes. These hands-on activities help kids learn about lines and shapes in picture
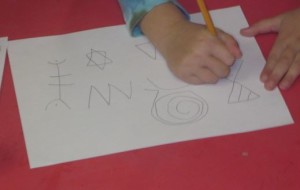
I wanted the children to be able to recognize lines and shapes in pictures and in real life. I also wanted them to be able to copy these lines and shapes from pictures and real life.
Even though there are always those kids that are the more natural artists and their efforts seem to brand them as “the artist” I learned that drawing and art really is a learned skill. Of course, the natural artists will produce more realistic looking artwork but, it doesn’t take away from the efforts of the regular kids and the goal is to make children confident enough to be creating art on their own.
I use ideas from many books but, learned a lot especially from Mona Brooks’s Monart method and I have some posts about how I taught kids with this method a few years ago in drawing for children post.
The monart method has the children copying some basic lines and shapes which I had them do using a white board.
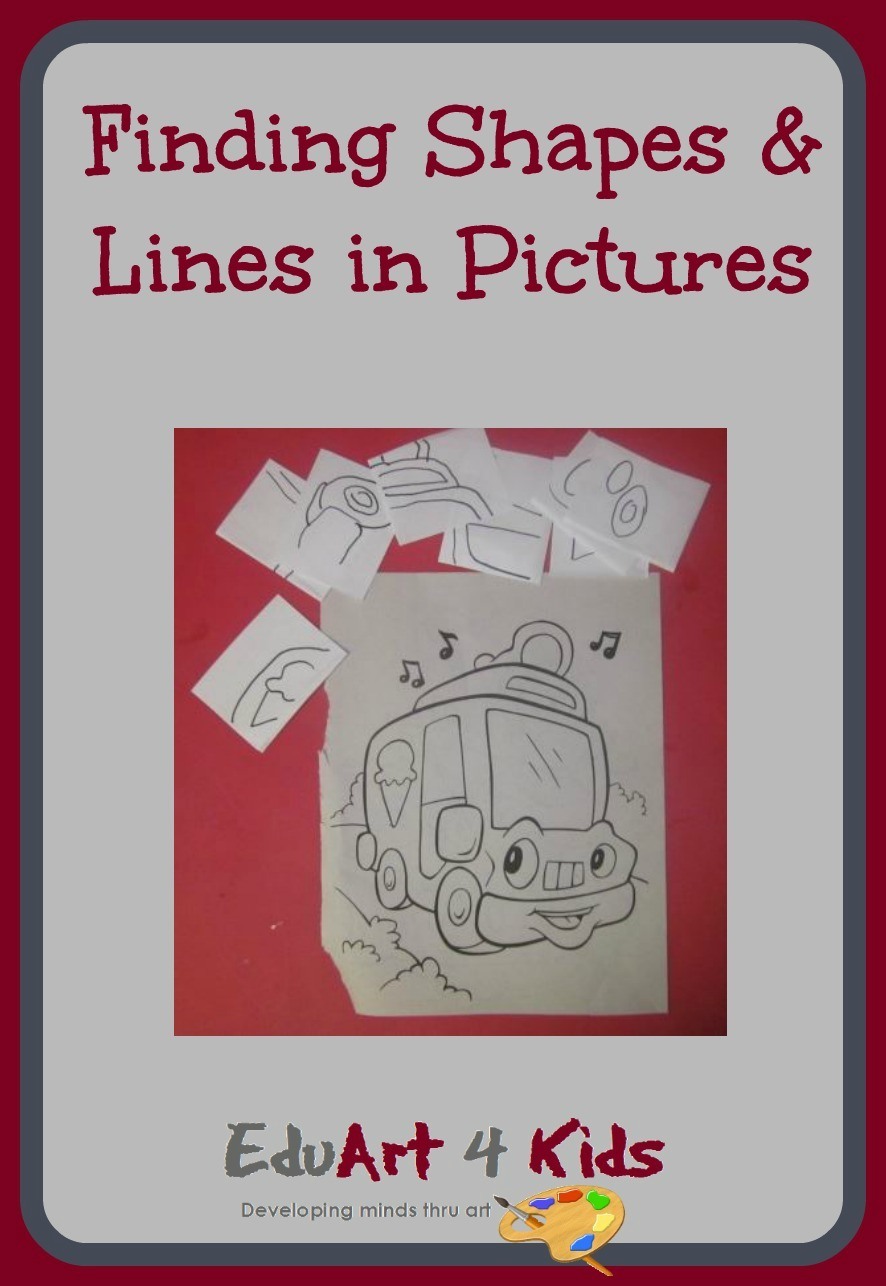
I then took some coloring sheets, traced the picture and cut out the traced picture into small pieces.
After that I took some coloring pages out of a coloring book and small squares of pieces of the picture that I traced.
The children had to find the piece that each square was copied from.
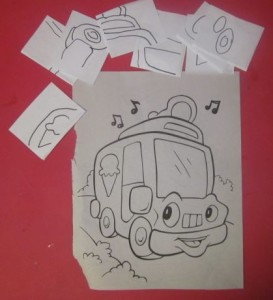
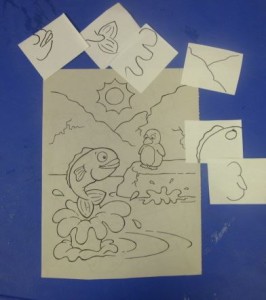
This is training them to see the lines in pictures.
The next activity was to see pictures in terms of their shaapes.
I chose pictures that had obvious, large enough shapes in them.
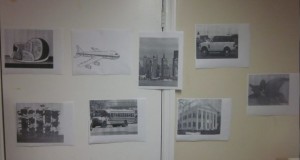
I chose black papers(as opposed to a few colored ones) to use for their shapes as I thought it would help them concentrate the most on shape.
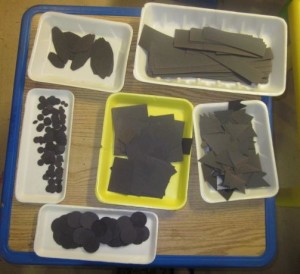
I also made it clear that even though they had these prepared shapes, there were separate large pieces of black paper that they could use if there was a shape they needed and did not have.
For years when we needed circles for our collages we just cut them out free hand. This time I got smart and bought a couple of the large hole punchers. For the large circles I used the Fiskars Squeeze Punch X-Large, Round ‘n Round(much easier on the hands for large amounts of cutting) and for the smaller ones I used one more like this EK Success Paper Shapers.
What a world of difference it was to doing it free hand.
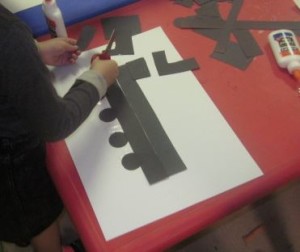
They were told that as soon as they were done with their gluing that they could start adding to their pictures with the oil pastels.
The child below chose to copy the watermelon picture and was able to get the red and green colors extremely well onto her black watermelon pieces. (it looks very vibrant in real life)
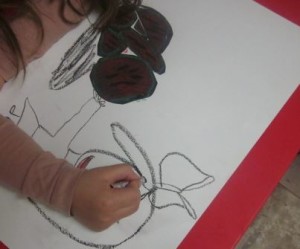
The various colors lent themselves to many different depictions, on the black shapes and off of them.
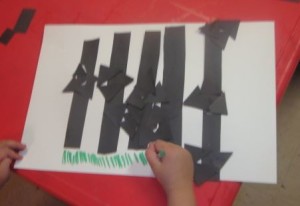
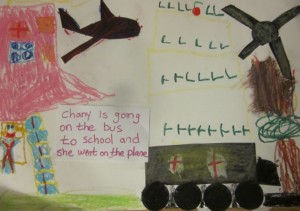
Here are some of their gorgeous work. To add to their artwork I asked them to dictate to me what they did and I wrote it on a card and attached to the artwork..
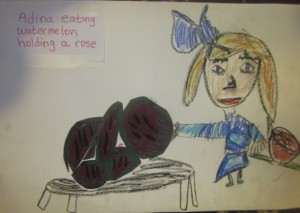
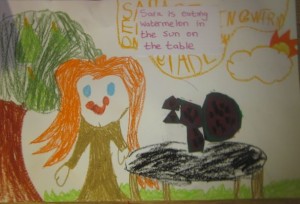
4 individual buses.
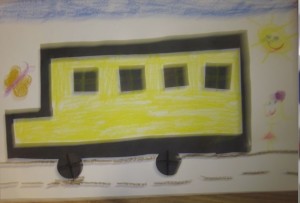
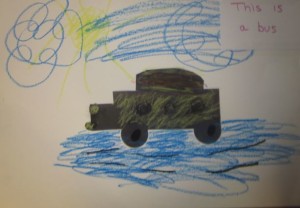
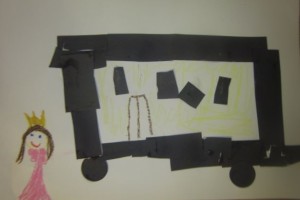
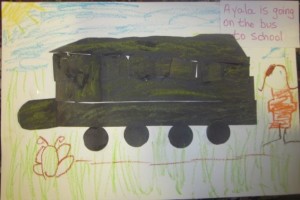
Three of them had a mixture of some of the pictures. They may have done a car and an airplane or a house and watermelon etc.
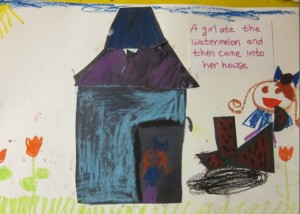
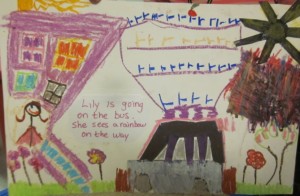
One did the single flower, partly with the shapes and then finished up with pastels.
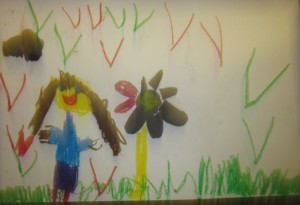
This one is of flowers peeking through the fence
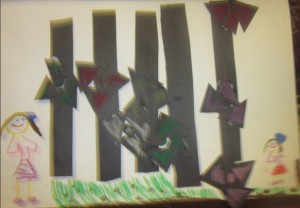
and this one is of the house (which was done from quite a distance so she only ended up doing part of the house)
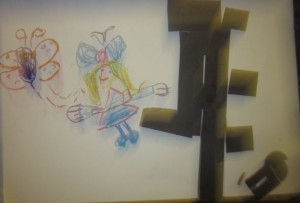
I hope you think these are as gorgeous as I think they are.
If you choose to do this activity just make sure that the pictures you choose have shapes that are easy to copy.


I agree – totally gorgeous! I like that you are introducing the concept of index cards – coming up with a title will give them a chance to consider their work in a different light. I wonder what names they’ll give their abstract work. 🙂
Hmmm. Thats interesting, I’m not sure I would have thought of them titleing theier abstract work, but now I will