
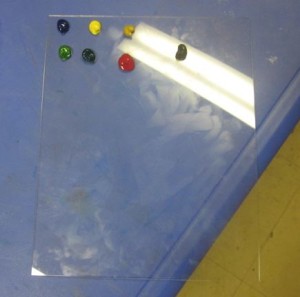
It turns out that some of the girls are having a hard time with some of the drawing exercises I have been giving them. To lighten things up I decided to start this week with a new way of using the watercolors that I discovered.In the class before this in beginning watercolors I had the girls use the palettes (or wells) that we had used for the tempera. For this class I came up with the brainstorm to use the plexiglass pieces I had purchased.
I had bought the Plexiglas pieces to use for tracing real life but, found that it was too hard for them. I then realized that we could use them for palettes since the way we are using the watercolors this time is the way one would use acrylic paints. They don’t run so can be on a flat surface close together.
They each got a palette of a bunch of different colors, a cup of water, paper towel and a brush. We are also using Watercolor Paper 11 in. x 15 in. I cut the papers in half for them to use.
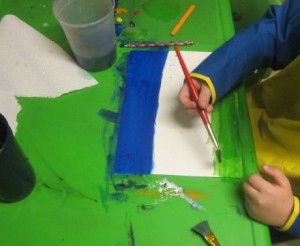
My point with this exercise was for them to learn about horizon lines. Most kids draw and paint pictures by drawing a blue line across the top of the paper to make the sky. I showed them a whole bunch of landscape pictures and we went through where the horizon line is. The horizon line is the place where the sky meets the ground and there is no empty white space in between.
They saw many different colors of skies but, they all had sky meeting, ground.
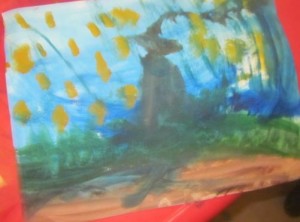
It is really hard for some of them to move away from established practices and some of them couldn’t get away from the type of painting below.
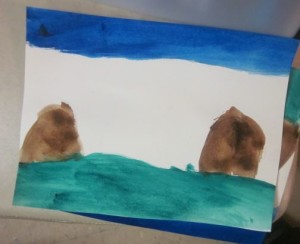
I did insist, however that there be no white space and that they had to decide how much of the paper was going to be sky and how much was going to be ground.
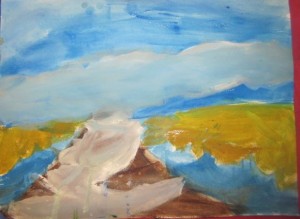

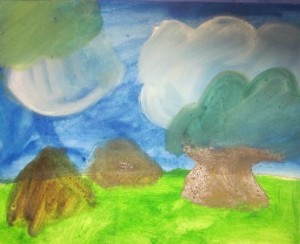
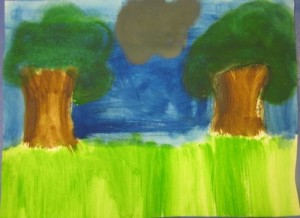
Some of them added their own things like trees, mountains and clouds.
Once they finished painting I figured we could move into the drawing exercises. I had a new rule though. If they felt it was too hard, they did not have to do it. I told them that I wanted art to be fun for them and they didn’t have to do anything they felt was hard.
The last time we tried the grid drawings, I was using regular computer paper and it didn’t work too well. I bought Tracing Paper to use instead (I actually think what I bought in the Office Max near me is called Vellum paper)
I ran off the grid onto the tracing paper AND onto regular computer paper.
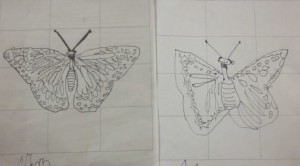
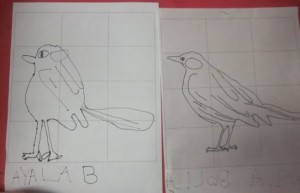
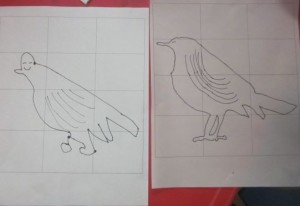
I gave the girls a choice of pictures that they could trace. I stapled a piece of tracing paper that had the grid on it to their pictures, gave them thin, black sharpies and had them trace onto the tracing paper. (They all loved this part)
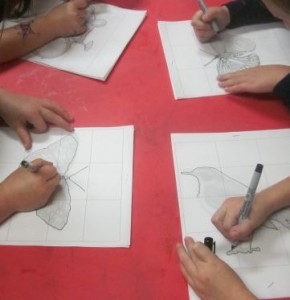
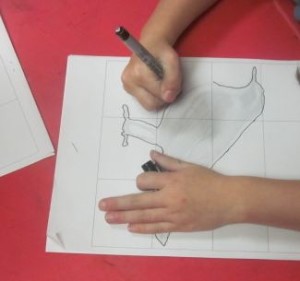
The next step is to remove the 2 papers and take away the original picture. They had to try to reproduce into the boxes, the parts of the picture box by box. This way they are concentrating on the boxes only and end up making a much more true to life picture since they have the boxes to guide them.
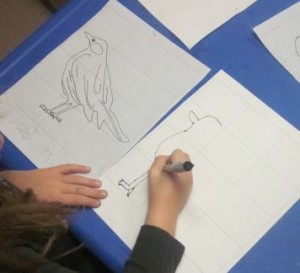
The ones who had the patience to do them had quite good results.
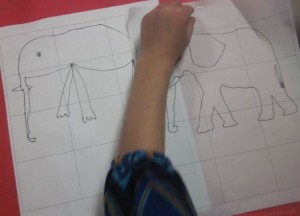
Once thing I did do to help one child was to block off the other boxes that she was not doing.
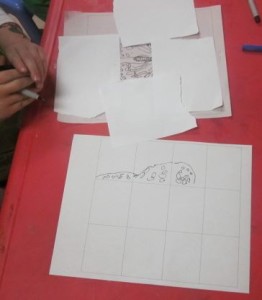
If a child has a real focusing problem then this is a great idea since they can only do the box that they see visible.